How to Make Paper Roses That Look Real
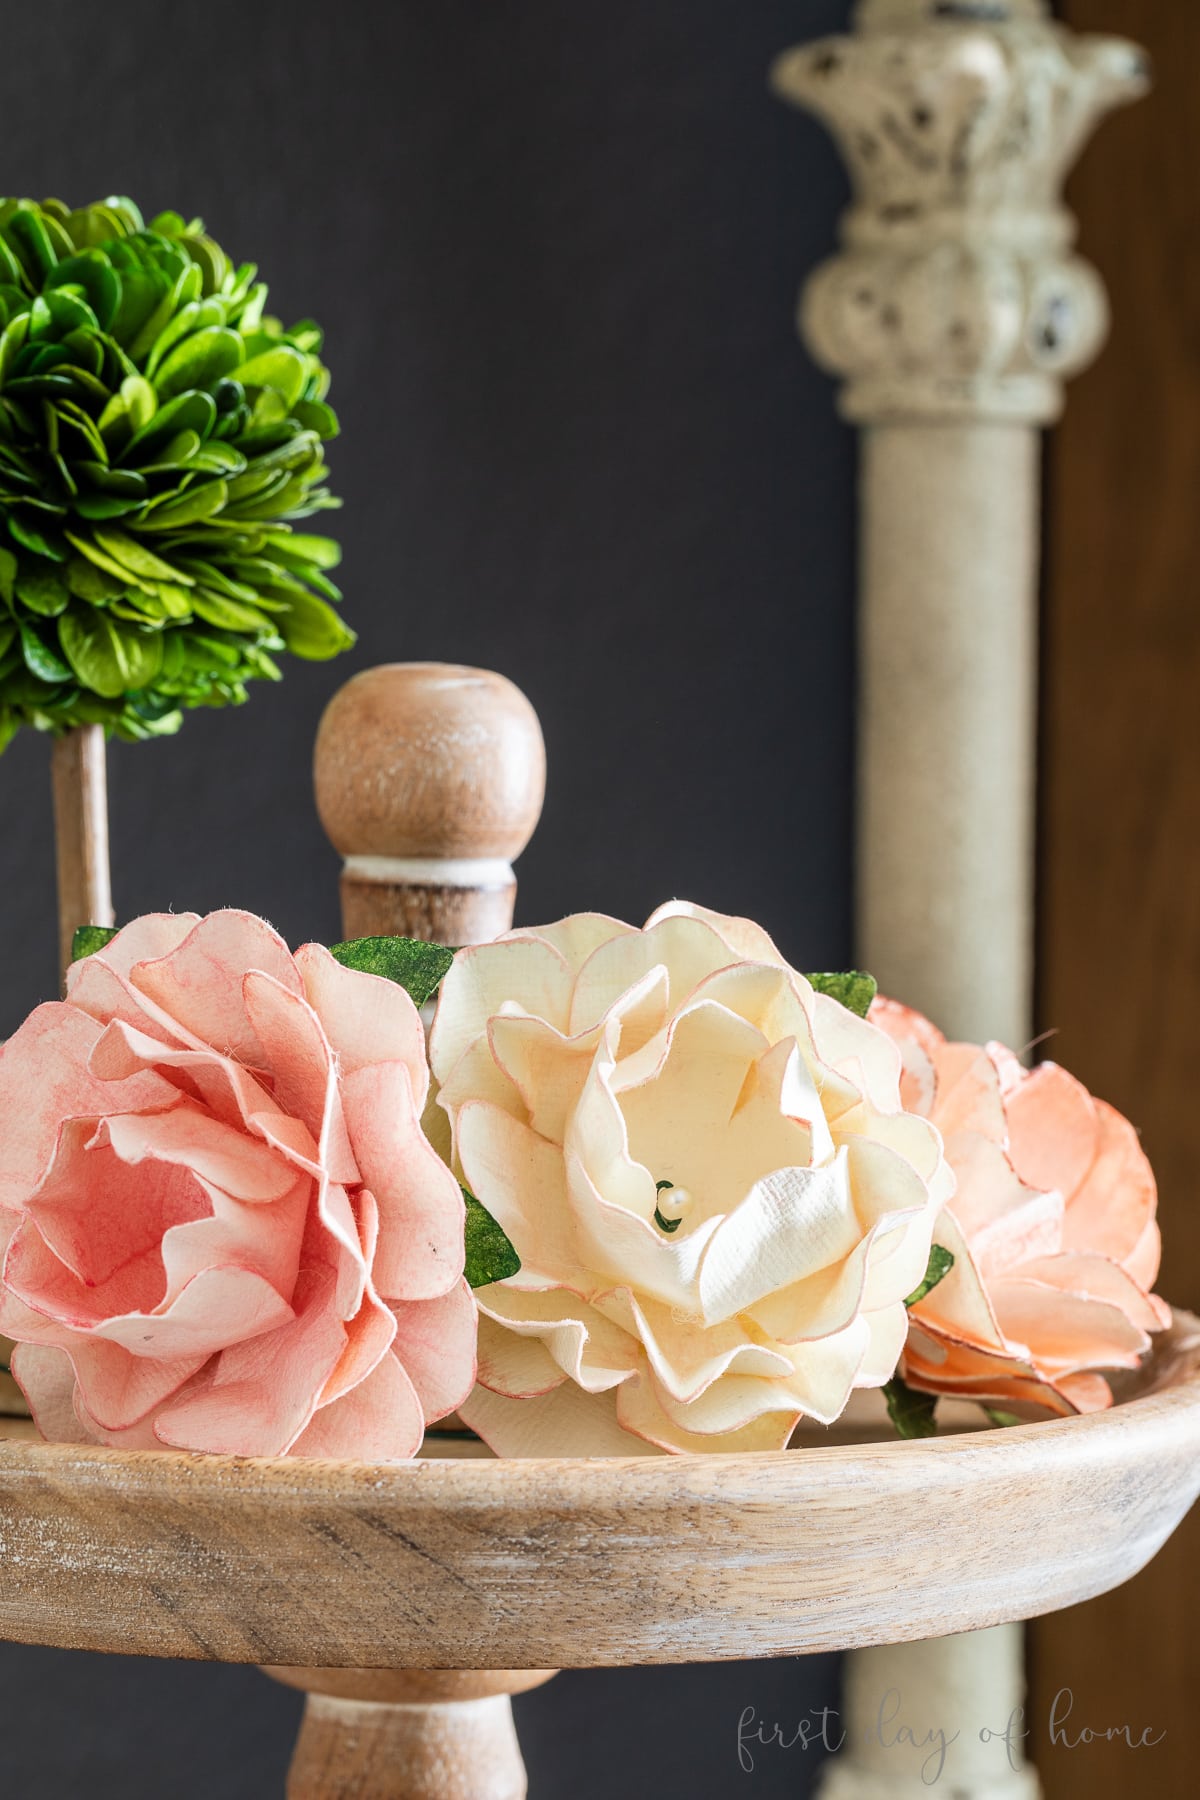
While I love receiving a pretty floral bouquet, I also enjoy having paper roses that don’t fade. Over the years, I’ve preserved countless types of fresh flowers. These paper roses look so realistic, they rival any blooms I’ve dried or pressed in the past. Get my free pattern to make your own just in time for Valentine’s Day.
This post contains affiliate links, and I will be compensated if you make a purchase after clicking on my links. For more information, please see my disclosures.
I’m a true romantic at heart, so paper flowers are right up my alley. Years ago, I created paper flowers using tissue paper and crepe paper. I loved the wispiness of those cherry blossoms, but I wanted to try using watercolor paper for a more realistic effect.
Project Overview
You can make your DIY paper rose with any paper you like, but I find that textured watercolor paper mimics the thickness of a rose petal.

Paper flowers are perfect in a vase, on a wreath, or as a decorative accent for keepsake boxes and other crafts. Many brides also choose to include gorgeous paper flowers as part of their wedding bouquets or table centerpieces.
I hope you’ll get some use out of them too!
How to Make Paper Roses
In this step-by-step tutorial, I’m making two varieties of paper roses today: one for those with a Cricut machine and one for those without one.
You can print and cut my free PDF pattern down below if you prefer to cut your petals by hand. Otherwise, you can follow me in Cricut Design Space and use the same floral image I’ve used there (##M504D6689).
Supplies
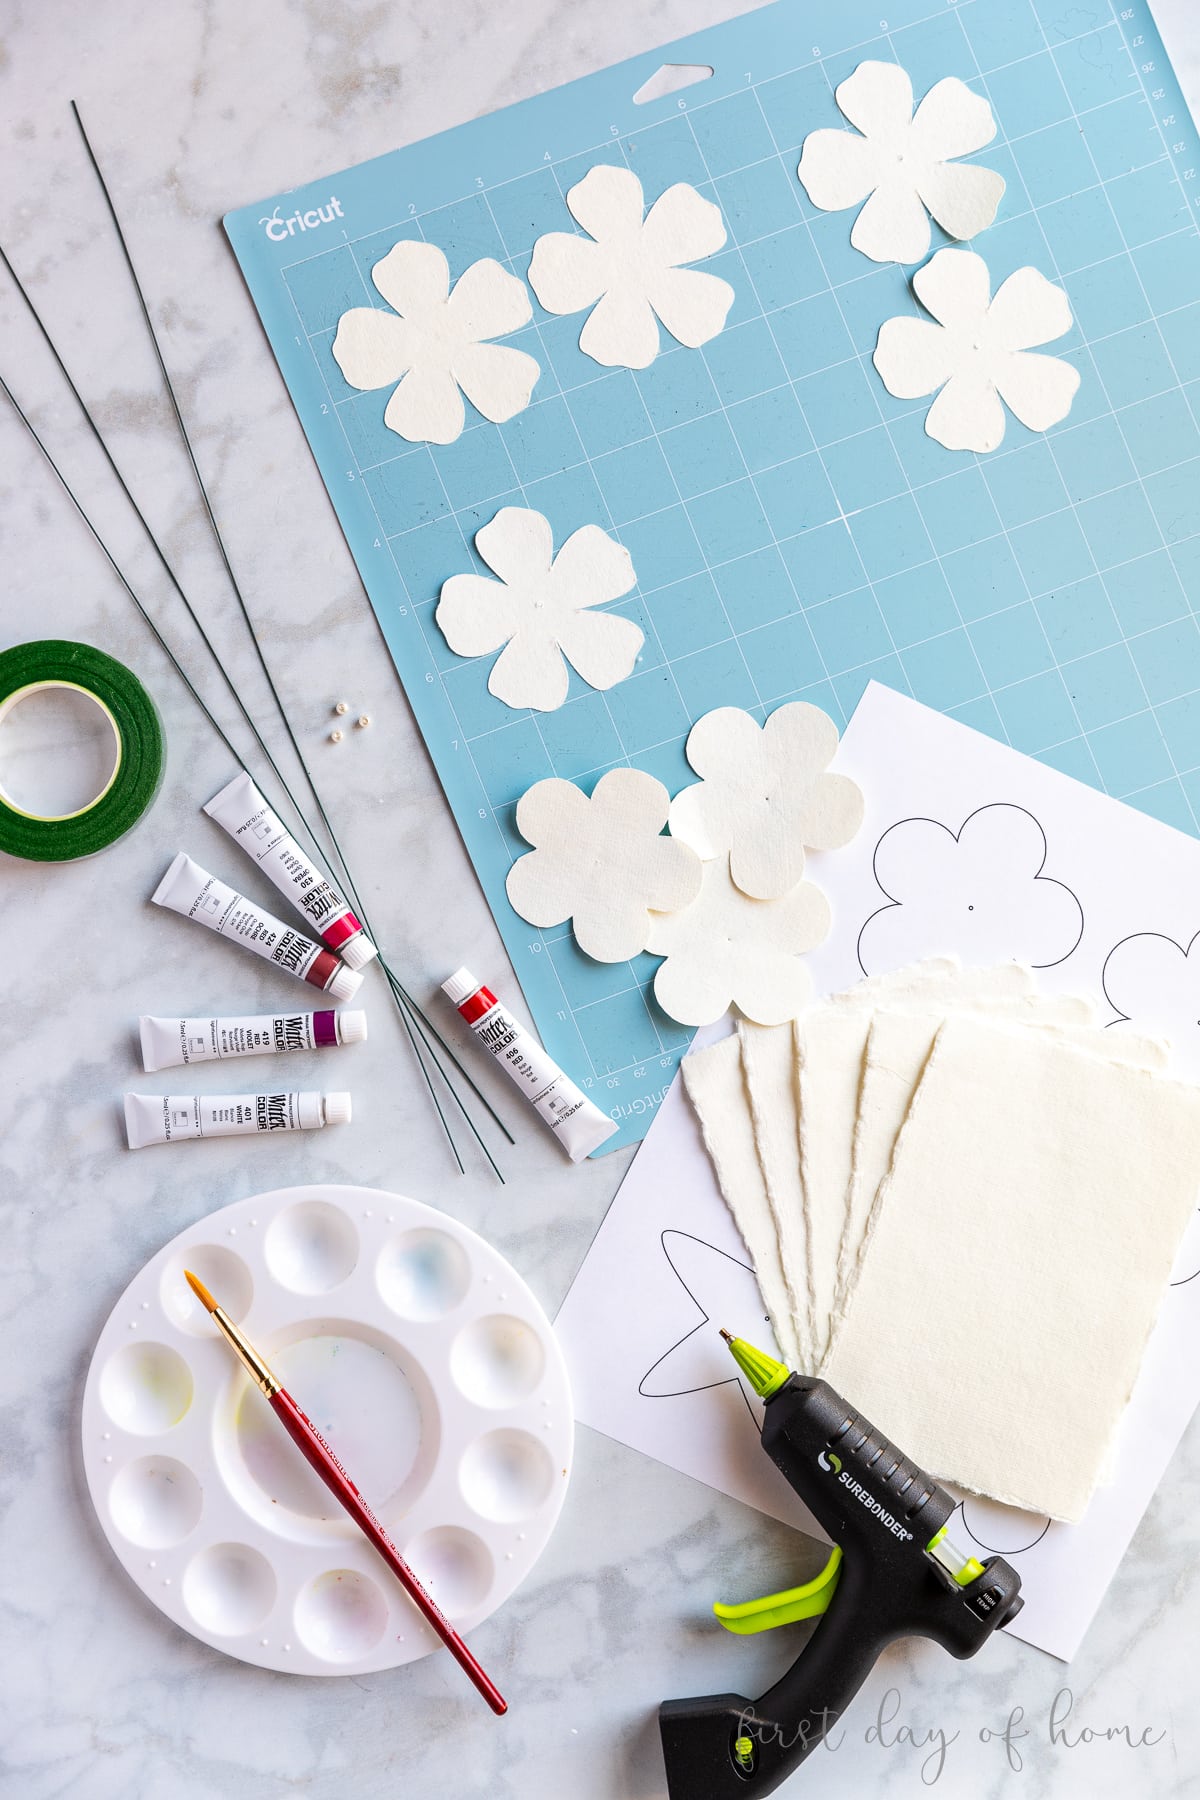
- Scissors (if cutting by hand)
- Flower image (using
Cricut Design Space or free printable template) - Watercolor paper, tissue paper, cardstock, or printer paper
- Floral wire
- Hot glue gun
Optional Supplies:
- Watercolors
- Floral tape
- Small pearl beads
- Needlenose pliers
Step 1: Cut out petals and leaves
For this step, you can use either a Cricut machine or cut the flower petals by hand using my free template below. I have the Cricut file formatted and linked here for your convenience.
You can also visit my tutorial on how to make Cricut paper flowers for more inspiration.

The petals in the free PDF file are slightly different, but the paper roses still turn out beautifully. If you are using the PDF file, you will want to make small cuts between each petal toward the center.
Follow the steps below to begin preparing your rose petals once you have cut all the pieces.

Step 2: Form the stem with a pearl bead (optional)
To give the paper flowers a more delicate look, I used faux pearl beads that I found at Dollar Tree. Simply thread the pearl onto a piece of floral wire and twist the wire to keep the bead in place.
Step 3: Wet the rose petals
I chose to make some flowers using watercolor paper for a more realistic effect. If you do the same, I suggest wetting the paper to more easily fold and shape the layers of petals.
Step 4: Shape the rose petals
Begin folding and scrunching the petals to simulate the natural shape of rose petals. You can use your fingers or a pencil to help bend the petals as you desire.
The most beautiful paper roses have lots of texture and folds, so try to make each layer a bit unique.
Step 5: Add dimension with watercolors
While the petals are wet, you can dab on a splash of color using watercolors. I especially like giving the edges of the petals a touch of color to look more like real flowers.
As you’ll see below, I experimented with different colors and shades to see which combinations achieved the most realistic paper roses.
Step 6: Assemble the rose blossom
The flower templates come with a small hole to indicate where the layers will slide onto the floral wire.
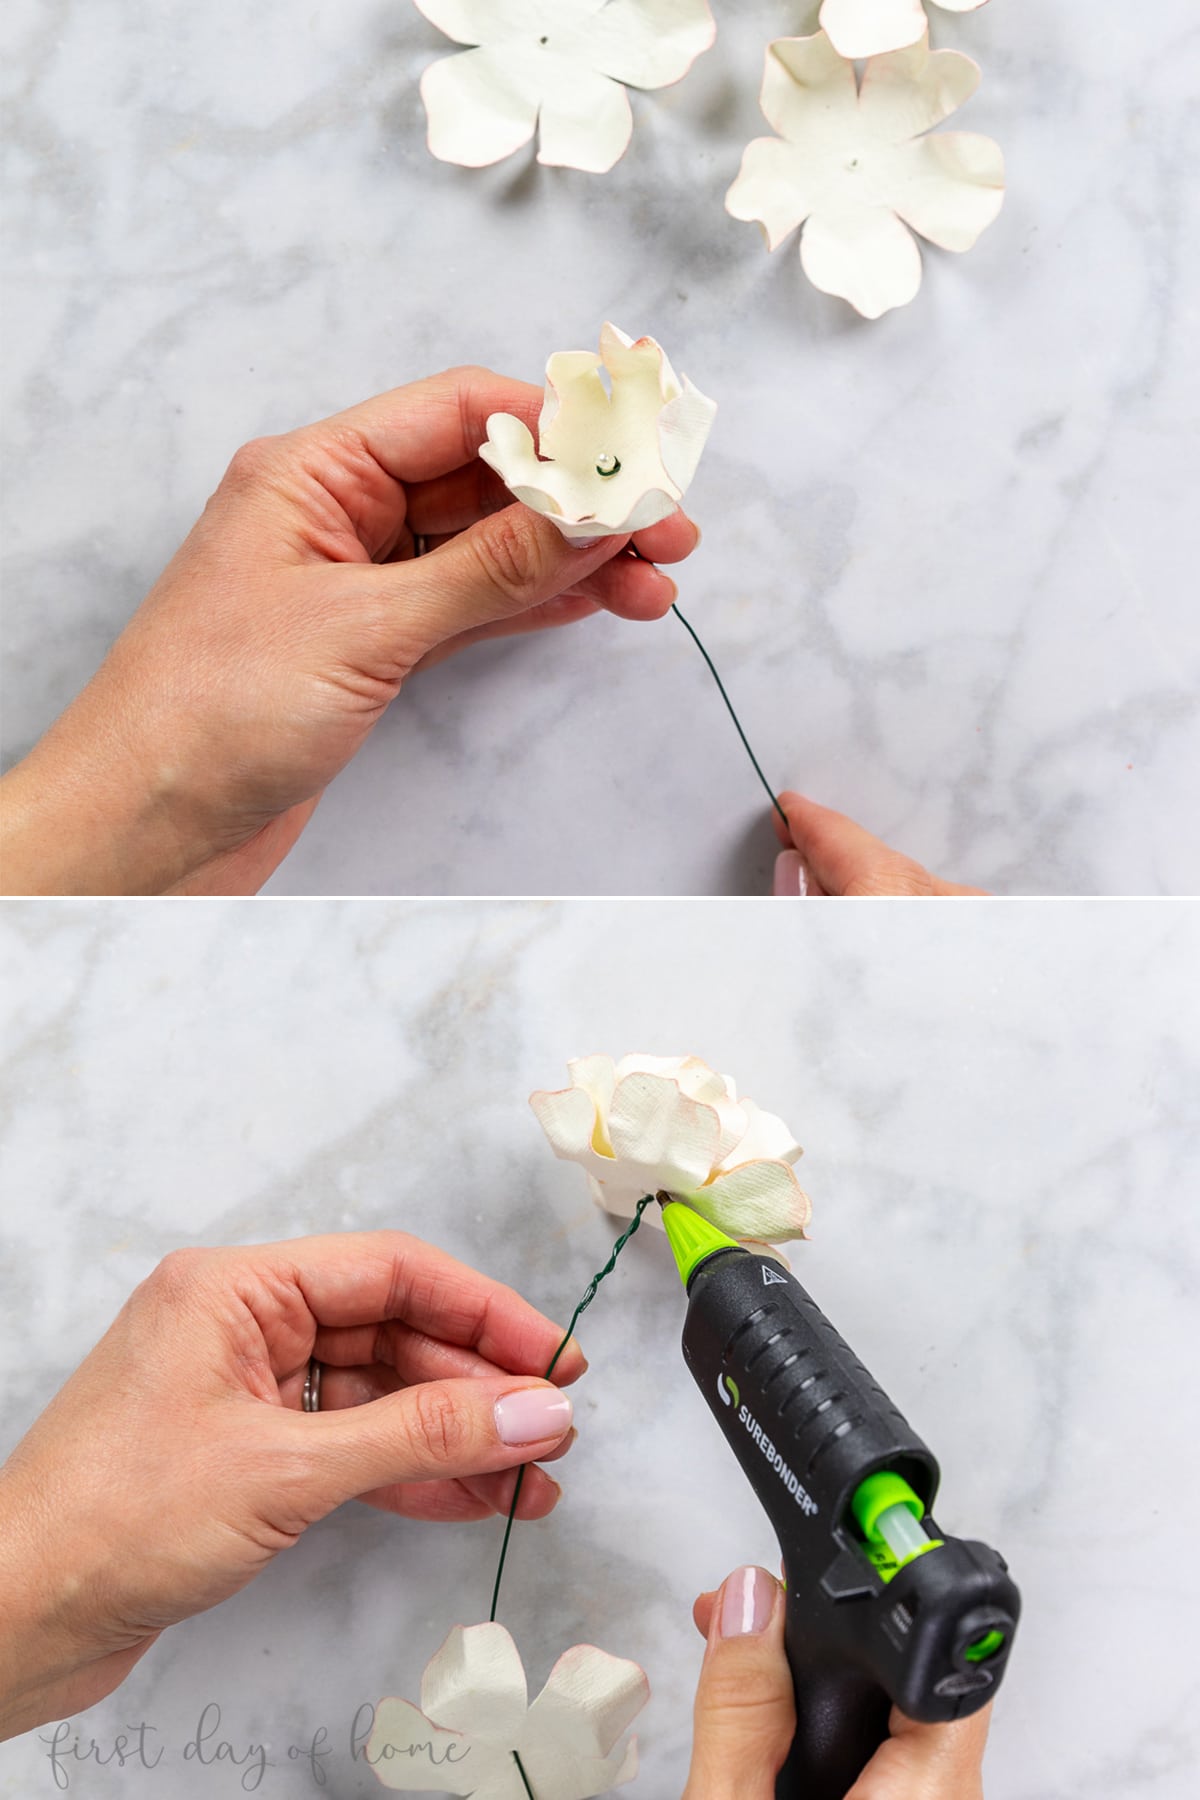
Start with the smallest petal you have shaped to form the center of the flower. Then move on to the larger pieces.
As you place each piece of paper, use a dab of hot glue to keep the petals secure.
Step 7: Add leaves or other embellishments
The templates come with one layer of leaves you can add as the final chef’s kiss. I like to bend the leaves back away from the flower to look more true to life.

Other Variations for Paper Roses
I focused this tutorial on using watercolor paper because I feel it results in the most beautiful paper roses. However, you can cut your rose pattern using cardstock. This is especially handy if you have a

If you do go this route, you can bend the petals using a pencil and skip the steps of wetting the paper and using watercolors.
I think the cardstock roses look gorgeous too, and they would work well for a picture frame or plaque.

In the photo above, compare the cardstock roses to the trio of watercolor roses in the upper left corner.
Get your free templates
I hope these step-by-step instructions have inspired you to make paper roses at home. They make a perfect Mother’s Day gift or Valentine’s Day accent.
To get your free template, simply fill out the form below. Be sure to check your Spam folder and add my email to your safe sender’s list to make sure you receive future freebies and special offers.
If you want an idea of how giant roses would look in action, be sure to check out my mimosa bar ideas where I created a whole display with paper flowers and tissue paper pom-poms.
You might get inspired to borrow some ideas for your next Galentine’s brunch or wedding shower.
Pin it for later!


What a wonderful pattern, and I love how your paper roses turned out! Today I’ve featured your pattern on Crafts on Display, I hope you enjoy it, and keep up the amazing work!
Hi Violeta! Thanks for including my project! I appreciate the feature. Have a wonderful day! -Crissy
Those are incredible! They look so realistic! I definitely would like to give them a try.
Thanks so much, Amanda! I hope you have fun making some. The watercolor paper and watercolors really helped to make them look more authentic.
These are just lovely, Crissy! And so clever! Perfect, long-lasting flowers for your Valentine, for sure! Pinned!
Thank you, Julie! I had fun making them and hope to make more for craft projects. Thanks for pinning!