How to Make a Simple DIY Cake Stand
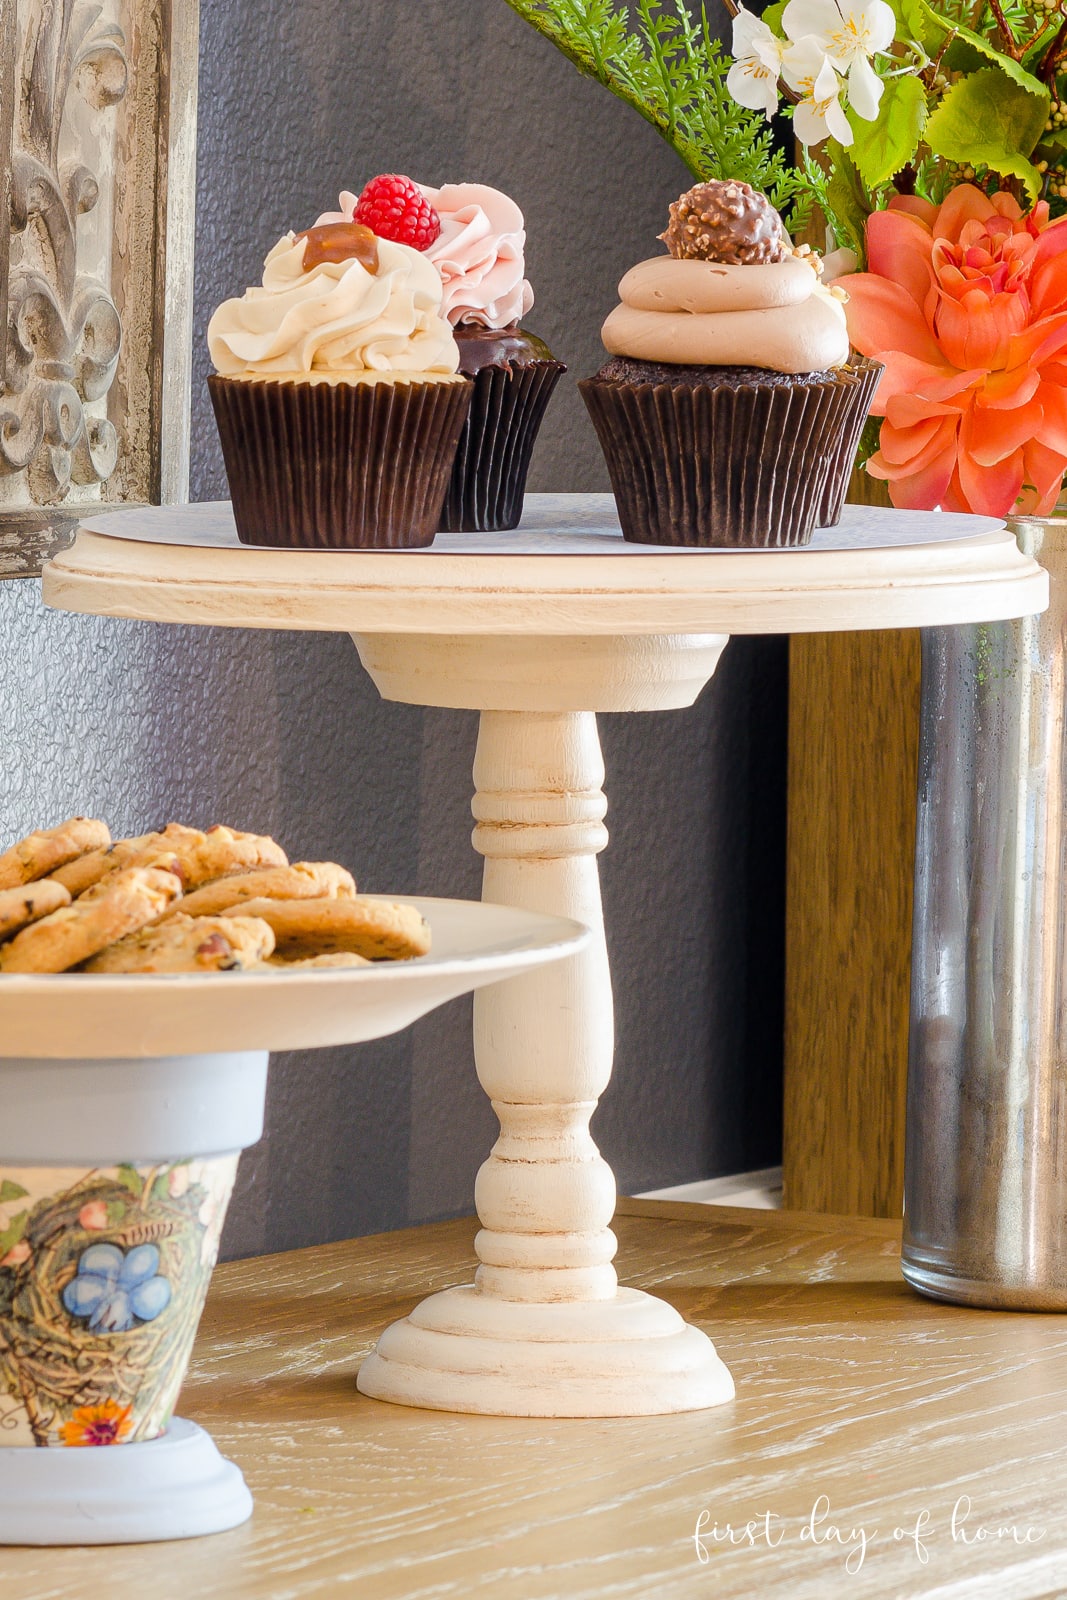
Some desserts just deserve to be put on a pedestal, especially for special occasions. Once you learn how to make a simple DIY cake stand, you’ll look for excuses to display anything on it…or maybe even excuses to buy more cake!
This post contains affiliate links, and I will be compensated if you make a purchase after clicking on my links. For more information, please see my disclosures.
How to Make a DIY Wooden Cake Stand
Perhaps you’ve seen some DIY cake stands on Pinterest and thought you needed some fancy woodworking skills or special high-end paint to get that modern farmhouse look. Not so, my friends!
(I feel like a rogue magician about to reveal the secrets of the trade.)
This simple tutorial will blow you away with how easy it is! I predict you’ll start making these cake stands to give away as gifts and impress your friends. That’s my plan, anyway!
Watch the Step-by-Step Video Tutorial
To see a quick overview of this project, watch the video below.
If you want a complete video tutorial for this project, check out this DIY cake stand video on my YouTube channel. You’ll also get a second cake stand tutorial using budget-friendly Dollar Tree items.
Supplies You’ll Need
- Wooden plaque
- Candle holder
- Sandpaper
- Chalk paint
- Clear wax
- Antique wax
- Wax brushes (or regular bristle brushes)
- Wood Glue
If you want some recommendations on wood plaques and candle holders that will fit the bill for a rustic cake stand, I’ve got you covered at the end of this post. 😉You can find most supplies at your local craft store, if not on Amazon.
Step 1: Lightly sand wooden pieces
When using unfinished wood, make sure you sand any rough edges before you begin. If you forget to use sandpaper from the start (like me), you can always sand between coats of paint.
After sanding, make sure you wipe off the grit with a clean, lint-free cloth before painting.
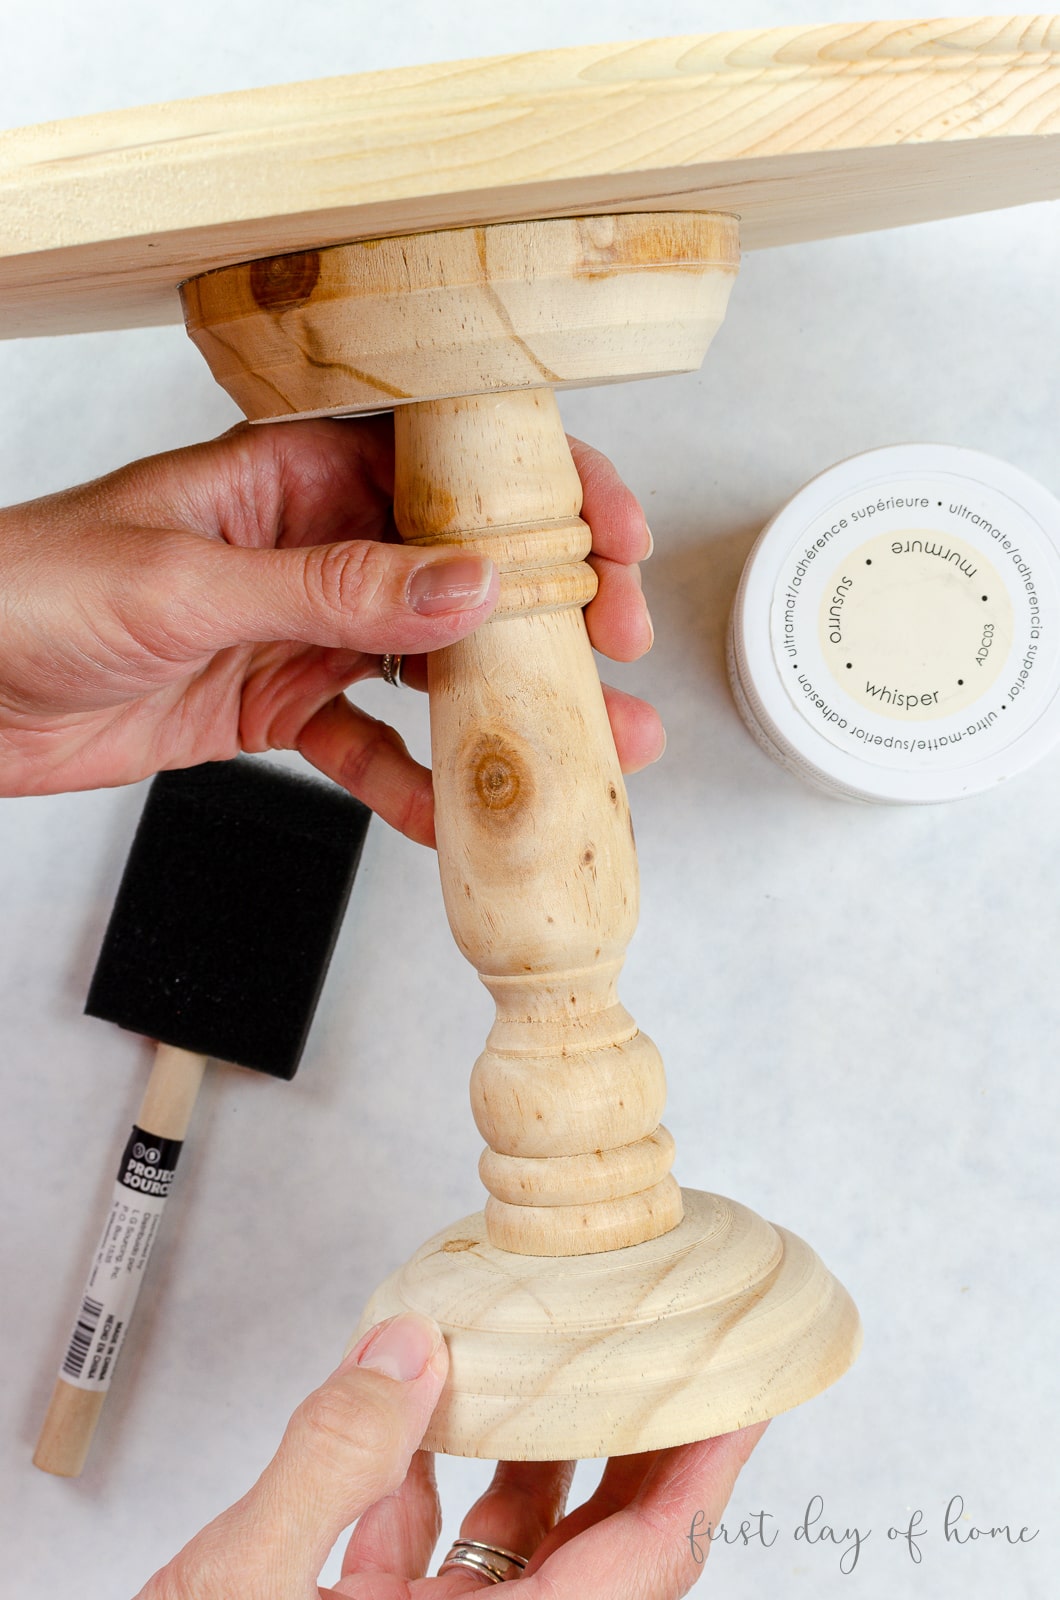
Step 2: Glue candle holder to plaque
Using wood glue, attach the candle holder to the center of your wooden plaque.
Do you need help finding the center? Try tracing your plaque onto a sheet of paper, cut it out, and fold it into quarters. Then you can poke a pencil through the center of the paper to mark your center point on the plaque.
Otherwise, you can take your chances and use a good, old-fashioned eye-balling method (often my preference)!
For best results, flip the cake stand over with the plaque side facing down, and place a weight on the bottom of the candlestick (see video). Let it dry in that position overnight.
Step 3: Paint the entire cake stand
Now, here comes the fun part! Paint the entire cake stand with 1-2 coats of chalk paint, waiting about 2 hours in between coats.
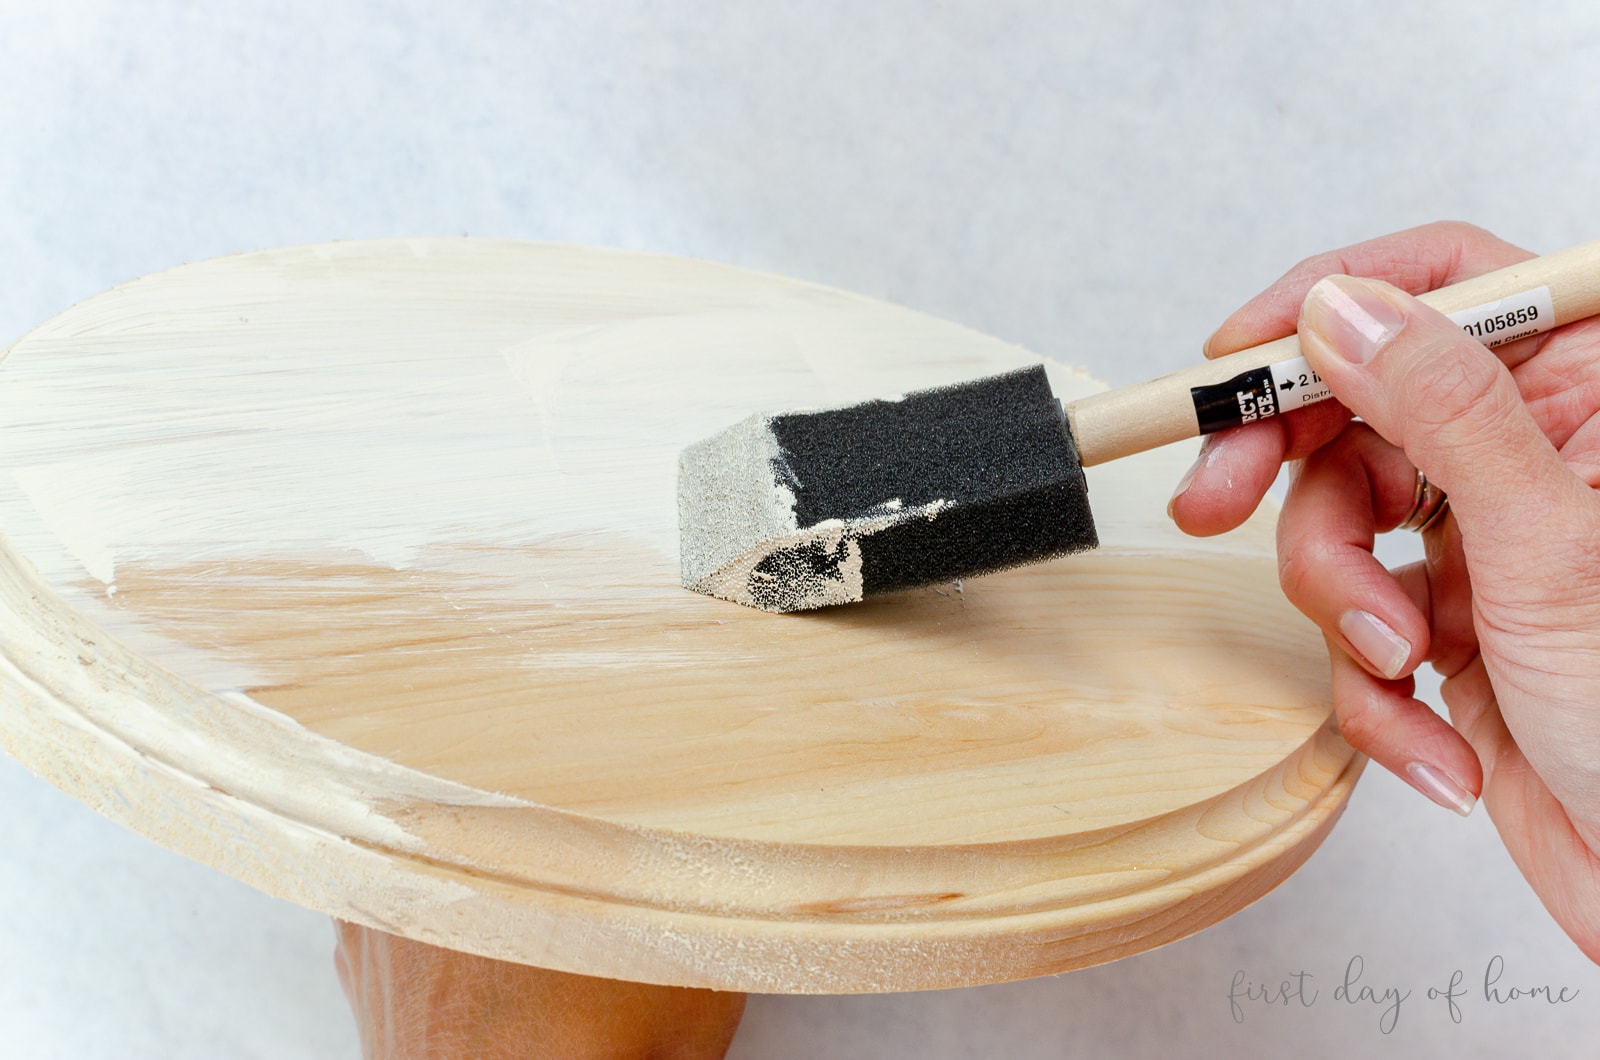
I find that this chalk paint dries very quickly and goes on very thick.
Step 4: Apply clear wax
Now, you’ll notice your DIY cake stand doesn’t have a lot of personality at this stage, which is why I suggest using this clear wax to give it a more antique, vintage look.

Begin by applying a thin coat of wax all over your piece with a wax brush, then wipe away the excess with a lint-free cloth or old cotton t-shirt.
Step 5: Apply dark wax
Before the clear wax dries completely, apply a thin coat of dark wax in the grooves on the curves and edges of your plaque and candleholder using a bristle brush.

The wax will appear very dark at first, but have no fear! After applying the wax, you’re going to wipe away the excess until you only leave a small amount of distressing.

Step 6: Let wax cure
Let your piece rest overnight before buffing it to your desired sheen. To protect the finish, make sure to keep your DIY cake stand free of moisture for 7 days.

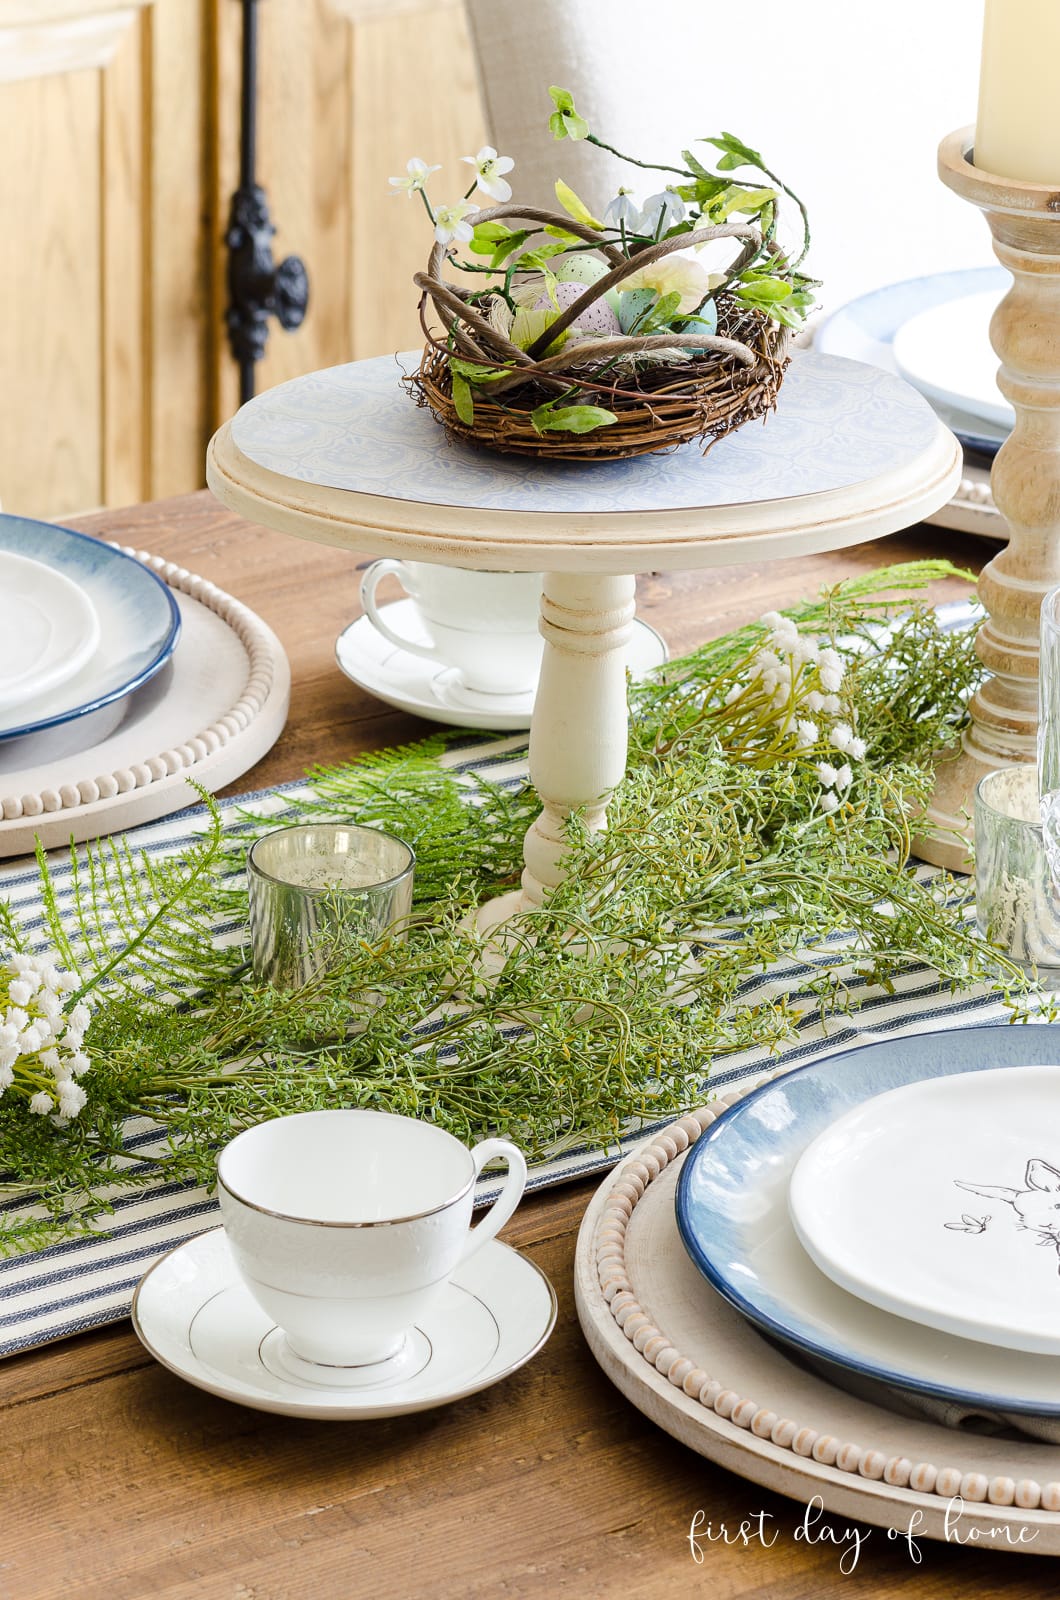
For a little added flair, you can trace the plaque portion of your DIY cake stand onto scrapbook paper and use it as a liner to coordinate with any party theme. (Think bridal showers, baby showers, birthday parties or weddings!)
If you have chalk paint left over after this project, be sure to check out my tutorials on painting terracotta pots and painting glass bottles to use as vases.

Best Plaques and Candle Sticks to Buy
I used an oval plaque in my tutorial just to have a different shape in my repertoire of cake stands. However, you can choose from any of these great options to make your stand. (Click images to shop.)

FAQs
What is the benefit of using chalk paint?
Chalk paint provides a smooth, soft finish and doesn’t require sanding or priming. It has an ultra-matte finish that won’t appear shiny or sticky, which makes it perfect for a wax finish.
What’s the difference between acrylic paint and chalk paint?
Acrylic paint works best for projects requiring blending, highlighting, or stenciling. Chalk paint is popular for furniture refinishing projects because you can easily distress a piece with medium-grit sandpaper without the paint getting stuck in the sandpaper.
Plus, you can achieve a great antiquing effect with chalk paint when using the wax discussed in this tutorial.
Pin it for later!

I hope you enjoy making your own rustic wooden cake stand! Feel free to tag me on Instagram (@firstdayofhome) to show me your beautiful work!
You Might Also Like…
Your tutorial for this DIY cake stand is great, Crissy.. and I love how you share the why’s and how’s, as well. Your cake stand looks lovely! And your pin is great, so I pinned it! 😉
Thank you, my dear friend. I always appreciate you leaving a note and spreading the love. I think there’s only one problem with my cake stand. I need more cake! Ha!