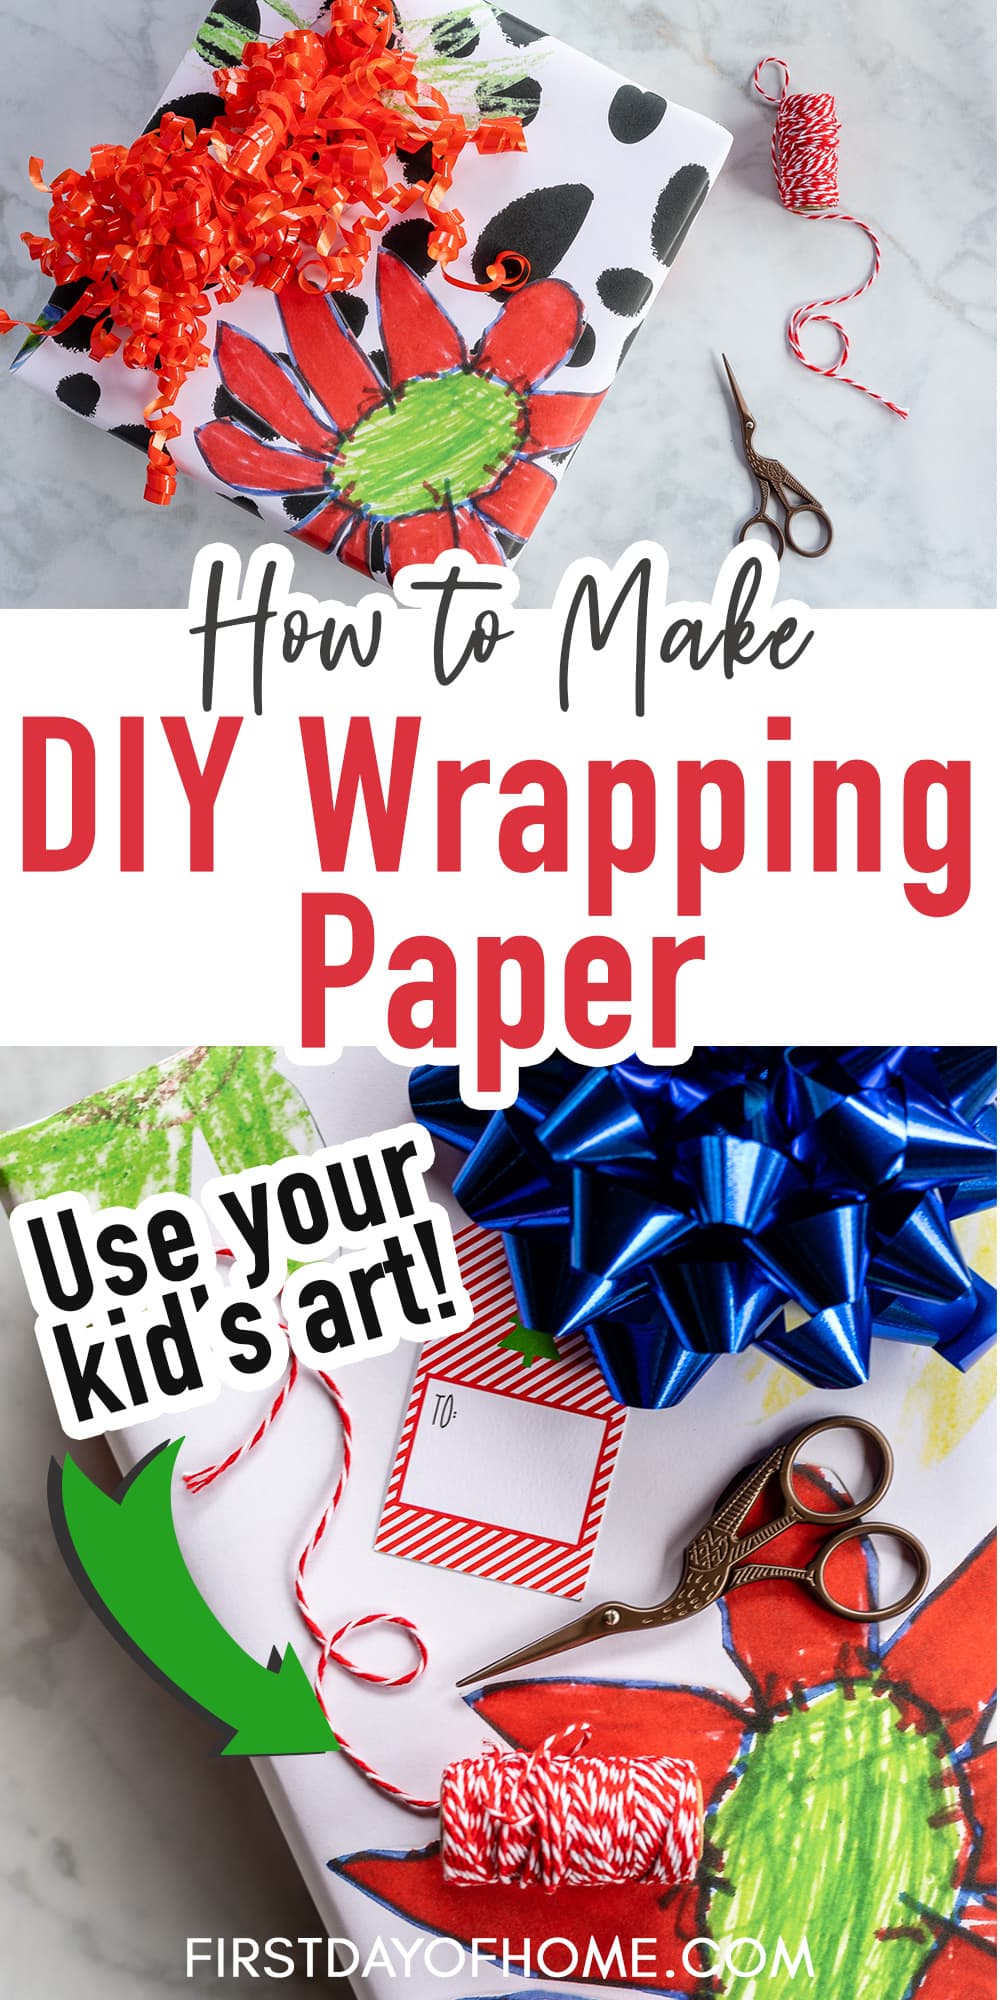
How to Create the Best DIY Wrapping Paper Ever (with Kids Art)!
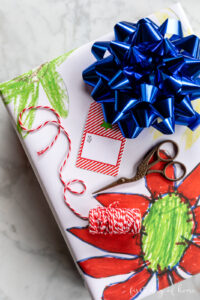
When my kids came home with colorful paper flowers on day, I was struck with an idea: “I should transform their art into DIY wrapping paper!” It’s such an easy project, I don’t know why I didn’t do it sooner. Read on for a step-by-step tutorial to create the best wrapping paper ever!
This post contains affiliate links, and I will be compensated if you make a purchase after clicking on my links. For more information, please see my disclosures.
Creating DIY Wrapping Paper
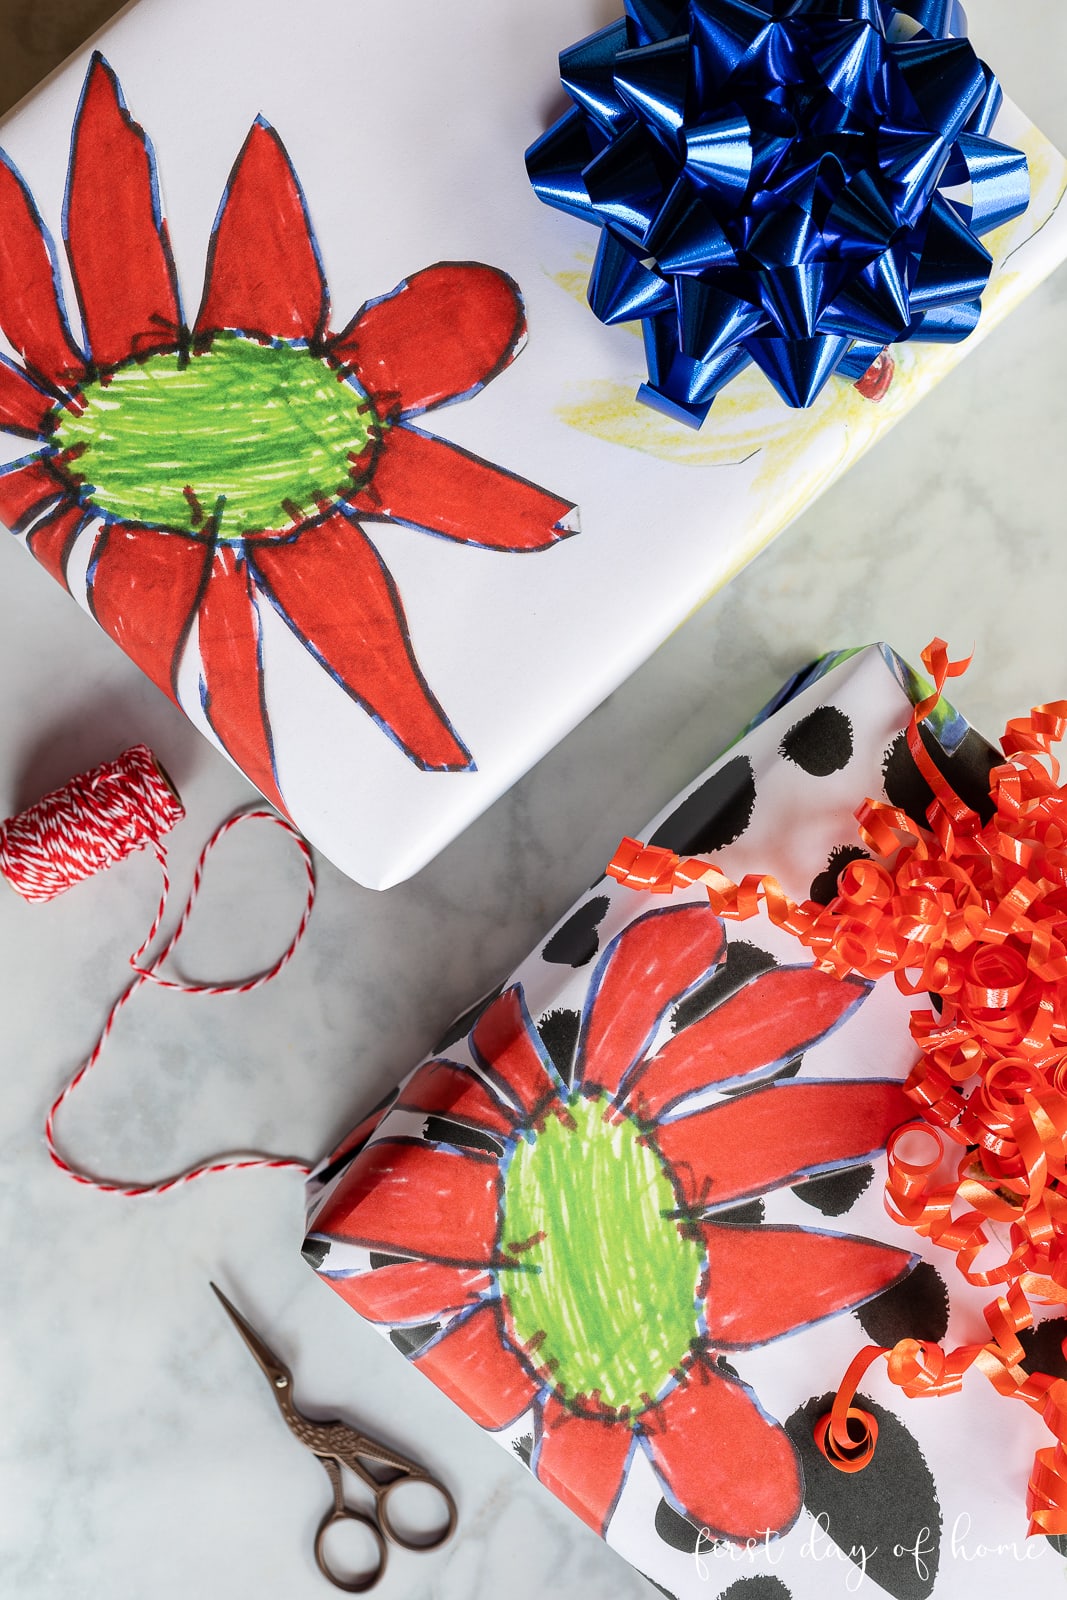
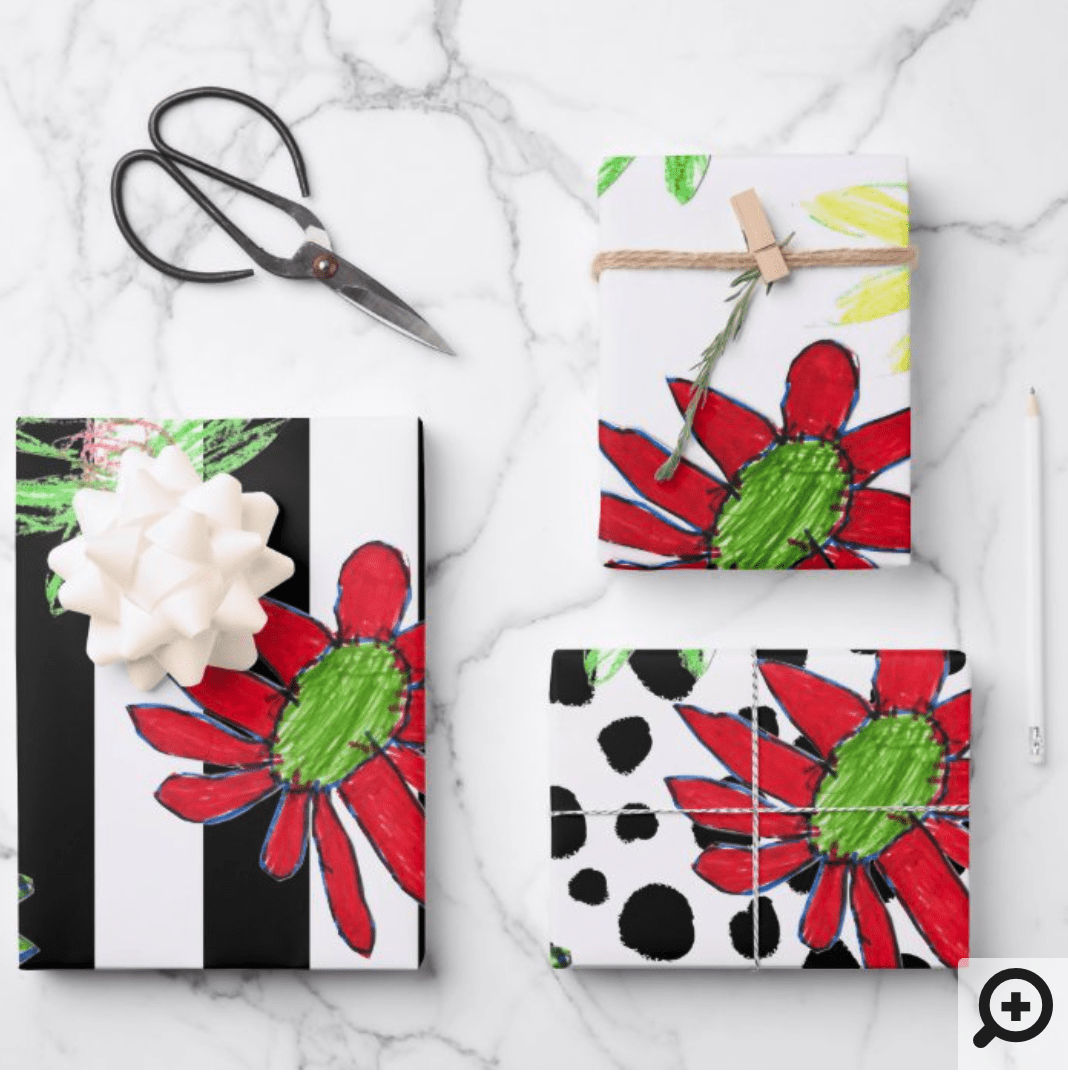
The little paper flowers my boys made completely melted my heart. They were so whimsical and playful, I just felt I had to preserve them. Tell me you know the feeling!
I discovered it’s actually very easy to create wrapping paper with a custom design. The shipping is lightning fast, too.
What You’ll Need
To make DIY wrapping paper, first you’ll need to prepare your artwork by doing any necessary clean up. I do my design work in Lightroom or Photoshop.
The rest is as simple as uploading your file and editing the background, text and pattern.
I highly recommend using Zazzle’s flat sheet set that comes with three customizable sheets. The sheets come printed on a heavyweight (70 lb.) uncoated matte paper or 80-lb. semi-gloss paper.
I scanned my boys’ artwork on my home printer before uploading them to Zazzle. (I love this Epson printer which can send my scanned images directly to the computer.)
You can save your designs for up to 6 months on Zazzle in case you end up wanting to order more. (Which I totally did!)
Notes on Designing Your Custom Wrapping Paper
Once you finalize your design, you’ll want to consider a few more artistic options to bring your artwork to life on paper.
- Do you want to add text? Zazzle has tons of options for adding text to your paper in various fonts and colors. You can even curve your text to get extra fancy!
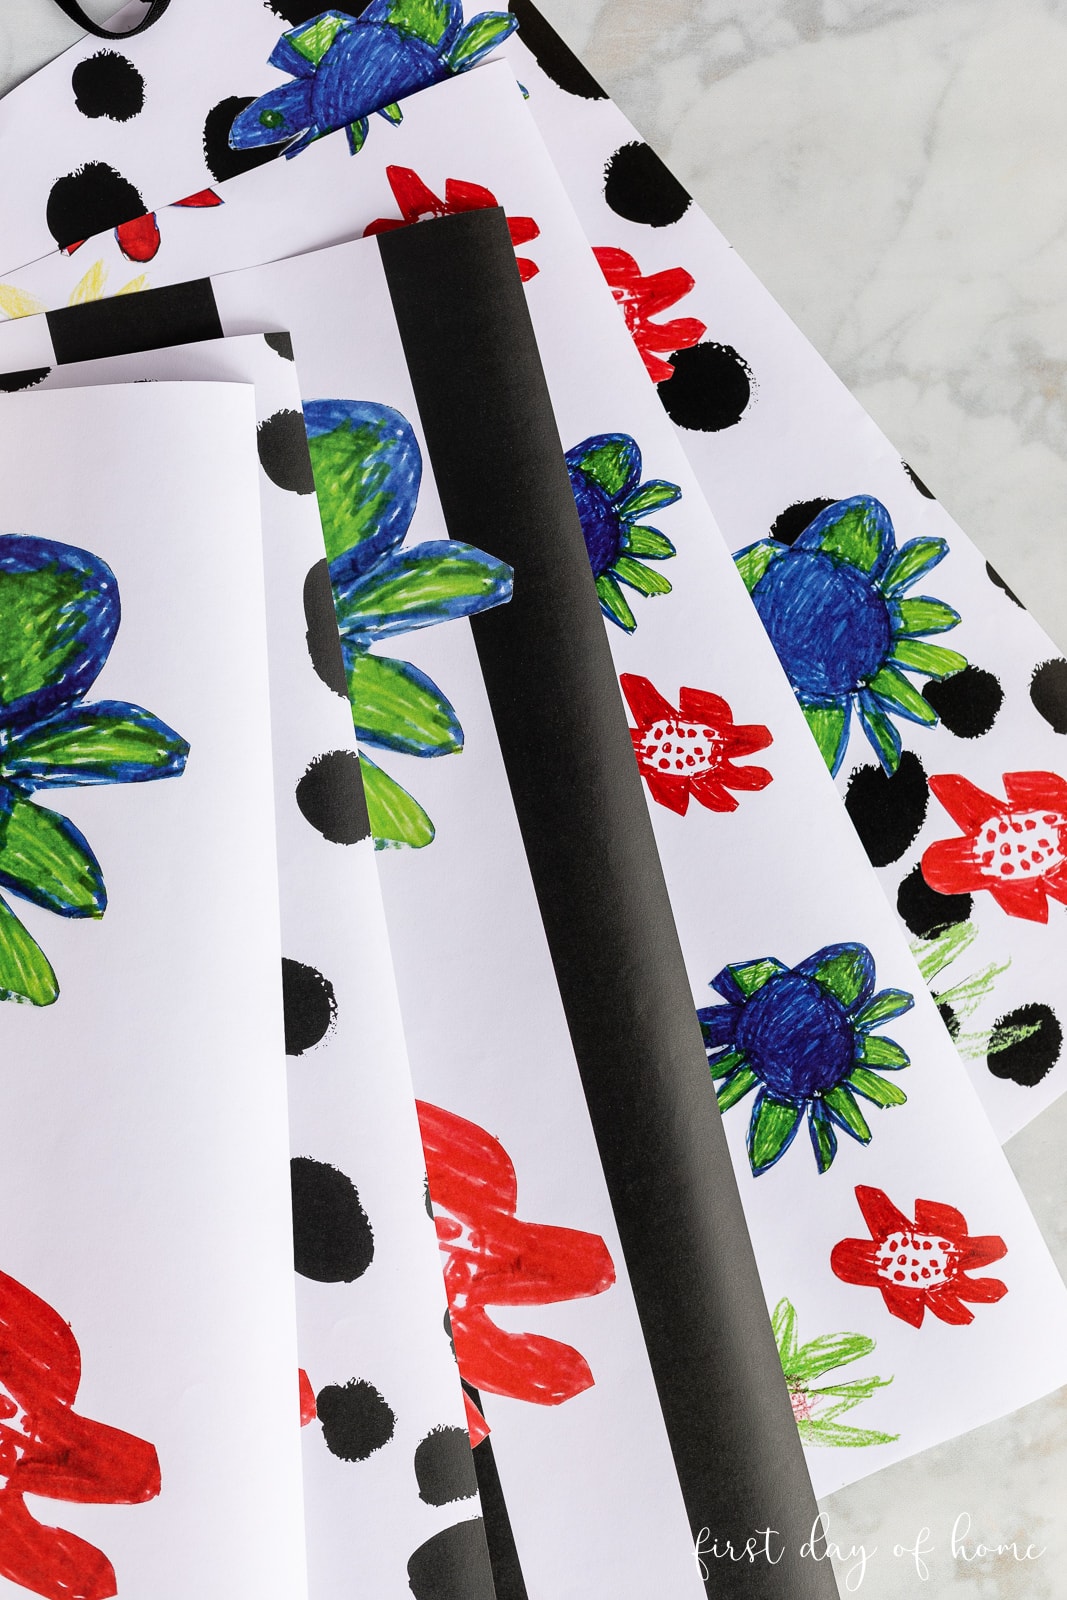
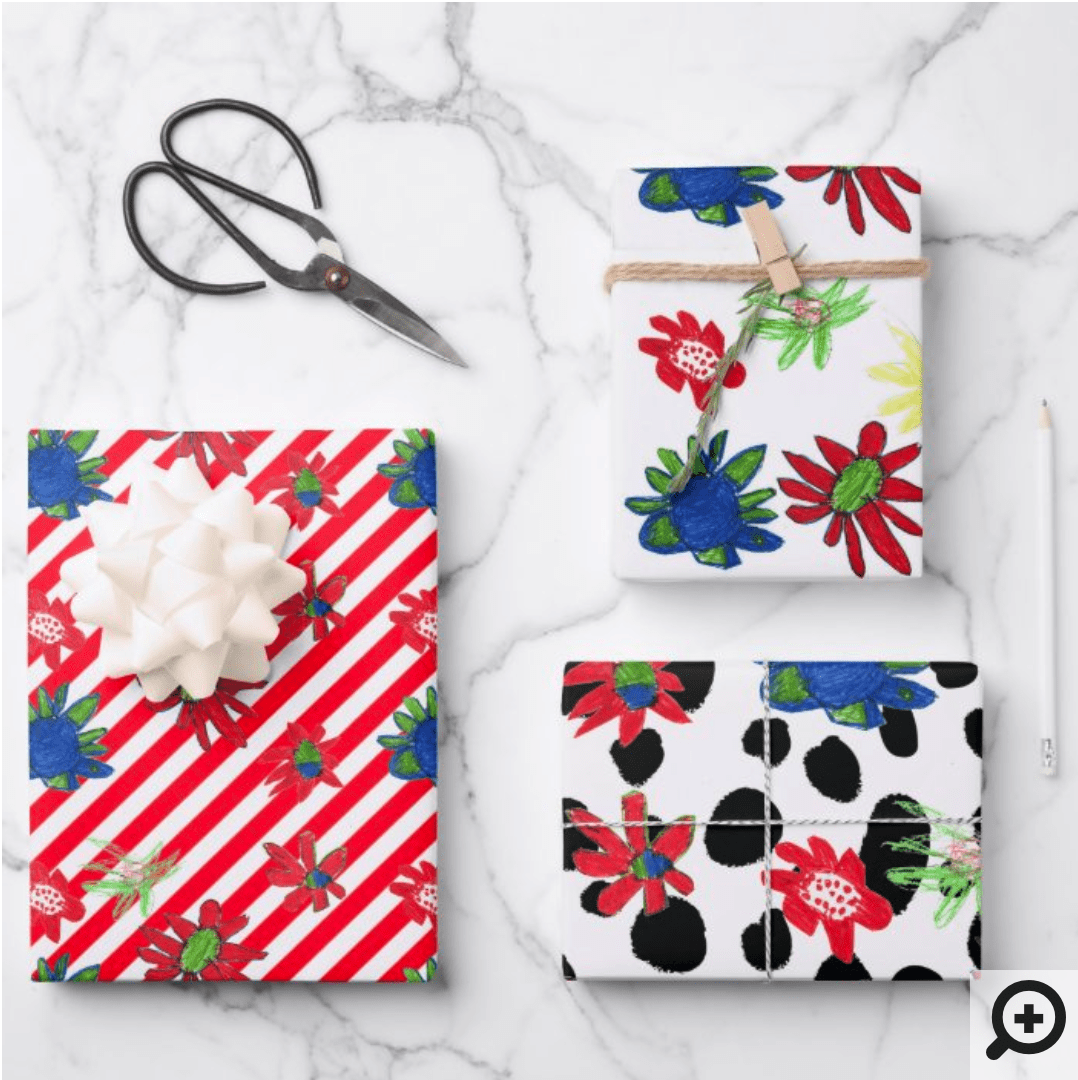
- Do you want a repeating pattern? I experimented with creating a “tiled” pattern for some of my papers versus having a large, non-repeating image. You’ll see a mockup of the finished product as you edit to help you decide.
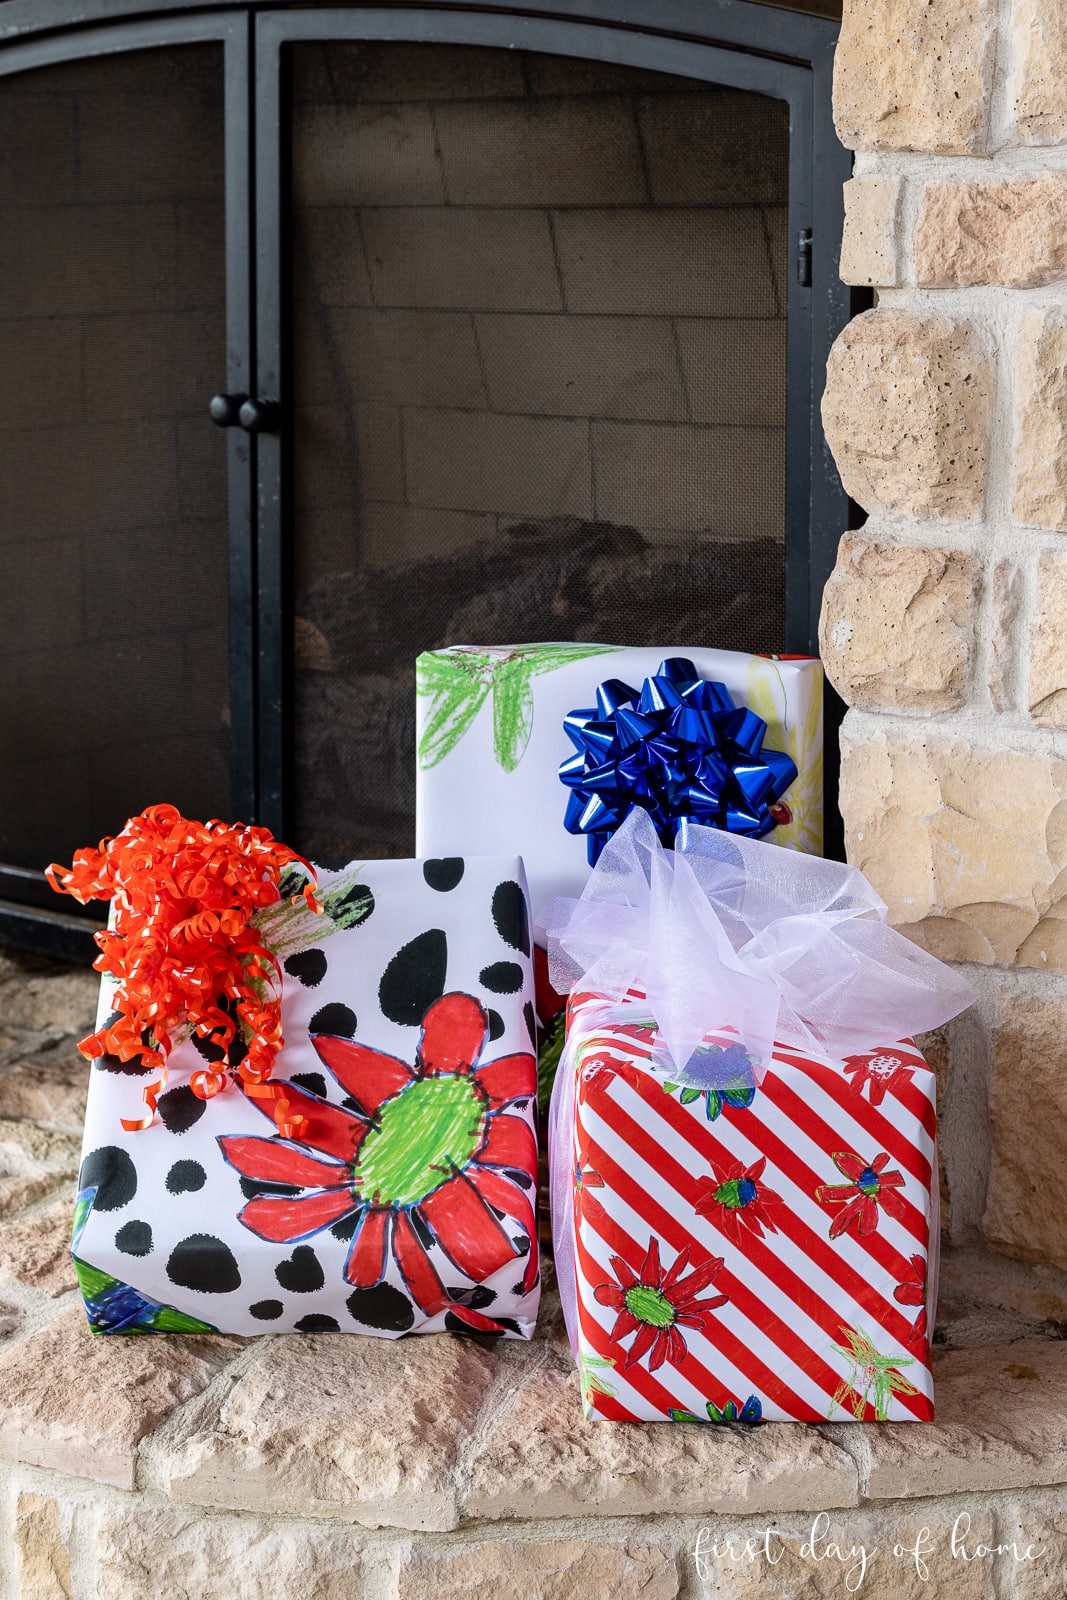
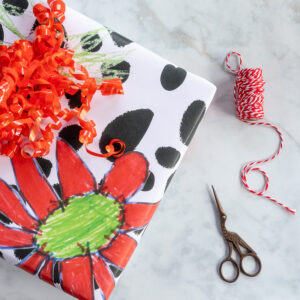
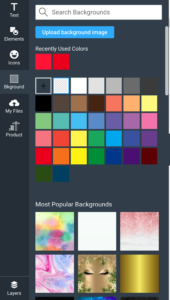
- Do you want a background? This is where I reeeeeally had fun designing my gift wrap! I added a black and white spotted pattern and candy cane stripes to some of my designs.
You Might Also Like
More Custom Paper Options
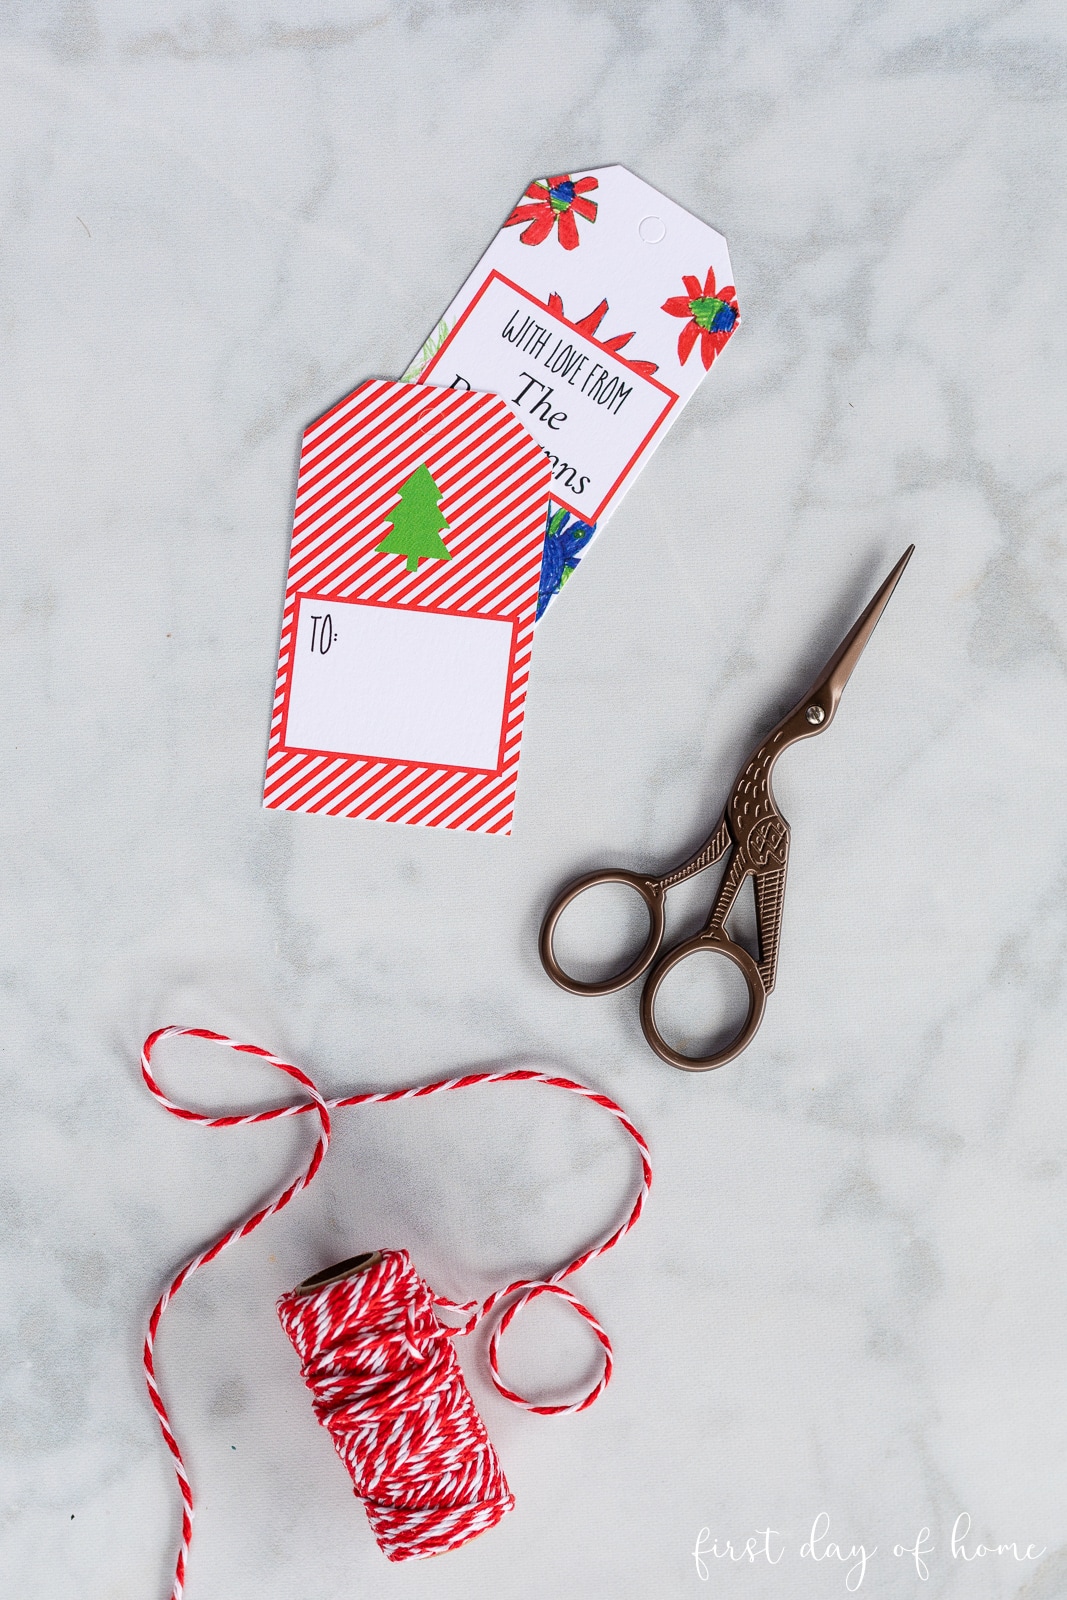
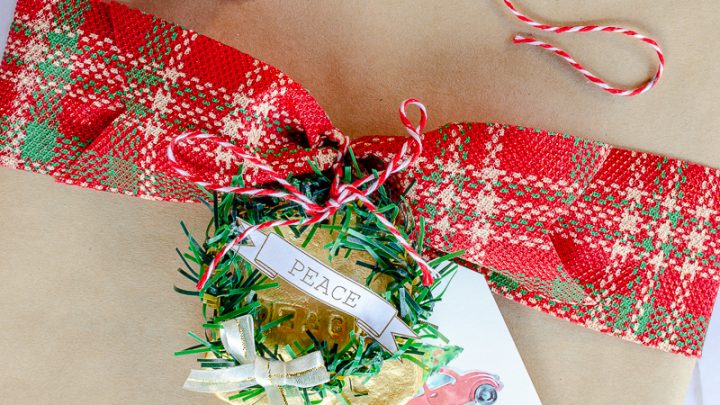
To complement my gift wrap, I decided to order personalized gift tags using the same design. I’m super pleased with the end result!
If you need more help walking through the ordering site, see my detailed instructions below.
Enjoy your gift wrapping!
How to Create DIY Wrapping Paper
Equipment
Supplies
- Photo or design file
Instructions
- Visit this link to begin designing your 3 sheets of wrapping paper.
- Select "add image" to begin uploading your design from your phone or home computer.
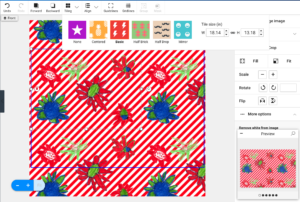
- Resize your image as needed.
- Choose whether you would like to "remove white from image" or not on the far right menu panel. (Note: Removing the white background will allow you to add a separate background pattern if desired.)
- In the far left menu, you can customize your design further by adding text, shapes, icons, or backgrounds.

- If adding text, you can change the font style, color, and curvature of the words. Simply click on the text and make your selections in the far right menu.
- Under the tiling menu at the top, you can select whether you would like the pattern to repeat or not. The same is true for any added text.

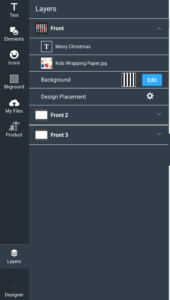
- To toggle between the 3 sheets of wrapping paper, select the "Layers" view in the far left menu panel.
- Preview and order your gift wrapping. Enjoy!

Notes
More Christmas Crafts and Projects
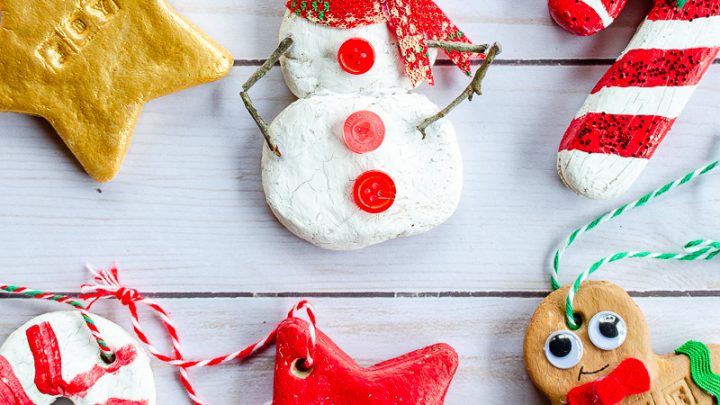
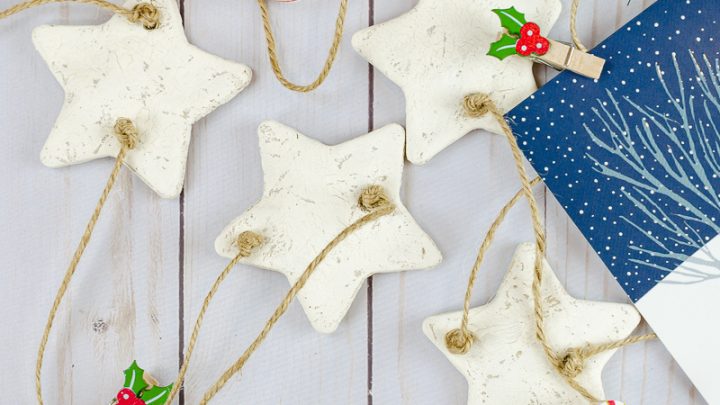
How to Make Salt Dough Ornaments with Your Kids
Make memories with the kids using this simple 3-ingredient salt dough recipe.
Printable Christmas Gift Tags to Download for Free
Grab these free printable gift tags to decorate your gifts!
How to Make a Farmhouse DIY Christmas Card Holder
Display your Christmas cards in style with this DIY card holder.
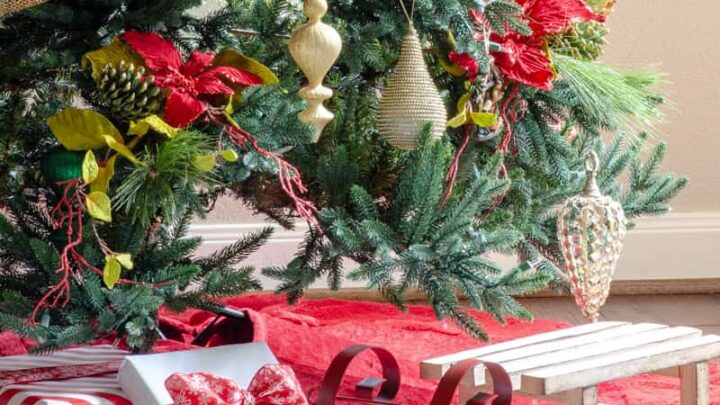
Red and Gold Christmas Tree Decoration Ideas
Decorate your home for the holidays with classic red and gold decor.