How to Make a Handprint Ornament
I truly regret not making a handprint ornament when my boys were little. (Cue the tears!) If you have a baby in your life, you’ll want to make one of these while you still can. It’s a keepsake everyone will cherish for years to come, and I’m going to give you all the steps to do it yourself.
This post contains affiliate links, and I will be compensated if you make a purchase after clicking on my links. For more information, please see my disclosures.
Easy Handprint Ornament Craft
Though I missed the window to create a handprint ornament with my own kids, I’m blessed to have a new generation in the extended family. My great-niece was kind enough to be my hand model for this craft. (I loved having a chance to spend time with her too!)
Making handprint ornaments doesn’t require a lot of skill, but you might need a little patience. The younger the child, the more attempts you might need to make. Toddlers will have an easier time than infants, obviously.
The good news is that you can always roll up your dough and start again if necessary. I promise you’ll have fun along the way because is there anything cuter than tiny hand imprints?
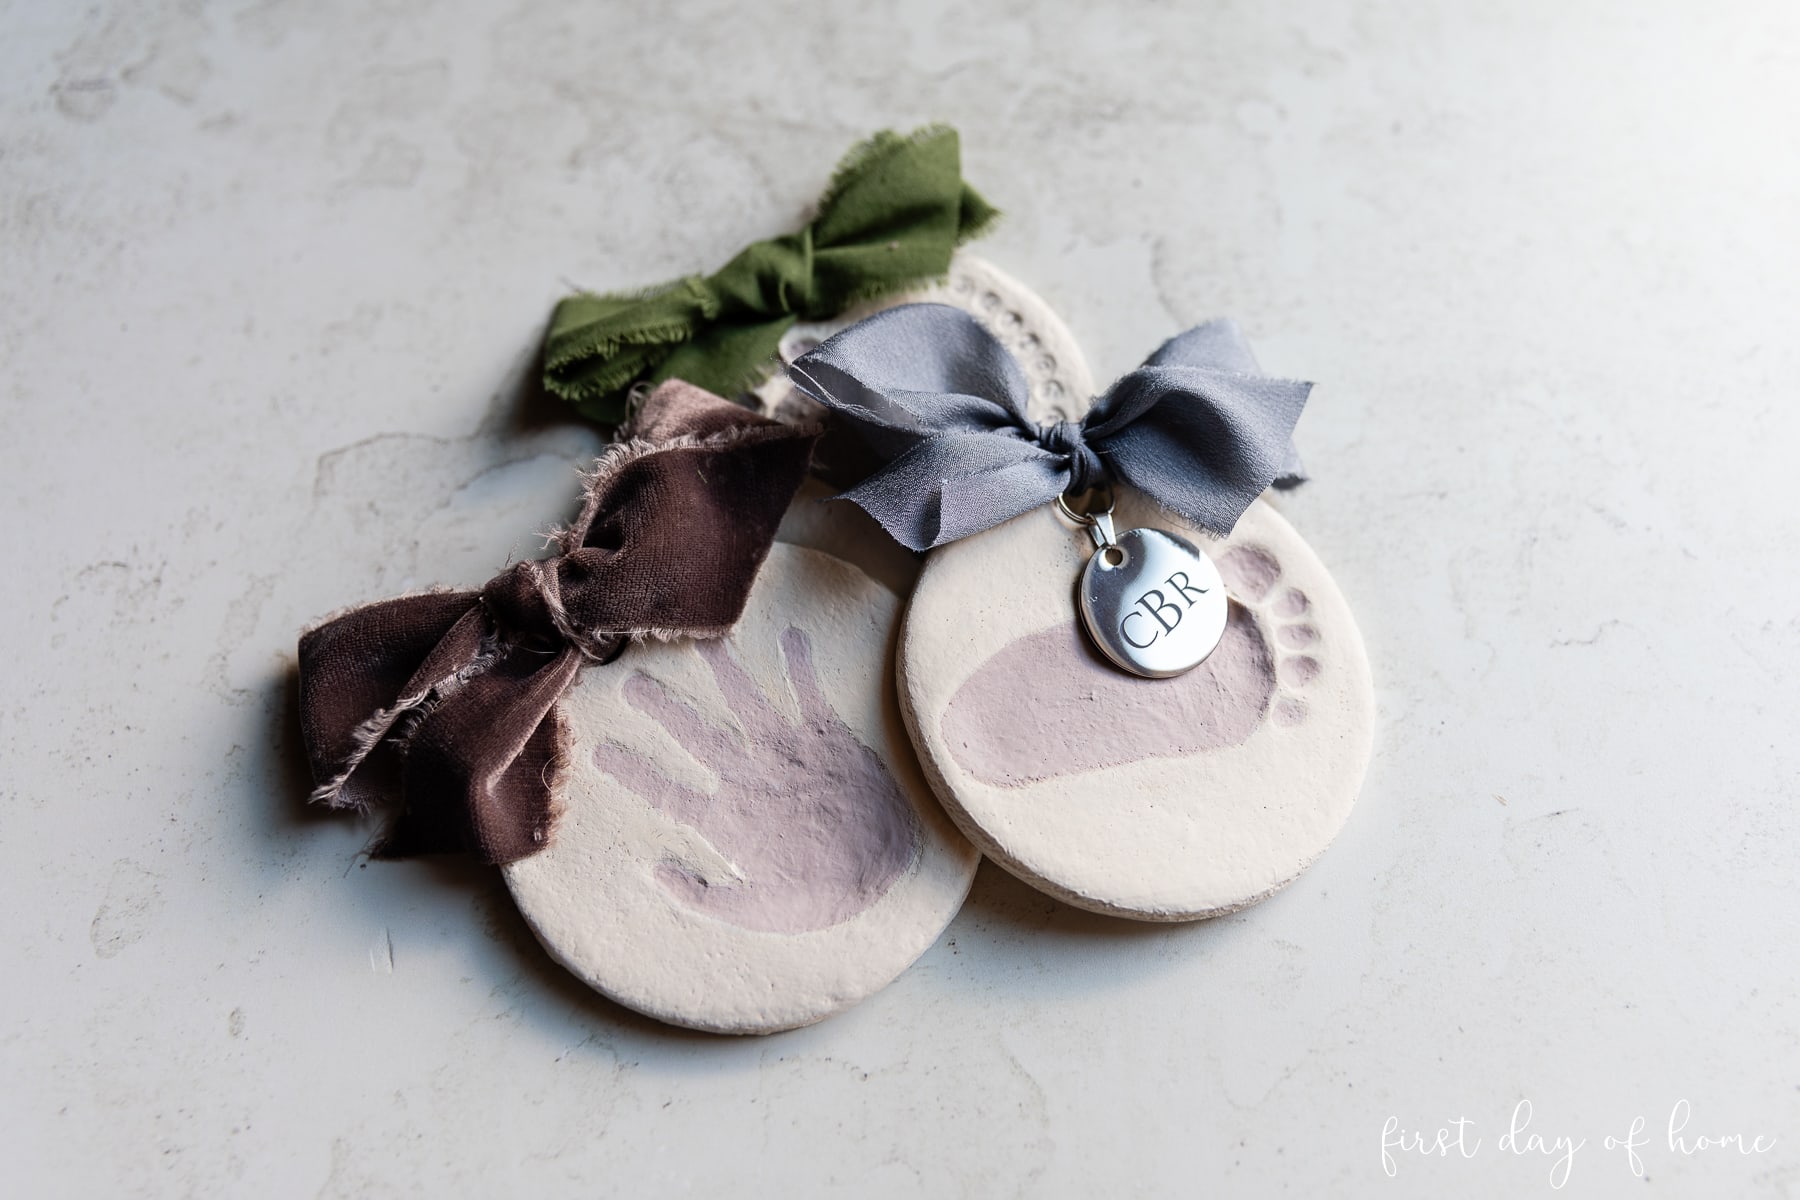
Okay, maybe tiny footprints are just as cute. That’s why we made a few ornaments with both her hands and feet. Feet are much easier to stamp, for some reason!
Supplies
- Salt dough or clay of your choice
- Rolling pin
- Cookie cutter (4-inch diameter)
- Straw
- Parchment paper
- Acrylic paint
- Paint brushes
- Ribbon, string, or twine
- Mod Podge sealer (optional)
Air dry clay vs. salt dough
Salt dough is most commonly used for making handprint ornaments. Feel free to try other clay options like Crayola air-dry clay instead. However, I’ve found that using an air-dry clay like Das may not give you the same results. The clay is too firm and dense to get a good imprint with a small child’s hand.
Step 1: Prepare the salt dough recipe
Making salt dough is a cinch. The only ingredients you’ll need are flour, salt, and water. It doesn’t get easier than that!
Salt Dough Ingredients
- 2 cups all-purpose flour
- 1 cup salt
- 3/4 cup water (lukewarm)
Simply combine the above ingredients in a mixing bowl and add more water if the dough is too dry or more flour if the dough is too sticky. Be sure to monitor children and pets because salt dough is NOT edible.
SALT DOUGH Tips
- Avoid using self-rising flour since it may cause puffiness in your ornaments.
- Kosher salt may cause salt dough to have a coarse, rough texture. Table salt will provide the smoothest texture.
- You can store salt dough in the refrigerator for 1-2 days. Just wrap it in plastic and place it in a food storage back or sealed container.
We made a small batch recipe for this craft by dividing the ingredients in half. You can decide whether you need additional ornaments to give as gifts. Our half recipe made about eight ornaments measuring 4 inches each, so the full recipe would make about 16 ornaments.
Step 2: Roll out the salt dough
Place the dough on a flat surface and begin rolling it out. You’ll want the dough to be around 1/4-inch to 3/8-inch thick.
Step 3: Add the handprints and holes
Gently press the child’s hand into the dough, spreading the fingers out. It may take a few attempts to get this step right. We found that after a few tries, this 4-month-old girl was becoming a pro! It helped to lean her over the dough to get the right position.

Step 4: Cut out ornament shapes
After you’ve created the handprint or footprint, you can cut out the ornament shape with a cookie cutter. A 4-inch circle worked best to capture the entire hand shape.
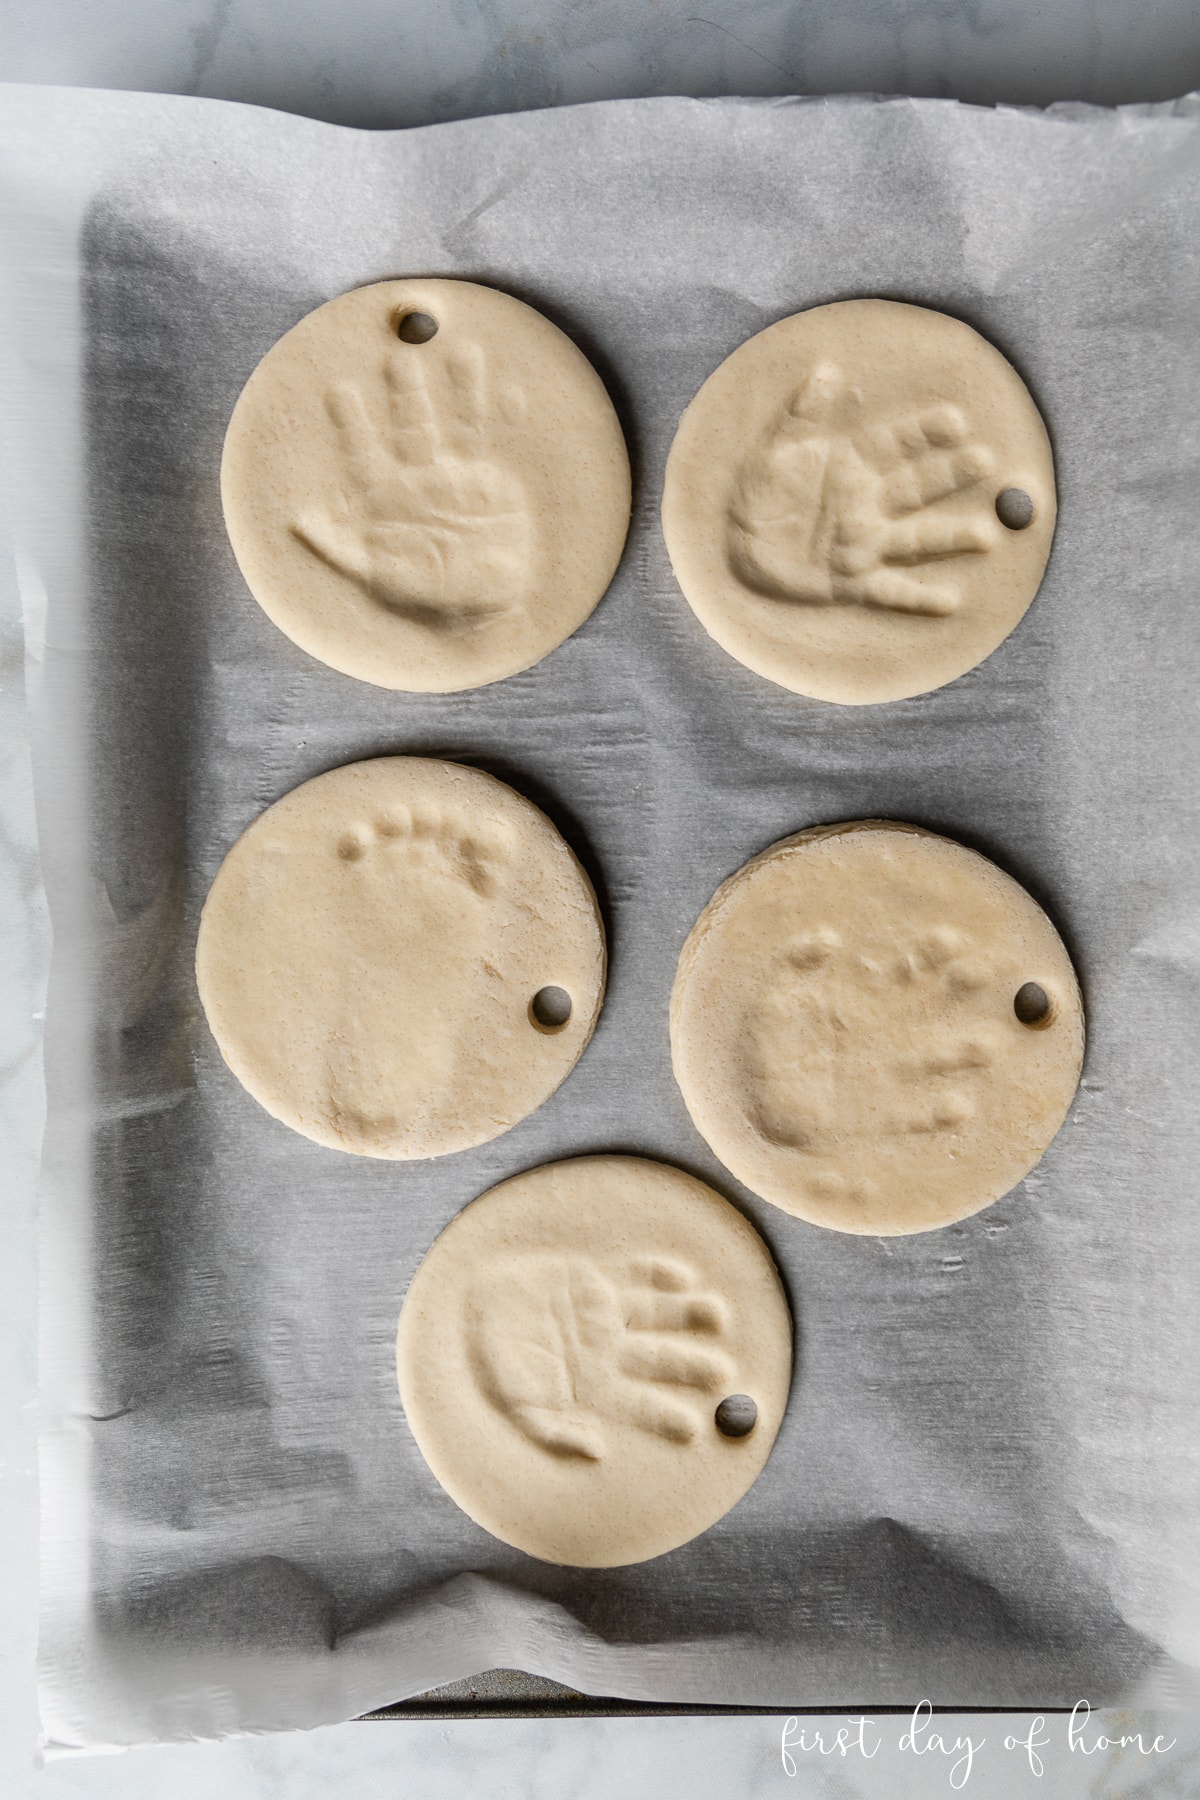
Be sure to add a hole to hang your ornaments. I used a large smoothie straw to make holes large enough for my ribbon. A regular drinking straw might work if you’re planning to use string or twine.
Air dry or bake the ornaments
With salt dough, you always have the option to bake the ornaments or let them air dry. I prefer to let the ornaments air dry to preserve the handprint. In my experience, salt dough ornaments will sometimes puff up in the oven.
If you’re short on time, you can always bake them at 250°F for 1.5 to 2 hours. It took my ornaments about 4 days to dry naturally. I also flipped them over each day to help them dry fully on both sides.
Step 5: Paint the handprint ornament
Since it’s difficult to see small impressions in the ornaments, I like to paint the handprint or footprint to add more contrast.

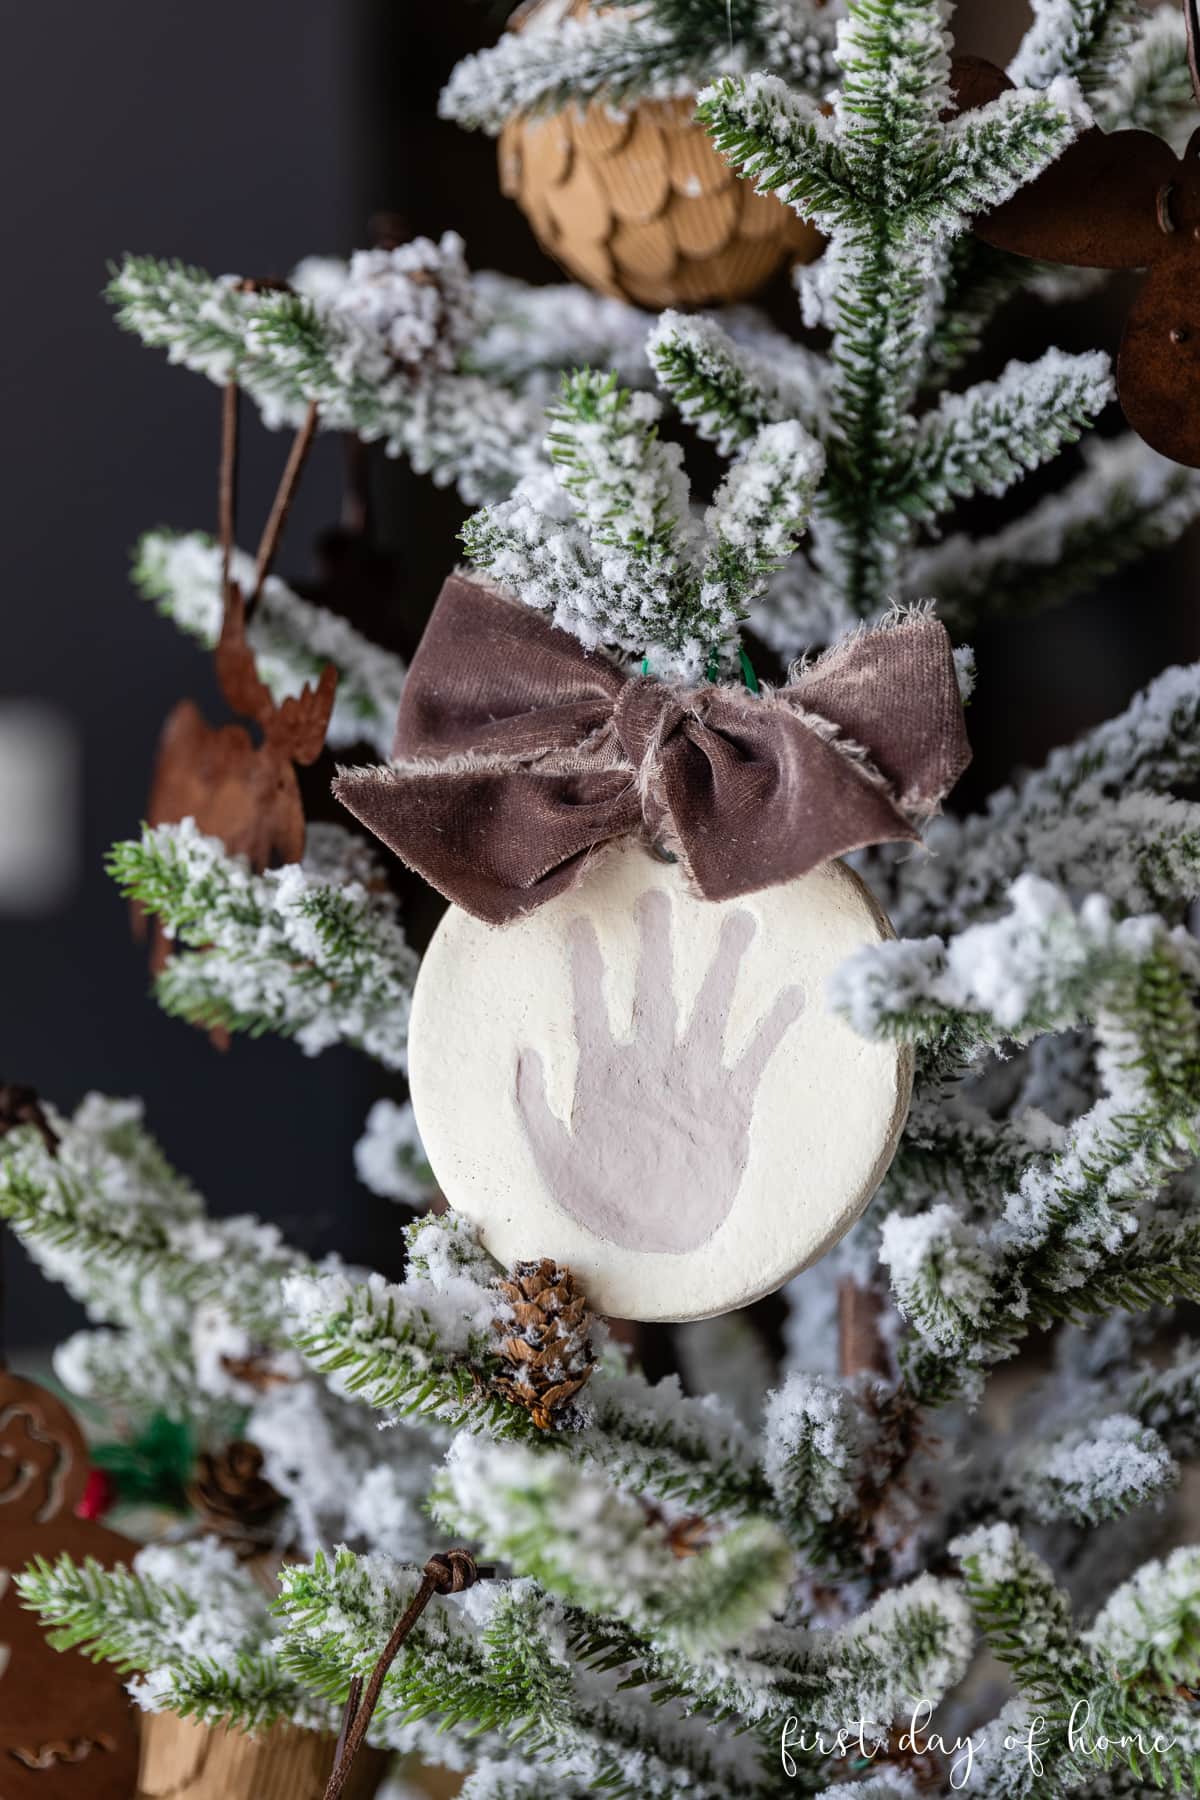
You can use plain acrylic paint for this step. I combined white, brown, and black paint to achieve a neutral tan color. Then I painted the remainder of the ornament with this off-white paint, which is my favorite for a creamy tone.
If you find that the edges are rough, try sanding the ornament with fine-grit sandpaper.

You can also seal the ornaments for extra durability or a glossy finish. I recommend using Mod Podge Matte or an acrylic spray. I’m leaving mine unsealed, but I still expect the ornaments to last many years since salt acts as a preservative.
Step 6: Add ribbon or decorative twine
The last step is decorating your ornaments. I added a few different ribbons with satin and velvet textures.

Our original plan was to imprint the baby’s name on the ornaments, but I couldn’t find stamps that made a clear imprint. Instead, I decided to engrave a monogram on a metal pendant using my xTool laser engraving machine. It’s a great way to remember baby’s first Christmas.

I love the way this salt dough handprint ornament looks on our mini Christmas tree. You could also use these ornaments as gift tags for family. Everyone will melt when they see these tiny fingers and toes preserved for years to come.
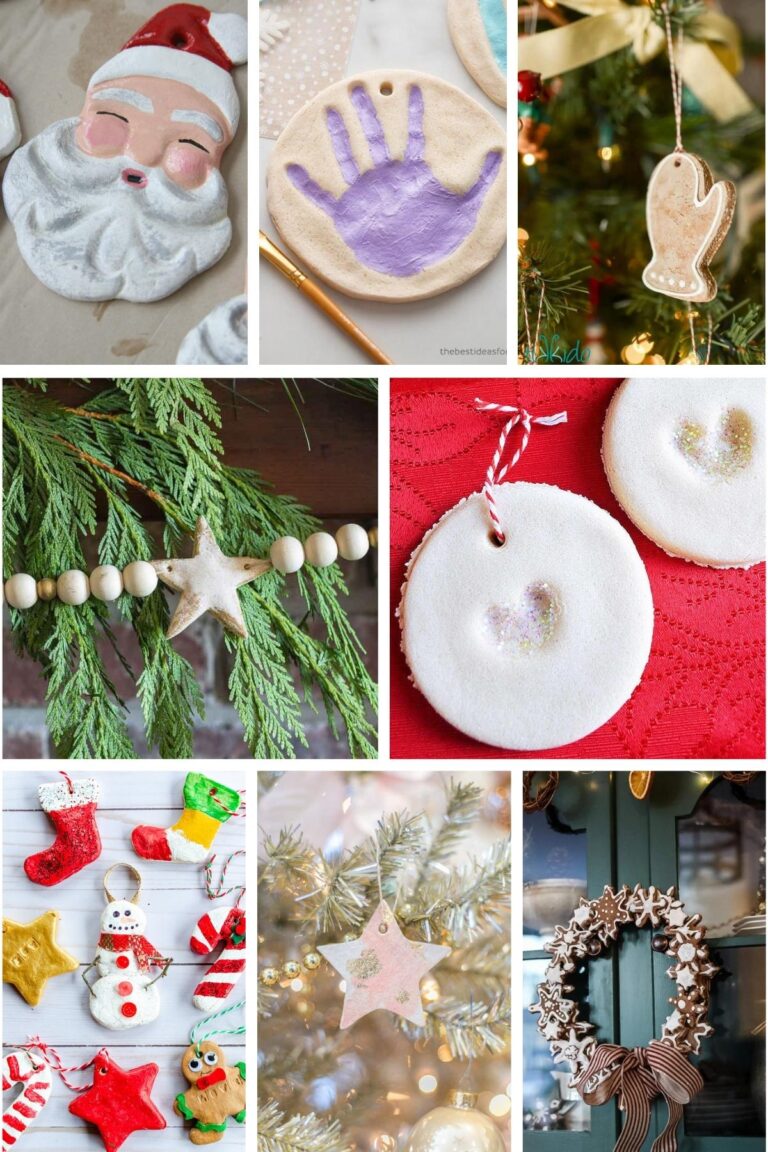
More Salt Dough Ideas
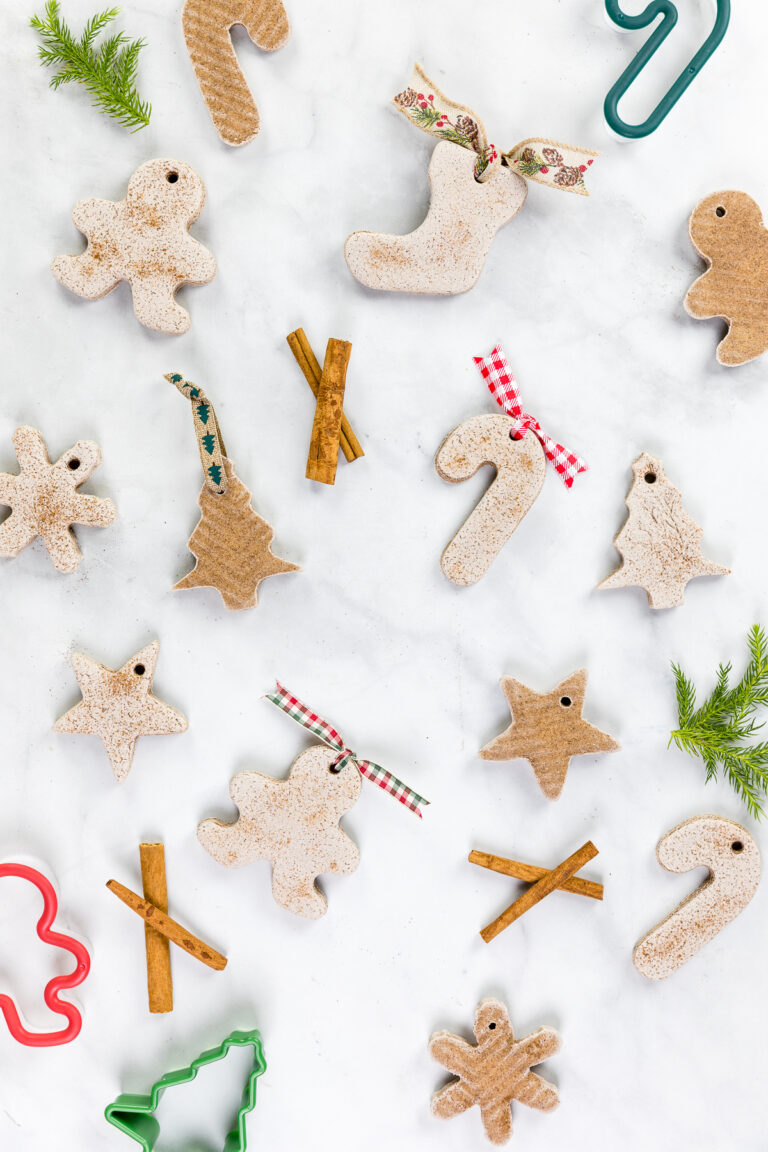
If you want to know the history and background of salt dough, you can head over to my easy salt dough ornaments post. You’ll find more ideas for decorating salt dough ornaments with paint, glitter, fabric, and other embellishments in that post. It’s a great Christmas craft for older kids.

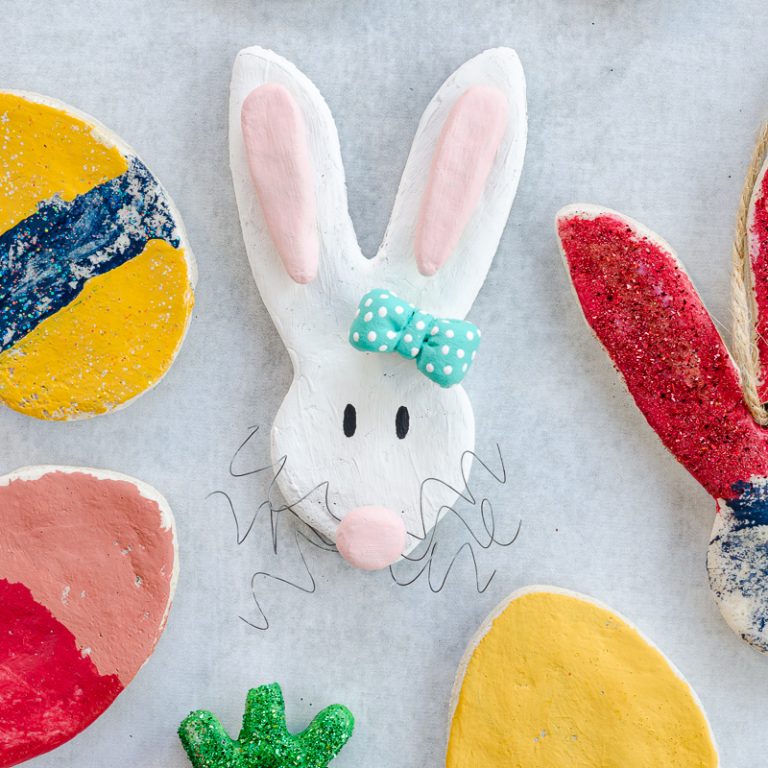
You can also visit my collection of salt dough crafts with plenty of inspiration for keepsakes, gifts, and decor with salt dough.
Common Questions
How long do salt dough ornaments last?
Salt dough ornaments can last many years if not decades! The salt acts as a preservative to prevent decay. You can store your ornaments wrapped in tissue paper and a sealed container when not on display.
Do I need to seal the ornaments?
You do not need to seal the ornaments unless you want extra protection for the paint or decorations. If you prefer a glossy look, you can also choose a spray or sealer with a shiny finish.
Can I make salt dough ahead of time?
Yes, you can store salt dough in the fridge for 1-2 days. Wrap it tightly in plastic wrap and place it in a ziplock or sealed container until you’re ready to use it.
Pin it for later!

These are so adorable, Crissy. And I love the idea of painting them to make the print show better! So pretty! Pinned!
Thanks so much, Julie! We had a great time making these. I hope others will make some memories with them too.