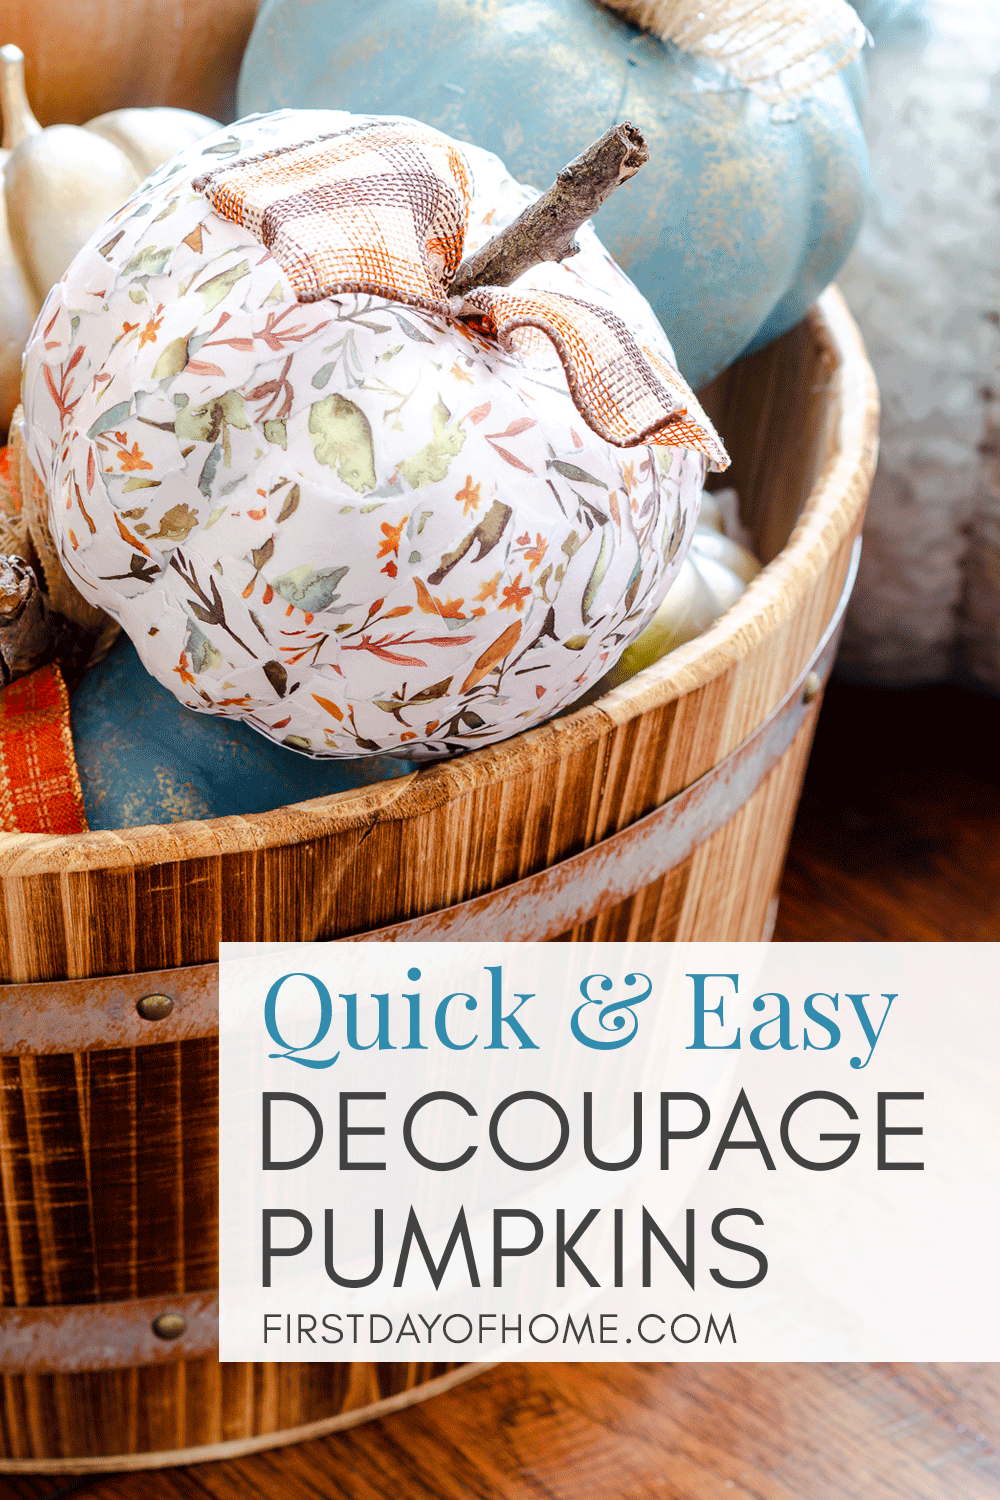
How to Make Easy Decoupage Pumpkins
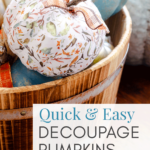

If you’ve followed my blog for a while, you know how much I love a good decoupage craft! My easy decoupage pumpkins quickly became a fan favorite, so I’ve expanded on the tutorial this year!

This post contains affiliate links, and I will be compensated if you make a purchase after clicking on my links. For more information, please see my disclosures.
How do you decoupage pumpkins?
You’ll find a wide range of decoupage tutorials when it comes to pumpkin decorating!
I shared this technique in a recent fall decor YouTube video, which you can view below.

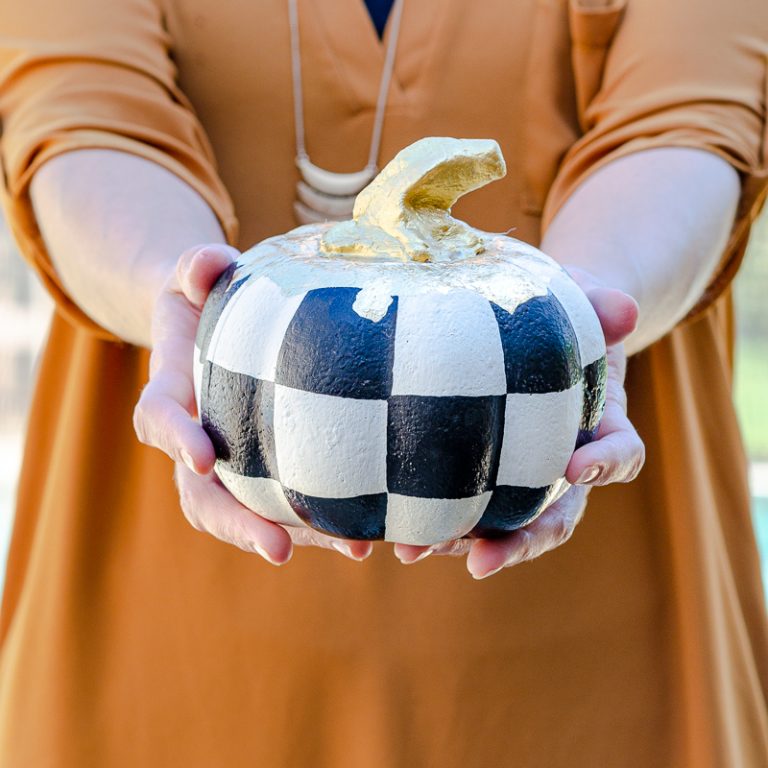
You have the option to use fabric, tissue paper, scrapbook paper (as seen here), or napkins. If you can shape it around a pumpkin…you can decoupage it!
Are you new to Mod Podge crafts? Try starting with the beginner’s guides below to read more about the origins of this craft.
Just don’t blame me when you find yourself wanting to Mod Podge everything in sight! (wink)
Supplies for Decoupage Pumpkins
You’ll need only a few ingredients to make these adorable pumpkins. As always, feel free to add other adornments, like ribbon, beads or raffia, if desired.
- Foam pumpkins (from dollar store)
- Seasonal scrapbook paper
- Acrylic paint
- Mod Podge
- Paint brushes
- Stems for pumpkins
Tip: You can save real pumpkin stems to use for DIY crafts the following year!
Step 1: Apply a base coat of paint
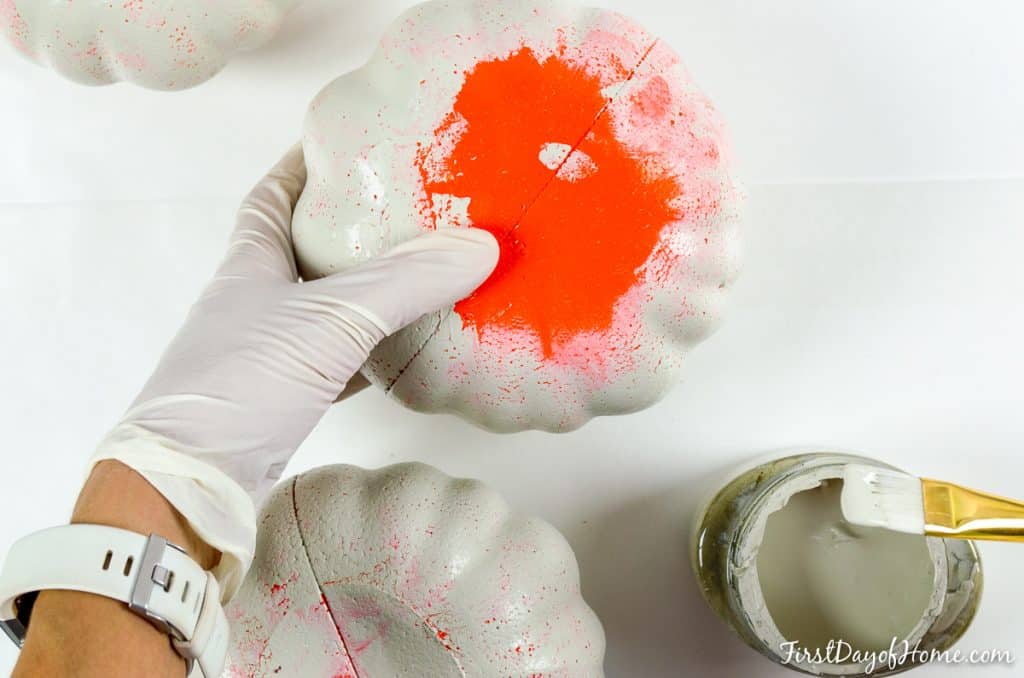
Before applying the first layer of Mod Podge, remove the foam stems of the pumpkin and coat the pumpkin in 1-2 layers of paint.
I have a strong preference for using chalk paint for this purpose. You can see the difference between chalk (ultra-matte) paint vs. regular acrylic in my post on painted terracotta pots.
Step 2: Tear the scrapbook paper into small pieces
Create small strips of paper that will easily bend and curve around the pumpkin form. The thicker the scrapbook paper, the smaller you will want your strips for the decoupage pumpkin.
For another great example of this technique, check out my post on decoupage Easter eggs. (Hint: You can also pin it for later.)
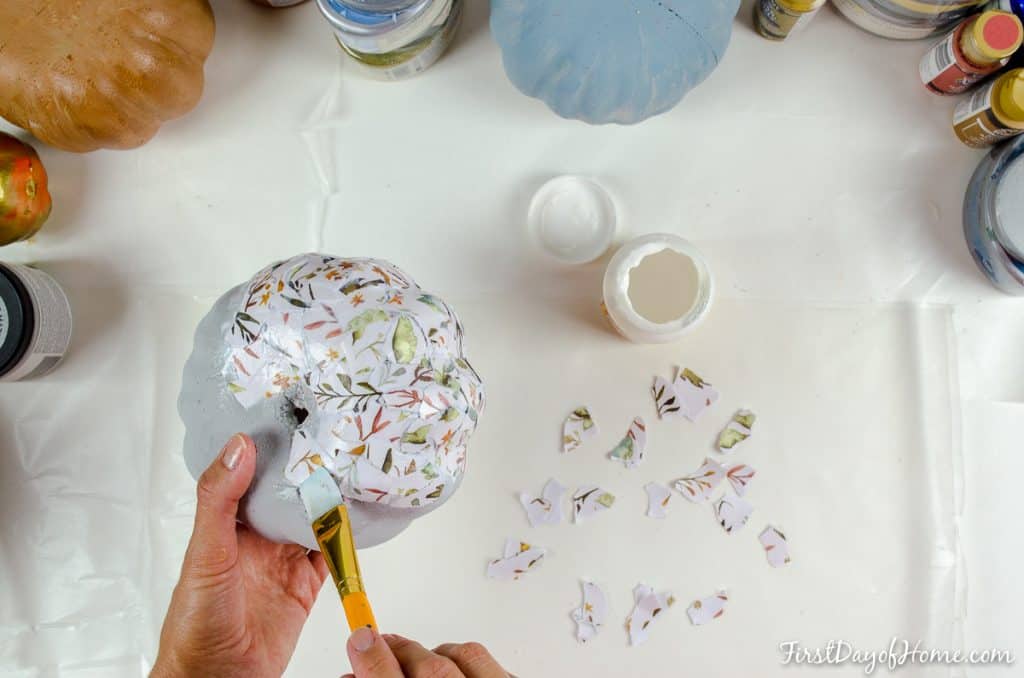
Step 3: Apply glue to pumpkin, then seal
Apply Mod Podge to a small section of the painted pumpkin, and place strips of paper to cover. Make sure you slightly overlap the strips to get full coverage.
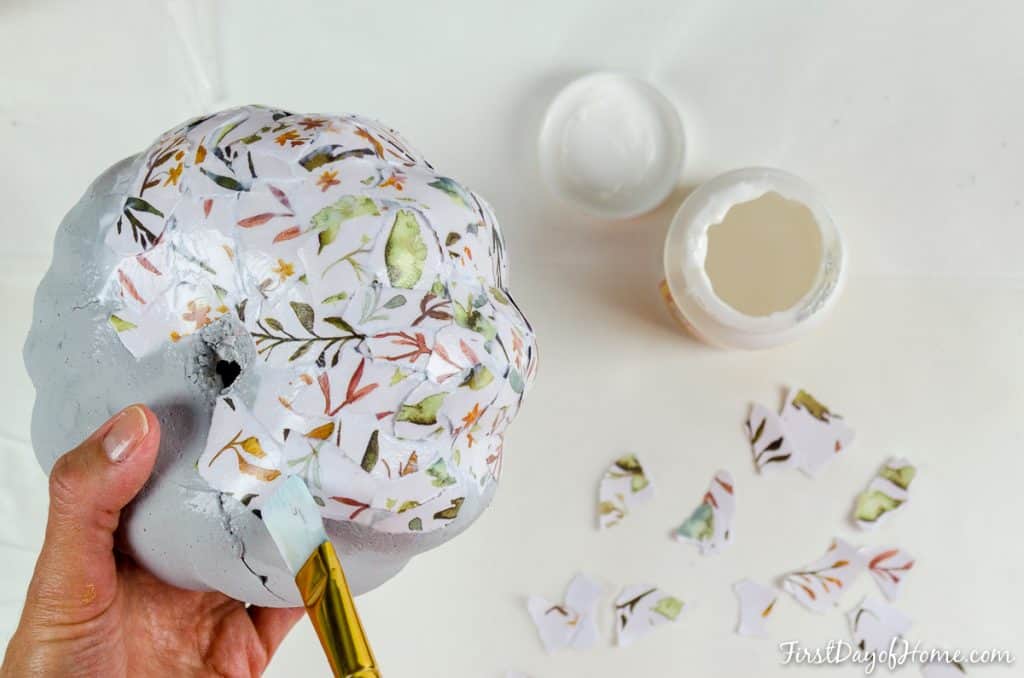
Continue to decoupage until you have covered half of the pumpkin. Then, allow the pumpkin to dry about 20 minutes before continuing to decoupage the rest. This helps prevent your fingertips from sticking to the paper.
After placing all the strips, wait about 20 minutes for the glue to dry. Then, apply Mod Podge as a top coat to seal the strips in place. For a sparkly finish, you can use Mod Podge Sparkle.
Tip: Use plastic wrap to press the paper strips onto the pumpkins and prevent your fingers from getting stuck.
Step 4: Insert stems and add ribbon (optional)
Using real pumpkin stems gives the best effect if you have them! You can dry them in the oven (200 degrees Fahrenheit or so) or let them air dry.
If you plan to use stems from trees as I did, you can similarly bake them in the oven to dry them out and kill any bugs that came along.
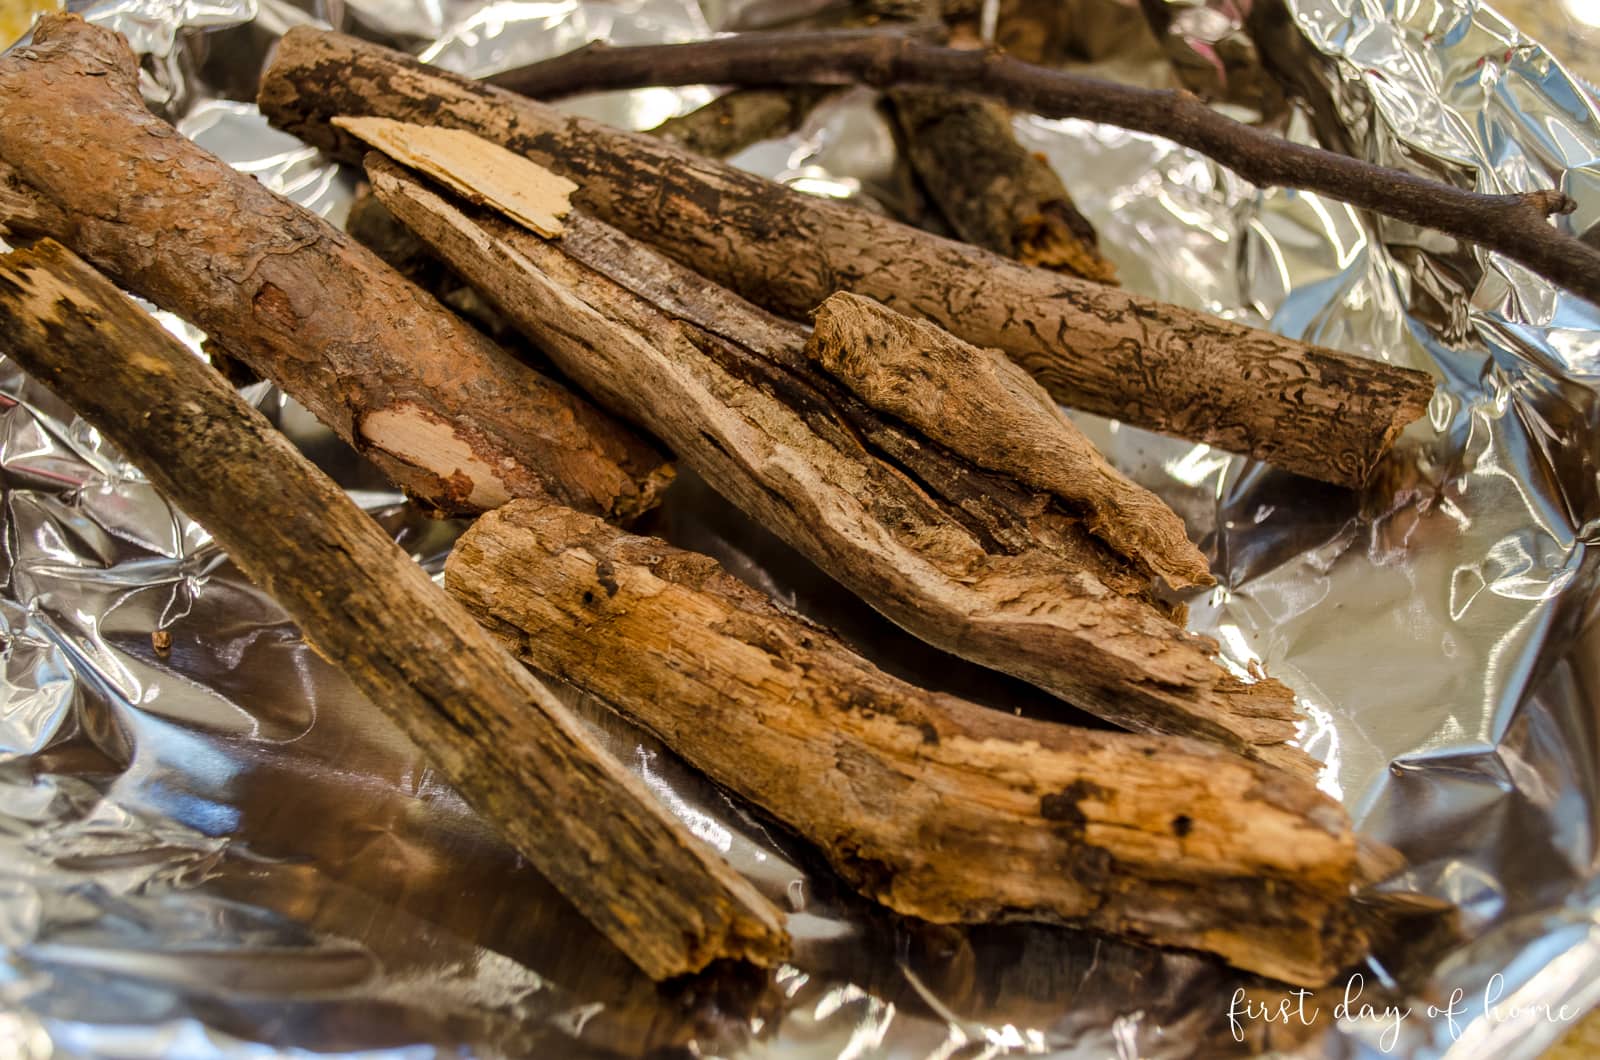
Then, insert your stems carefully into the hole at the top of your pumpkin. You can use hot glue to secure them in place if needed.
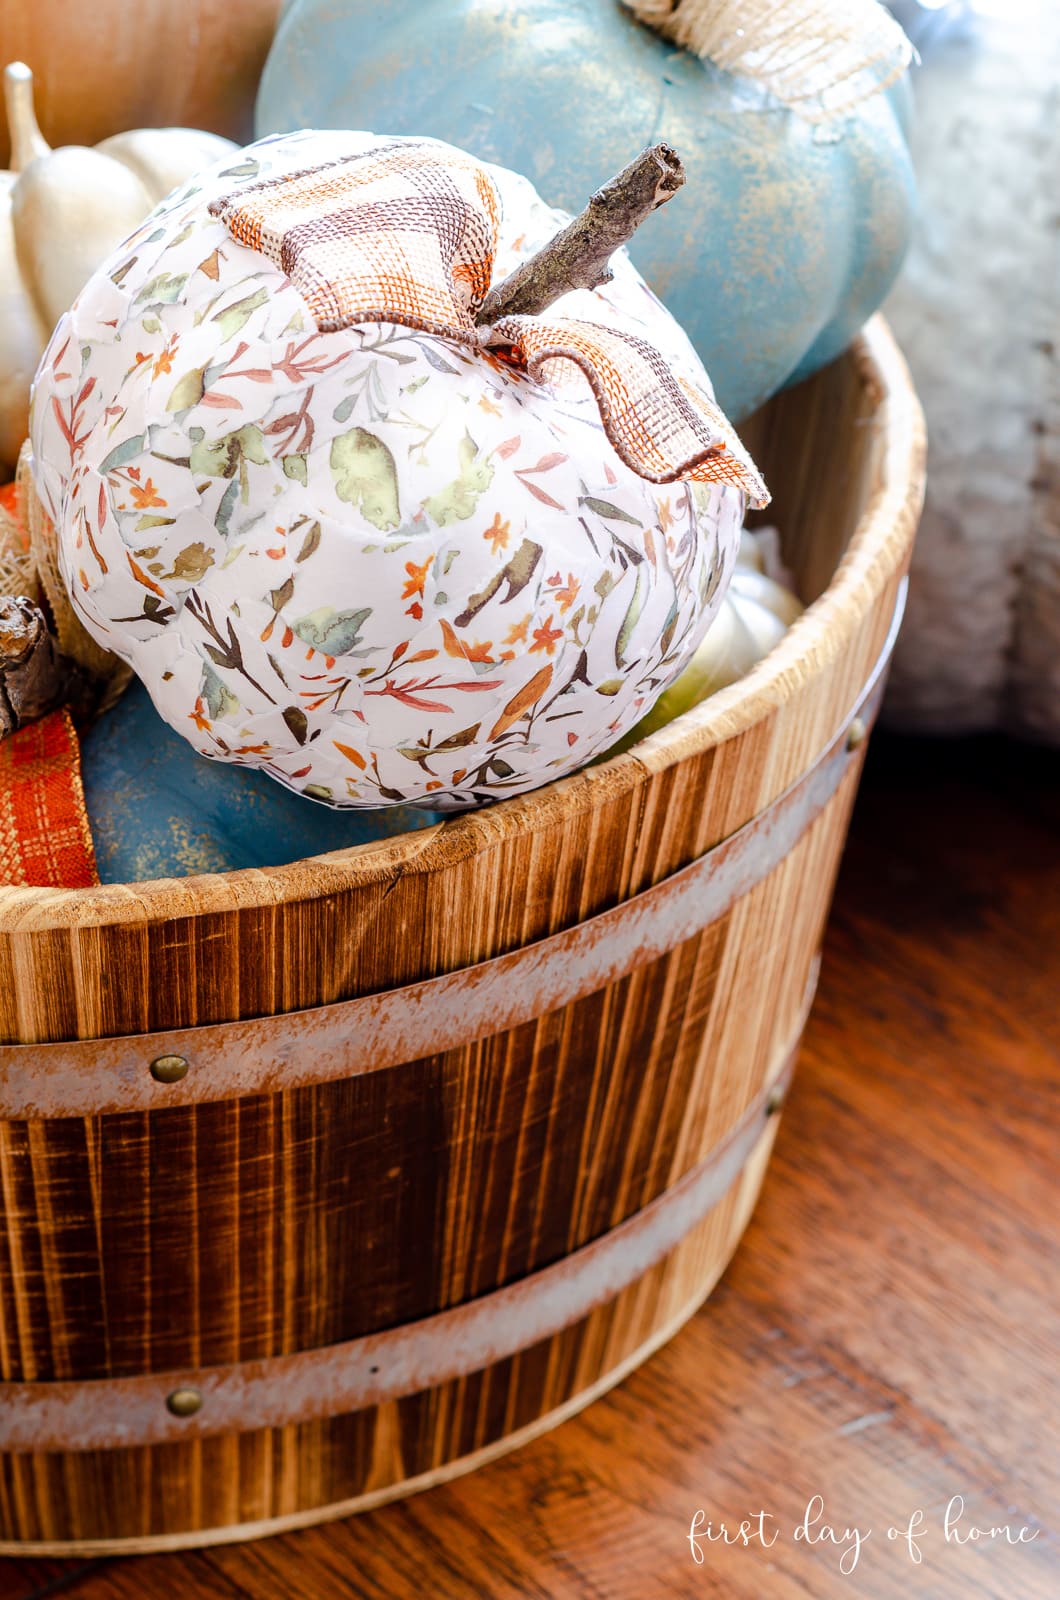
How to Accessorize Your Pumpkins
The best part about creating these Mod Podge pumpkins is using them in your fall home decor!
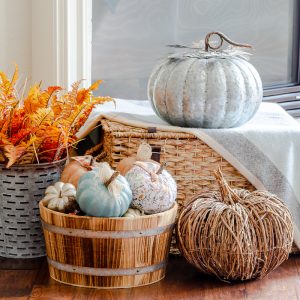
I love placing my decoupage pumpkins on my fall mantel decor or in bushel baskets together with my painted foam pumpkins. Adding a strip of plaid ribbon gives these pumpkins a little farmhouse touch.
I’d love to know in the comments how you plan to use your pretty pumpkins this year!
Pin it for later!
Now hurry to your dollar store to grab your styrofoam pumpkins before they run out!
How to Make Decoupage Pumpkins
Equipment
Supplies
- Foam pumpkin
- Acrylic paint (optional)
- Scrapbook paper
- Mod Podge
- Sticks or faux pumpkin stems
Instructions
- Remove the original pumpkin stem, and apply base coat of paint to completely cover the pumpkin (optional). Let dry.
- Tear scrapbook paper into small 1-2 inch squares.
- Apply decoupage glue to pumpkin, then layer on the pieces of paper in overlapping pattern. Cover half the pumpkin with paper strips, then apply a top coat of Mod Podge and let dry 15-20 minutes before finishing the remainder.
- Insert a stick or faux stem in the center of pumpkin.
Notes
You Might Also Like…
Can you fo this on a real pumpkin?
Hi Debbie. Yes, you can follow the same method. Just make sure the pumpkin is nice and dry before you apply your design. Enjoy! -Crissy
What a wonderful idea! I love how they turned out. I was just going through my scrapbook paper stash yesterday trying to think of ways to use it now that I no longer scrapbook. Now I know exactly what to do with it!
Thanks, Michelle! Yes, I don’t think I’ll ever run out of scrapbook paper because I can’t resist the pretty bundles they sell. It’s always good to come up with new ideas for my stash. Have fun!