How to Make Simple Flour Sack Dish Towels
How would you like to achieve a high-end Williams Sonoma or Pottery Barn look for a fraction of the price? Try making these easy flour sack dish towels for a touch of DIY farmhouse decor in your home.
This post contains affiliate links, and I will be compensated if you make a purchase after clicking on my links. For more information, please see my disclosures.
Special thanks to DecoArt for providing the Fabric Painting Medium used in this project!
DIY Farmhouse Flour Sack Towels
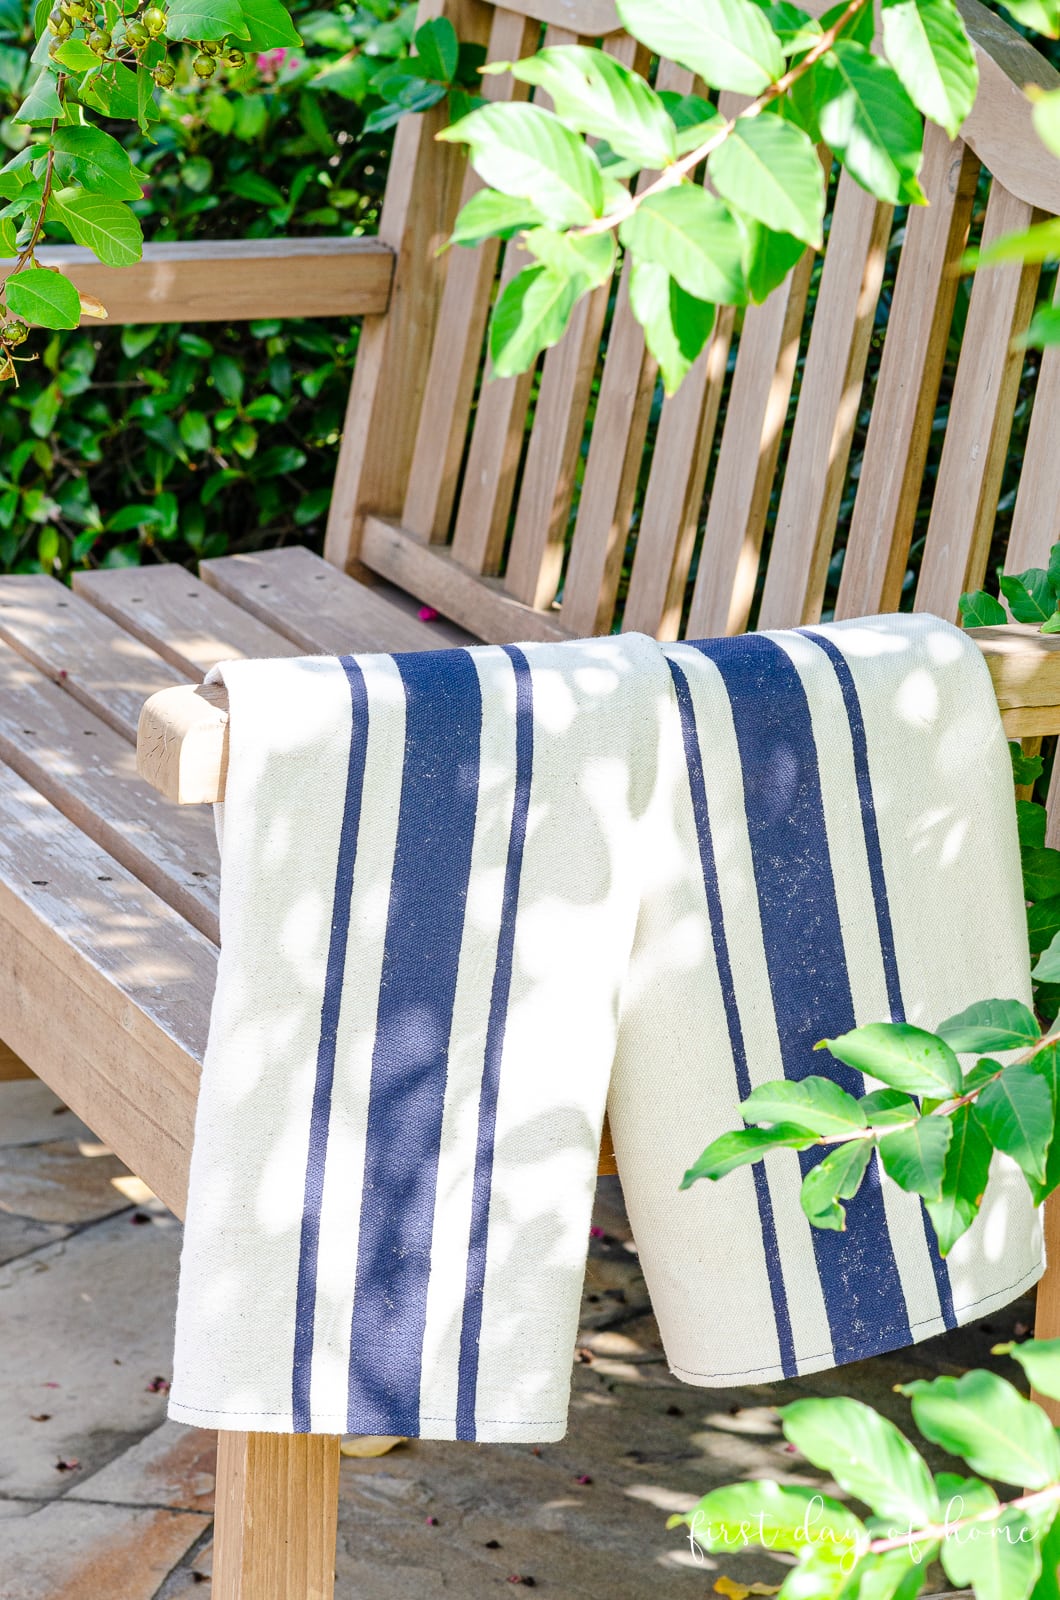
Have you seen those striped flour sack towels (also called “grain sack” towels) in home decor stores or the popular Fixer Upper series?
Don’t you think it’s time you owned some of those French country towels in the color of your choosing?

Instead of buying them and spending several dollars per towel, try this quick and easy DIY project.
You’ll only need a handful of supplies and a sewing machine (if you plan to hem the edges).
Note: You can totally buy plain flour sacks and just skip to the painting! (I won’t tell anyone.)
I now have a complete video tutorial on my YouTube channel with more details.
Supplies for Flour Sack Tea Towels
- Drop cloth or pre-made flour sack towels
Acrylic paint - DecoArt Fabric Painting Medium
- Bristle paint brushes
- Painter’s tape (3/4-inch preferred)
- Sewing machine (optional)
Why I Love Drop Cloth
If you’ve followed me on Instagram, you know I’m a BIG fan of drop cloth.
One package of this cotton duck canvas fabric makes a TON of projects!
Here are just a few items I’ve made with drop cloth:
And I’m still not done, folks! Let’s start with this easy tutorial and see if you become a fan, too!
How to Make DIY Flour Sack Towels
If you’re using pre-made dish towels (no shame), skip to Step 2. Otherwise, begin at Step 1.
Step 1: Prepare & Cut Fabric
- First, make sure you pre-wash your fabric before applying paint.
- Then, cut your towels into 15.5 x 26-inch rectangles.
- Tape the edges of the towels to your work surface so the fabric won’t shift as you paint.
The finished flour sack towels will have dimensions of 14.5 x 25 inches, so I’m factoring in 1 inch for the hem.
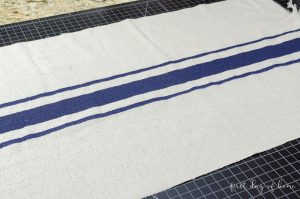
Step 2: Mark Stripe Borders with Tape
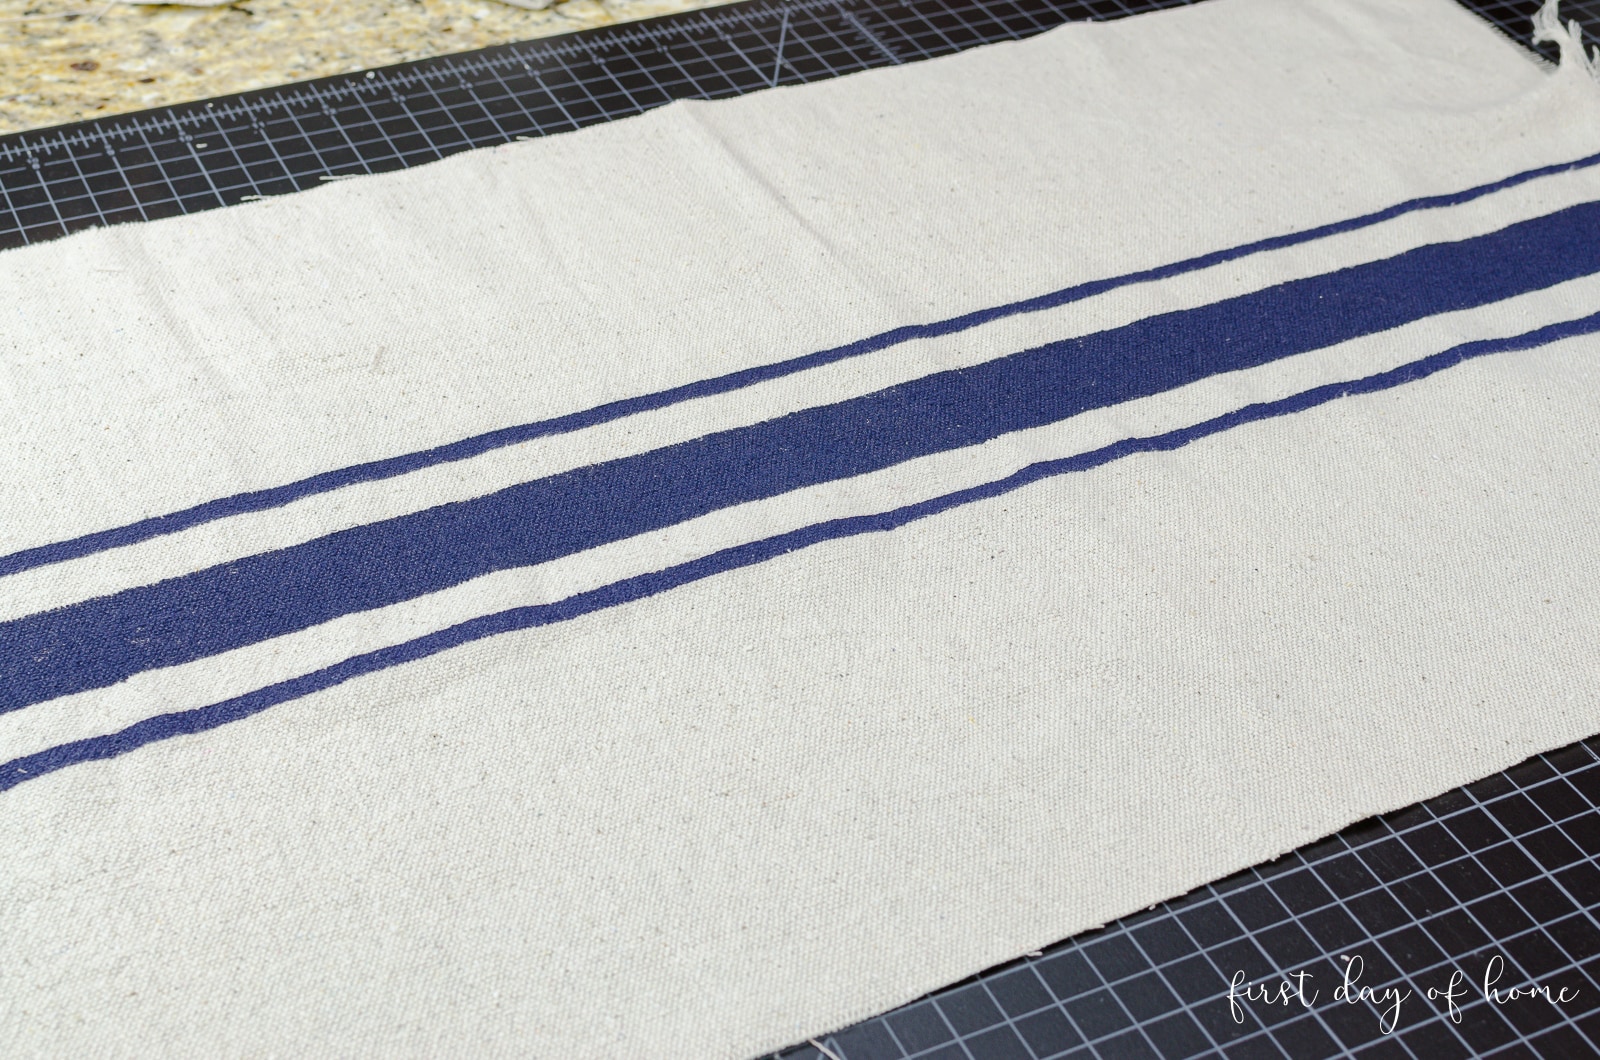
I decided to make my center stripe 1.5-inches wide, then left a gap of 3/4-inches above/below, followed by two more 1/4-inch stripes.
You can create as many stripes as you like, in any width you like. Three stripes were enough to make me happy. I’m a simple girl.
Tip: I found that 3/4-inch painter’s tape makes the perfect gap from the center stripe.
Step 3: Paint Stripes
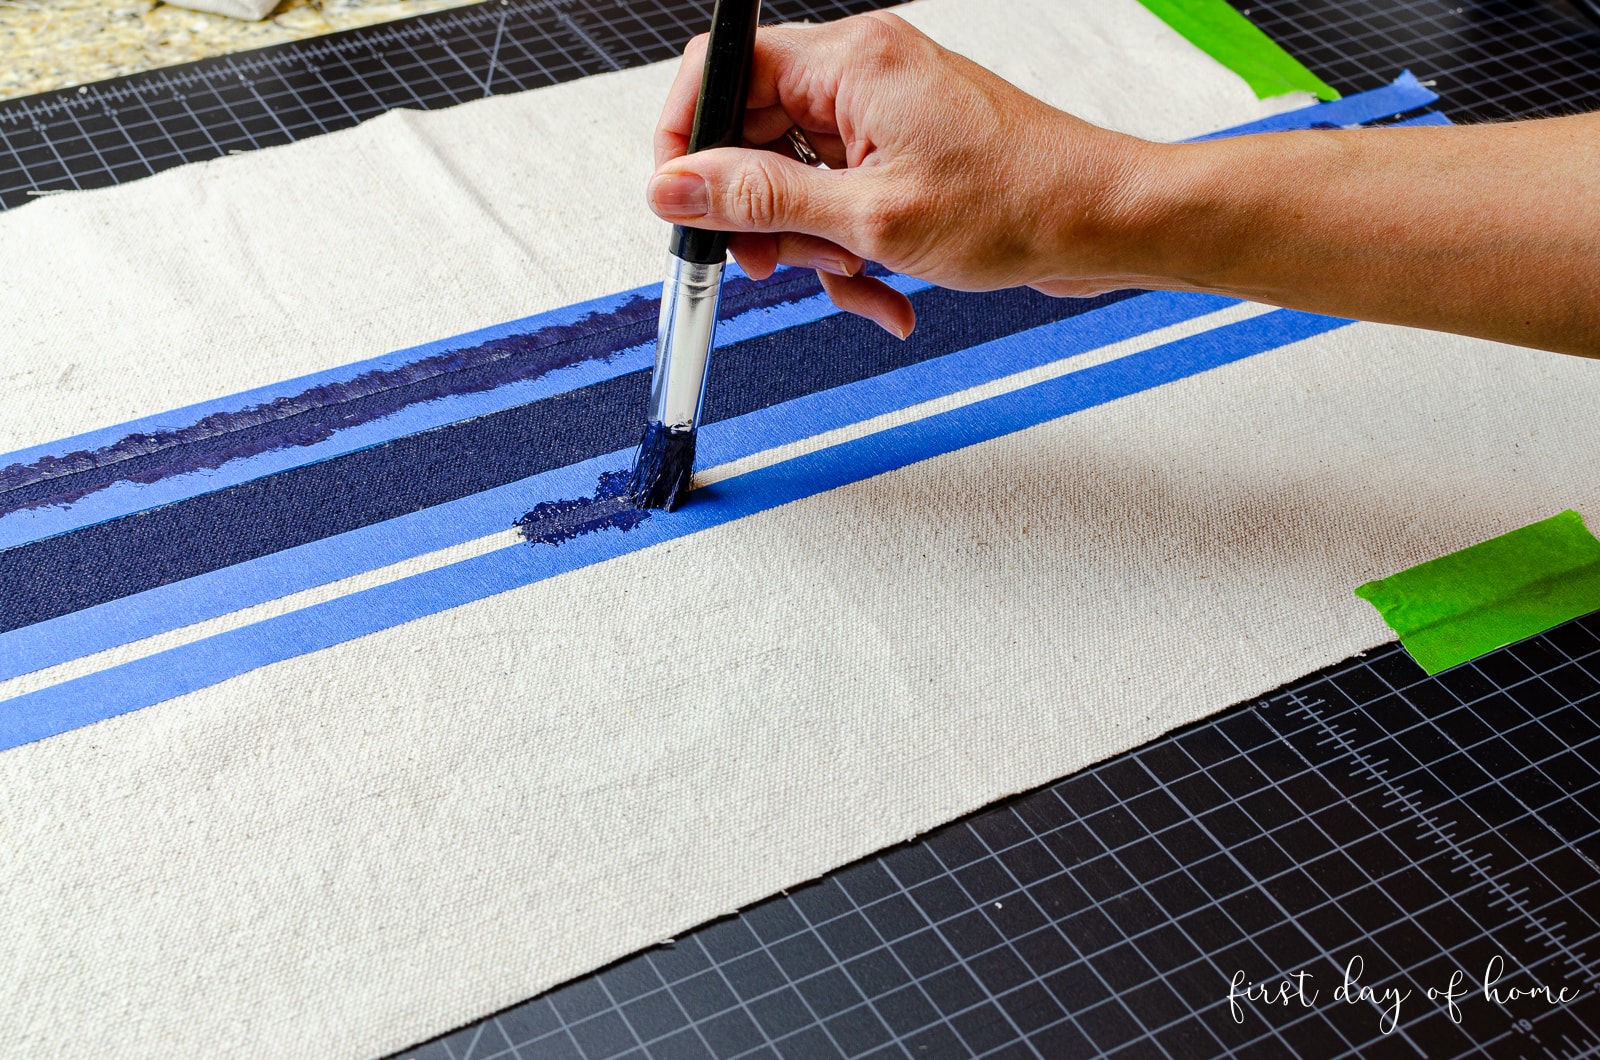
Paint the exposed areas with either fabric paint or
This medium answered my prayers because I own a LOT of acrylic paint.
So what exactly does fabric painting medium do?
- Creates washable, permanent finish
- Makes paint adhere better to fabric
- Softens finished design and prevents cracking, peeling and flaking
After painting, wait 24-48 hours for the paint to dry. Then “heat set” the paint with an iron for 30 seconds before washing.
Get more tips on how to effectively paint on drop cloth in my farmhouse table runner post.
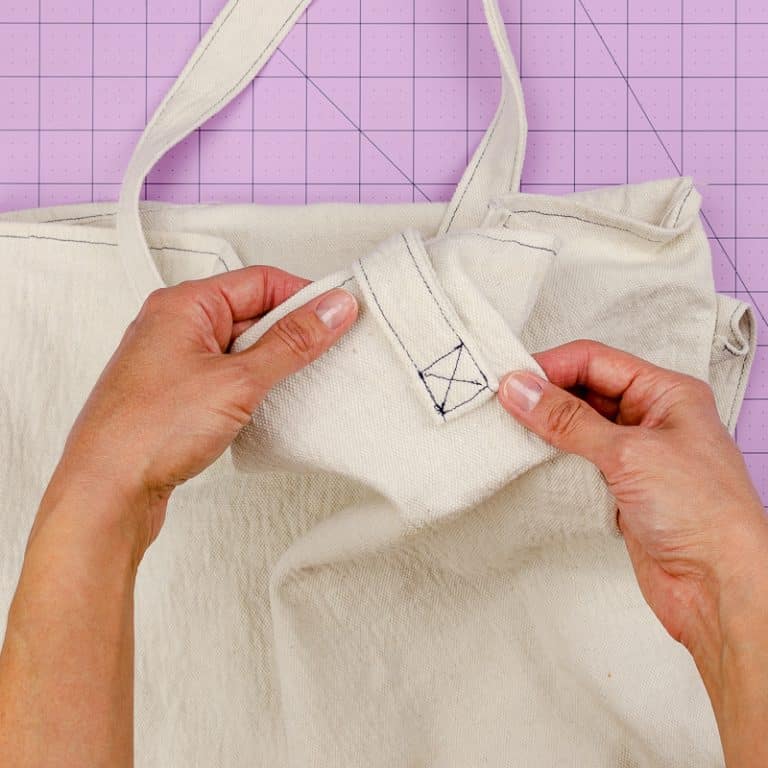
Step 4: Hemming Your Flour Sack Kitchen Towels (Optional)
With drop cloth, you really can’t skip the hem. The fibers will unravel without some type of simple hem.
Two Hemming Options
- Plain double-fold hem
- Mitered corner double-fold hem
I strongly recommend a mitered corner for this thick cotton fabric. It’s easy to do and well worth the professional look it gives your project.
In my YouTube video, I shared footage of how my mitered corners turned out. Not bad for a first-timer! If I can do it…so can you!
More DIY Tea Towel Ideas
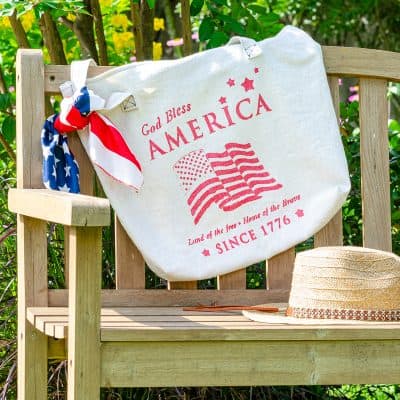
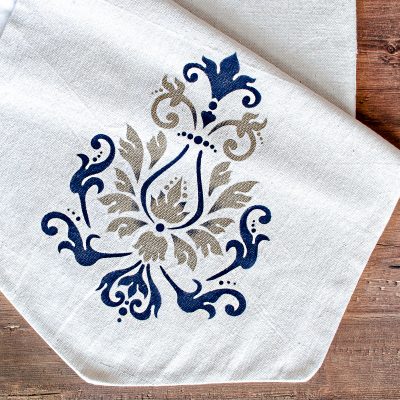
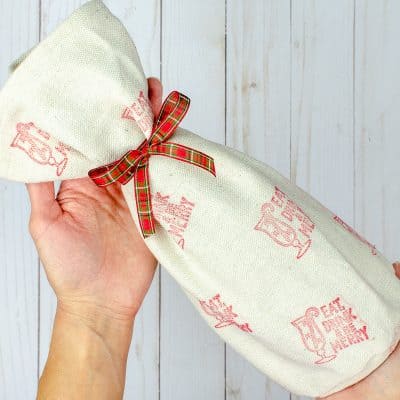
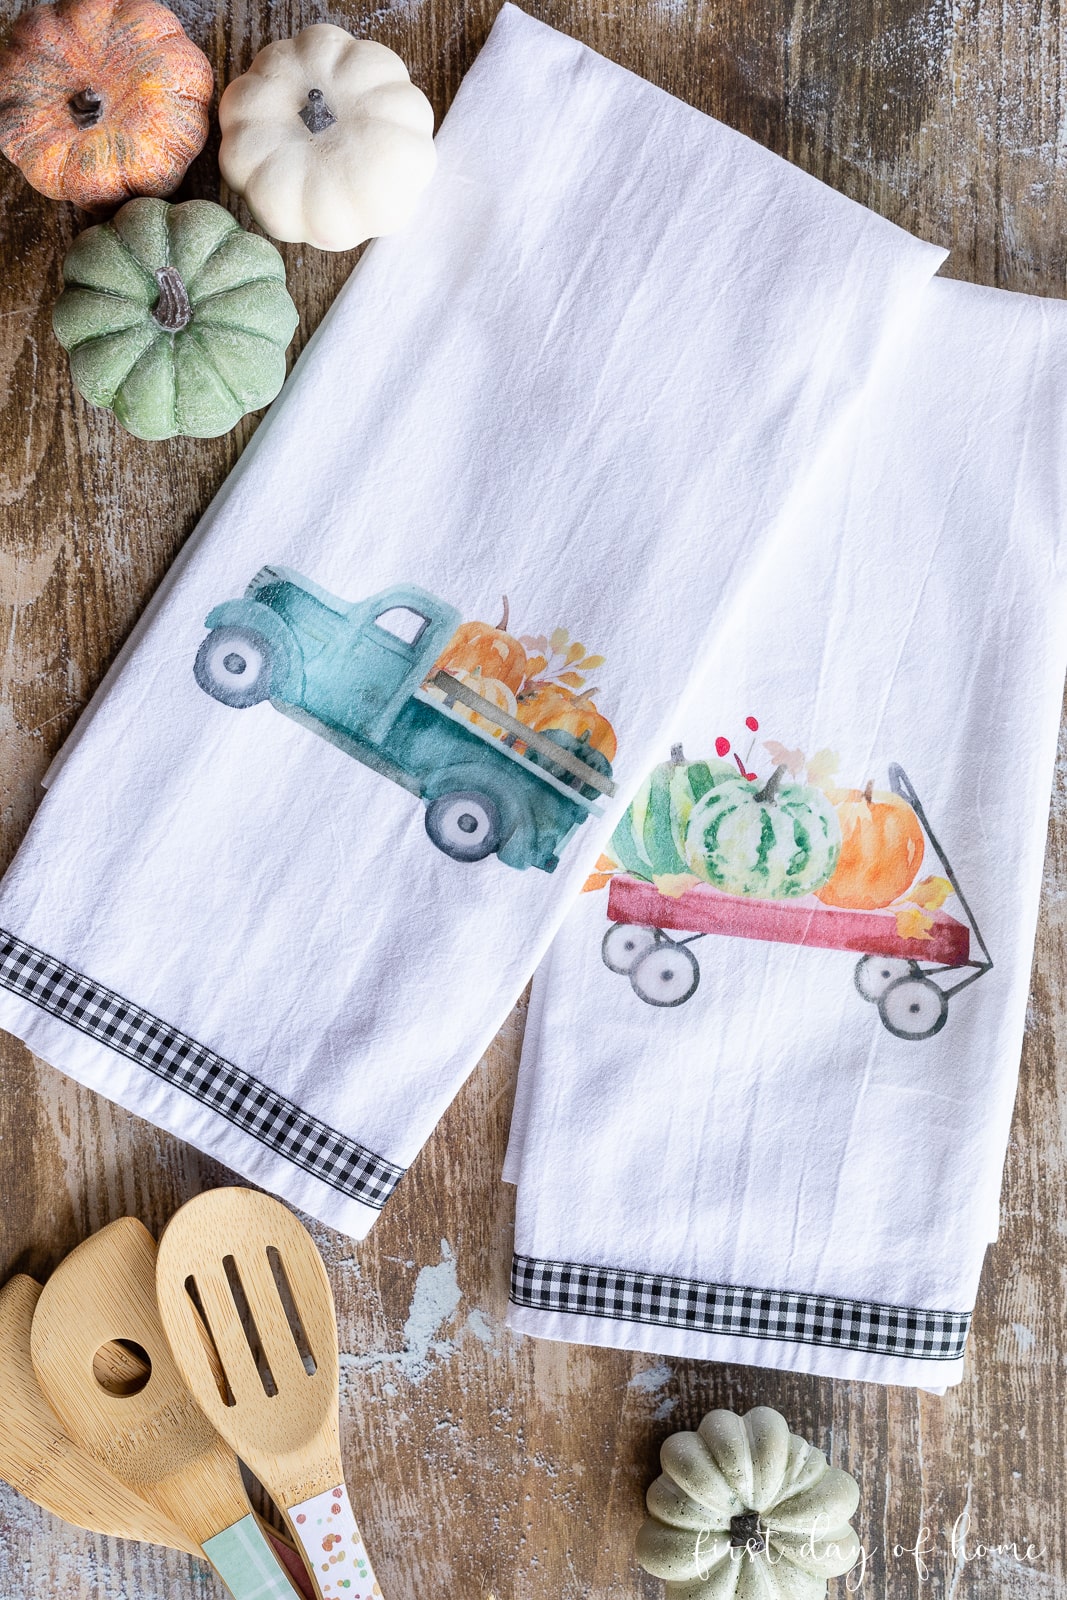
For a completely different look with a farmhouse style, try making these DIY tea towels using image transfers.
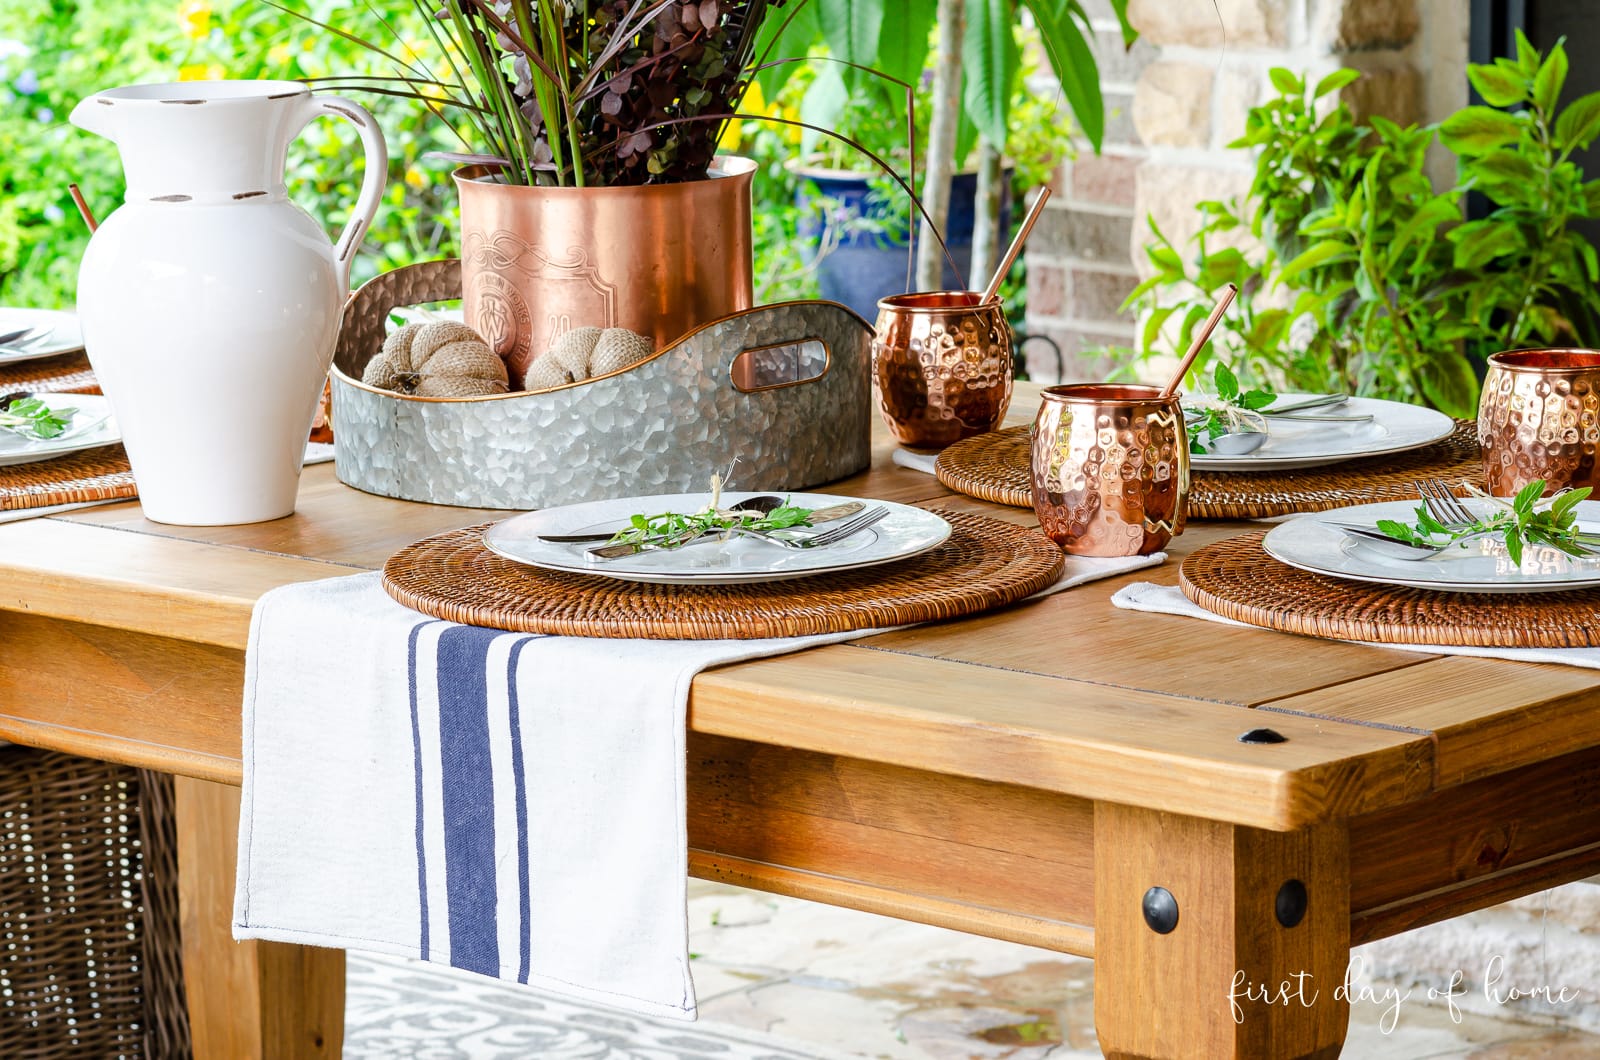
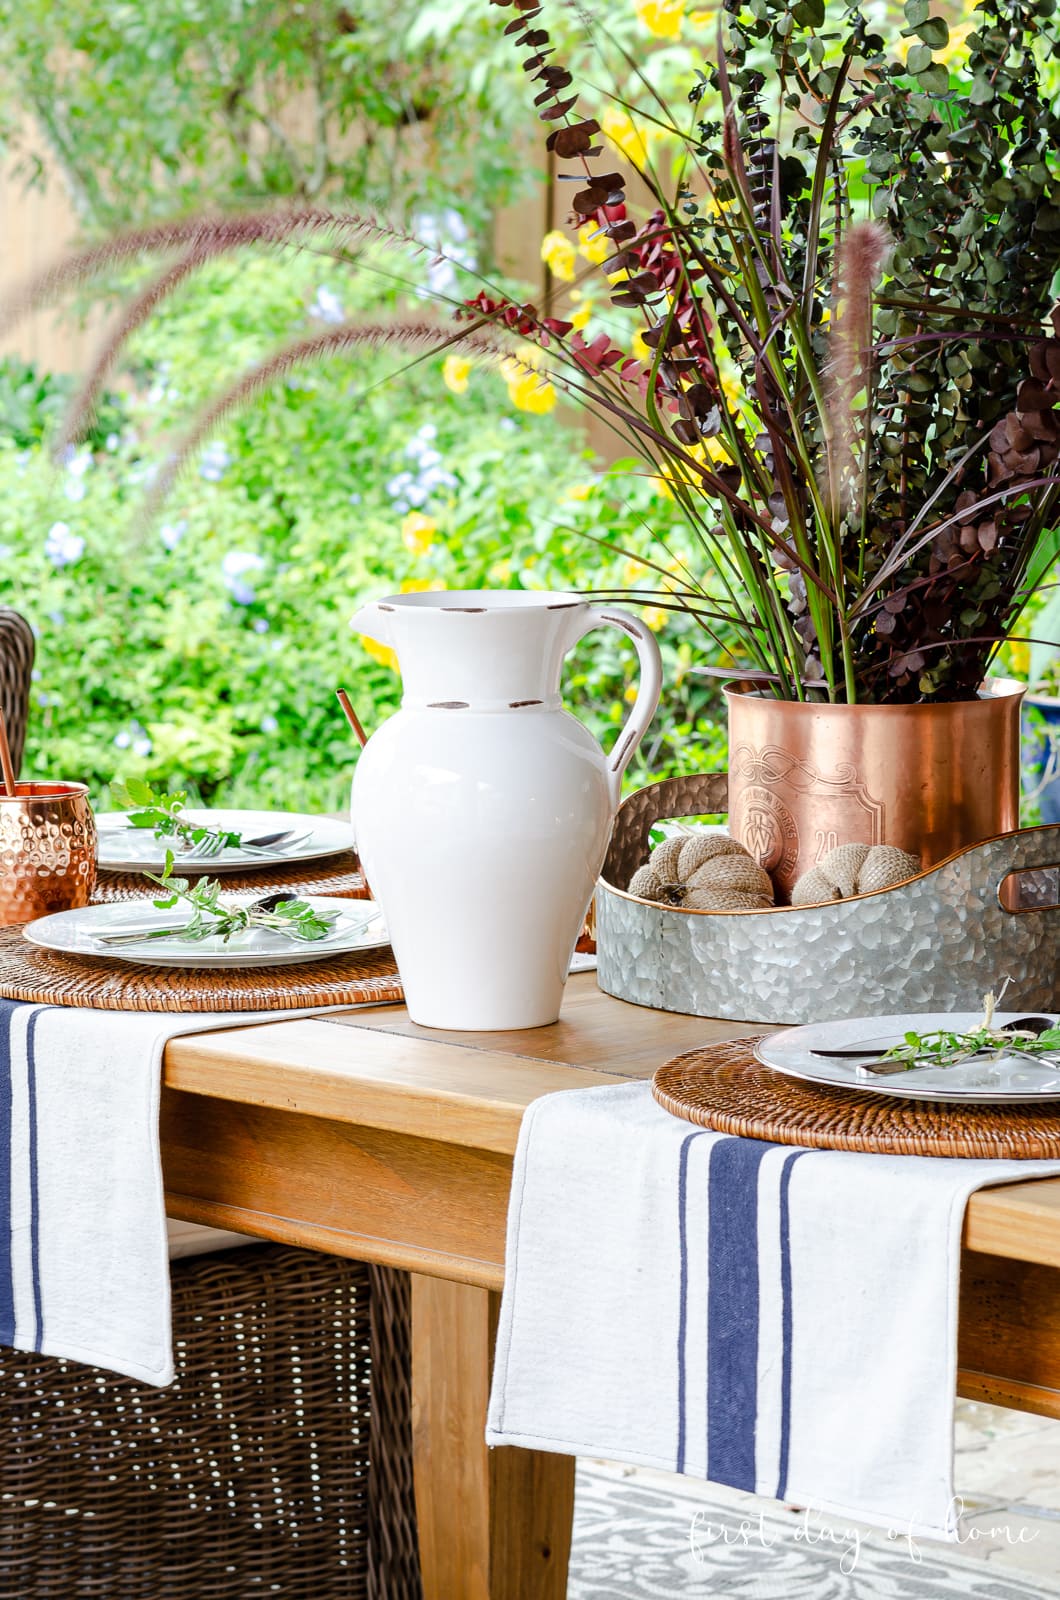
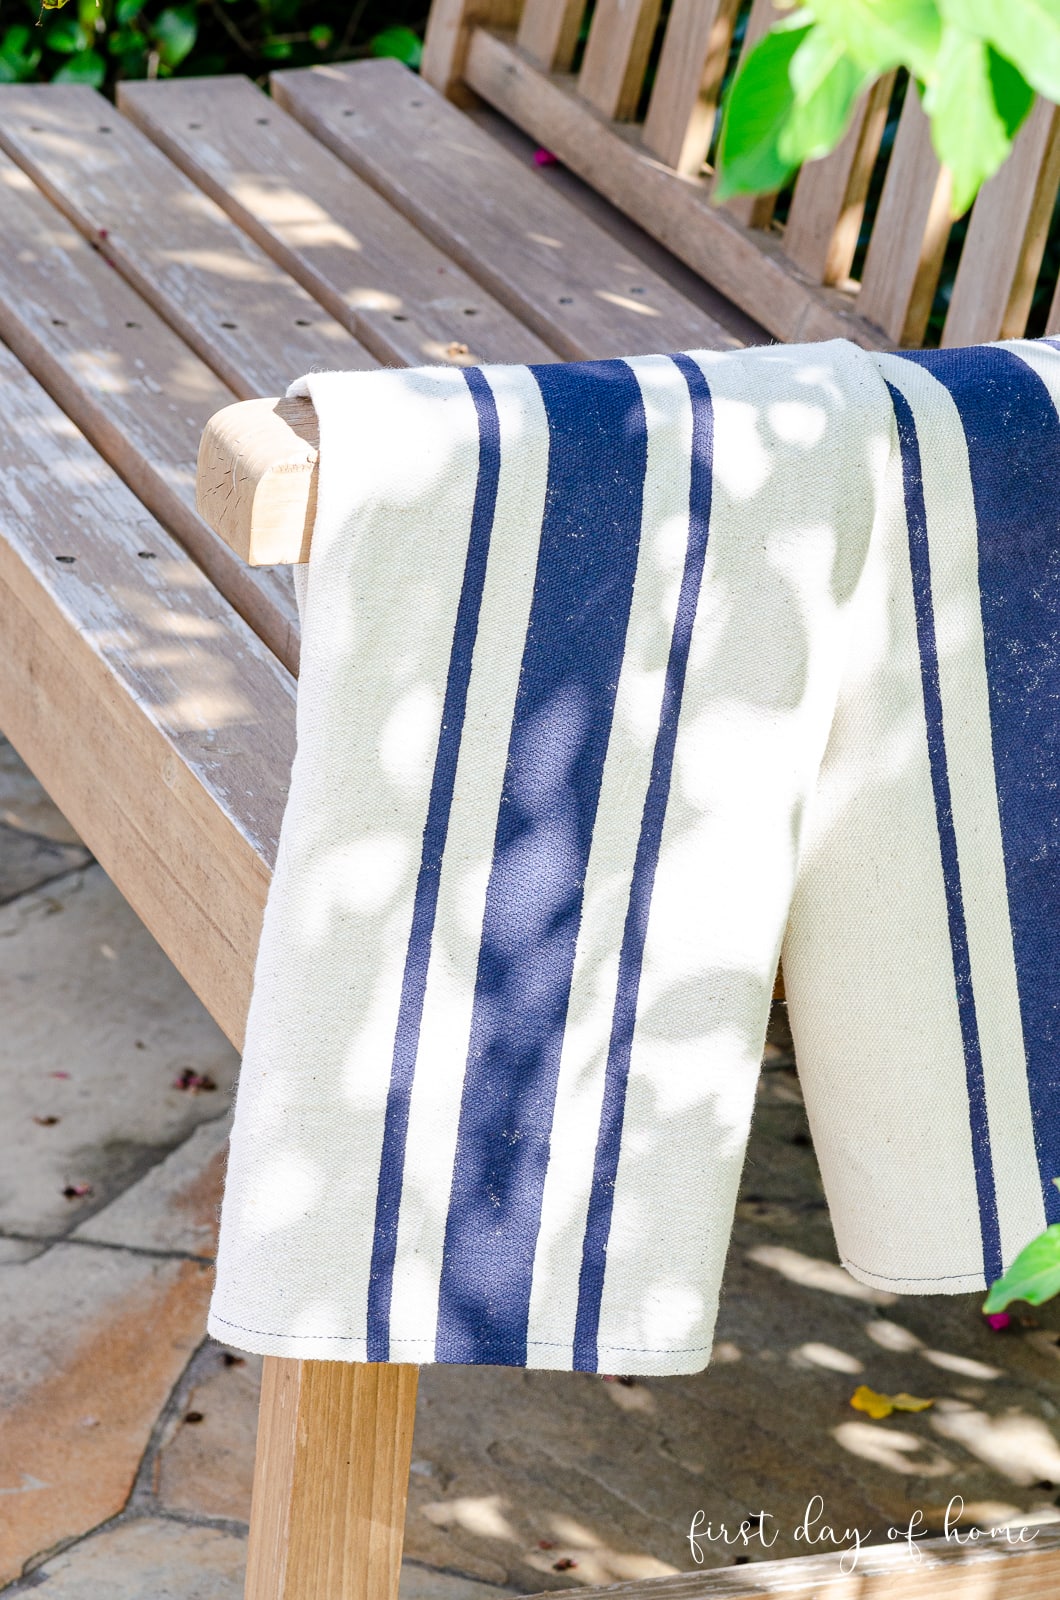
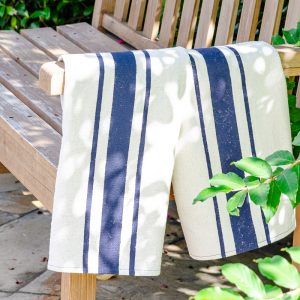
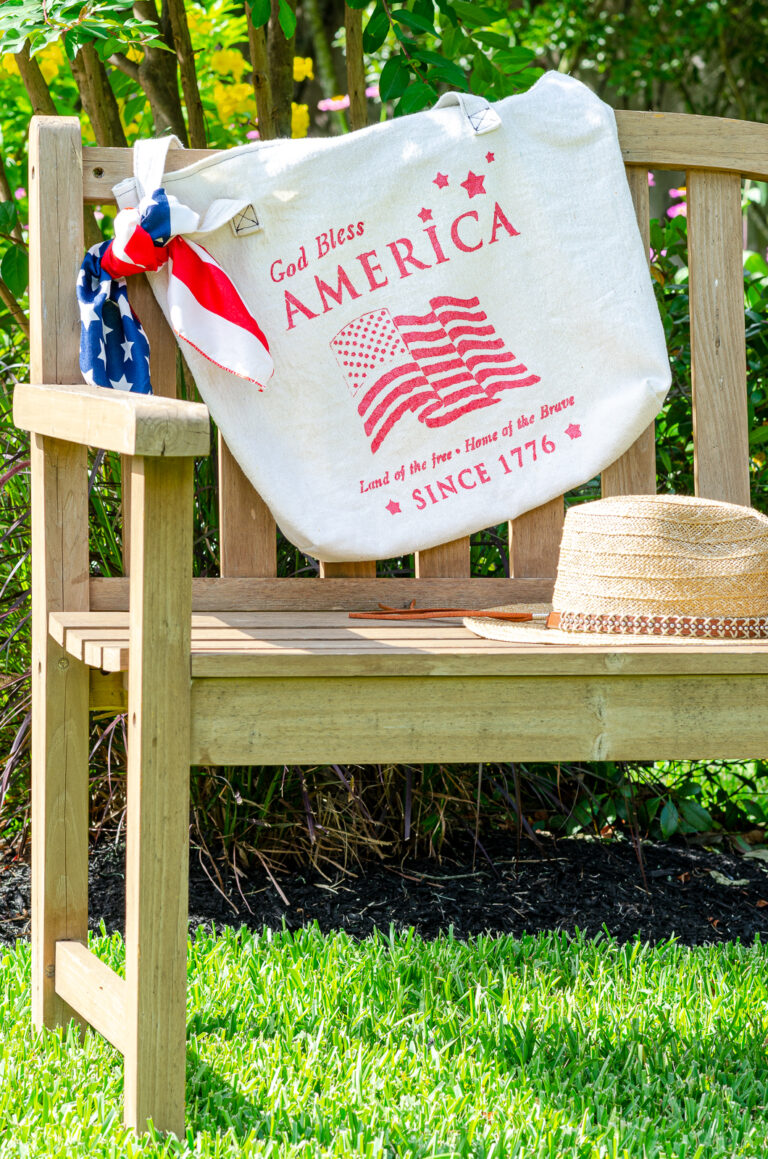
Decorative Flour Sack Towels: The Finished Product
So what do you think of these flour sack tea towels? Leave a comment for me below!
I had a vision of making these for my recent fall outdoor table decor post, and I couldn’t be happier with the result. I hope you enjoy making them, too.
Pin it for later!

How to Make DIY Farmhouse Flour Sack Towels
Supplies
- Drop cloth (or store-bought flour sack towels)
- Acrylic paint
- DecoArt Fabric Painting Medium
- Painter’s tape (3/4-inch preferred)
Instructions
- If using store-bought flour sack towels, skip to step 3.
- Pre-wash fabric, then cut to dimensions of 15.5 x 26-inches.
- Mark the borders of your stripes with painter’s tape.
- Paint the exposed fabric with a 2:1 mix of acrylic paint and DecoArt fabric painting medium.

- After painting, wait 24-48 hours for the paint to dry. Then “heat set” the paint with an iron for 30 seconds before washing.
- If sewing, finish the towel with a double-fold hem on all sides. Mitered corners work best.

Thanks for stopping by!


Love these farmhouse flour sack dish towels Crissy! I tried to subscribe, but I am getting an error.
Hi Kim! Thank you so much! Thanks also for letting me know about the subscriber form. I fixed the error. I made some updates, so it probably threw things off. I really appreciate you telling me! I also tried sharing one of your garden post on Facebook but couldn’t tag your page. I’ll try again today. It’s really beautiful!
Great job with the towels and blue is my favorite color!
Thank you, Carol! Yes, I have tons of blue around the house. It’s such a vibrant and versatile color. Thanks so much for stopping by!
This looks fun! Anything with paint is right up my alley!
Thank you, Jeanie! I’m having a little video premiere on YouTube in the morning with the video tutorial. I’m glad to meet someone else who loves to paint, too! Thanks for stopping by!
Love these farmhouse flour sack dish towels… and that medium from Deco-Art is such a great help! Def will use on future projects! Pinned!
Thank you, my dear! I’m a big fan of this medium now. I always wondered if my acrylic paints would work on fabric, and now I have some peace of mind. Thanks for pinning!