How to Dry Herbs – 4 Methods for Beginners
The secret ingredient to the best cup of tea ever is drying your own herbs. If you haven’t learned how to dry herbs, you’re missing out! There’s no better way to enhance your cooking, reap health benefits, and enjoy the fruits of your gardening labor. I’m sharing all of my tips on creating a stash of dried herbs to enjoy all year long.

This post contains affiliate links, and I will be compensated if you make a purchase after clicking on my links. For more information, please see my disclosures.
Why should you dry herbs at home?
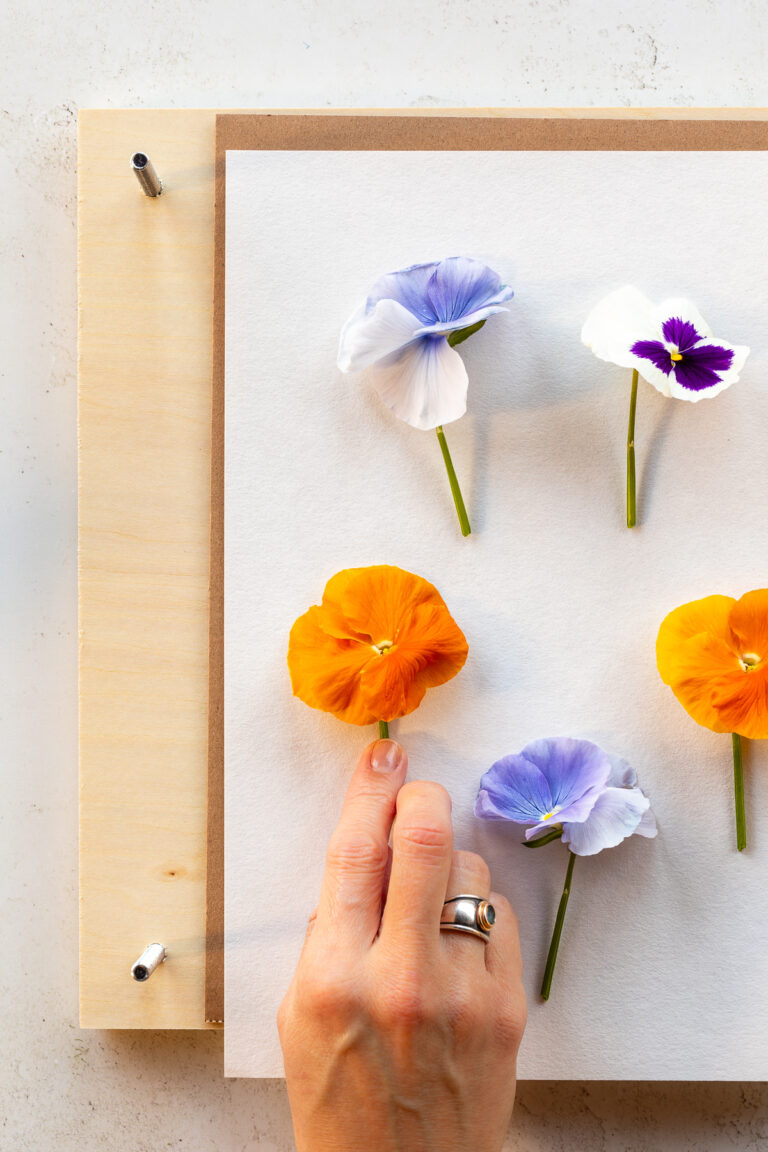
I’ve written extensively about how to preserve flowers for decorative crafts or special projects. It was only a matter of time before I turned to the art of drying herbs. There’s just something special about preserving a moment in time, sharing it with the kids, and feeling proud of your one-of-a-kind creation. (My sons are now obsessed with our homemade brew of herbal tea.)
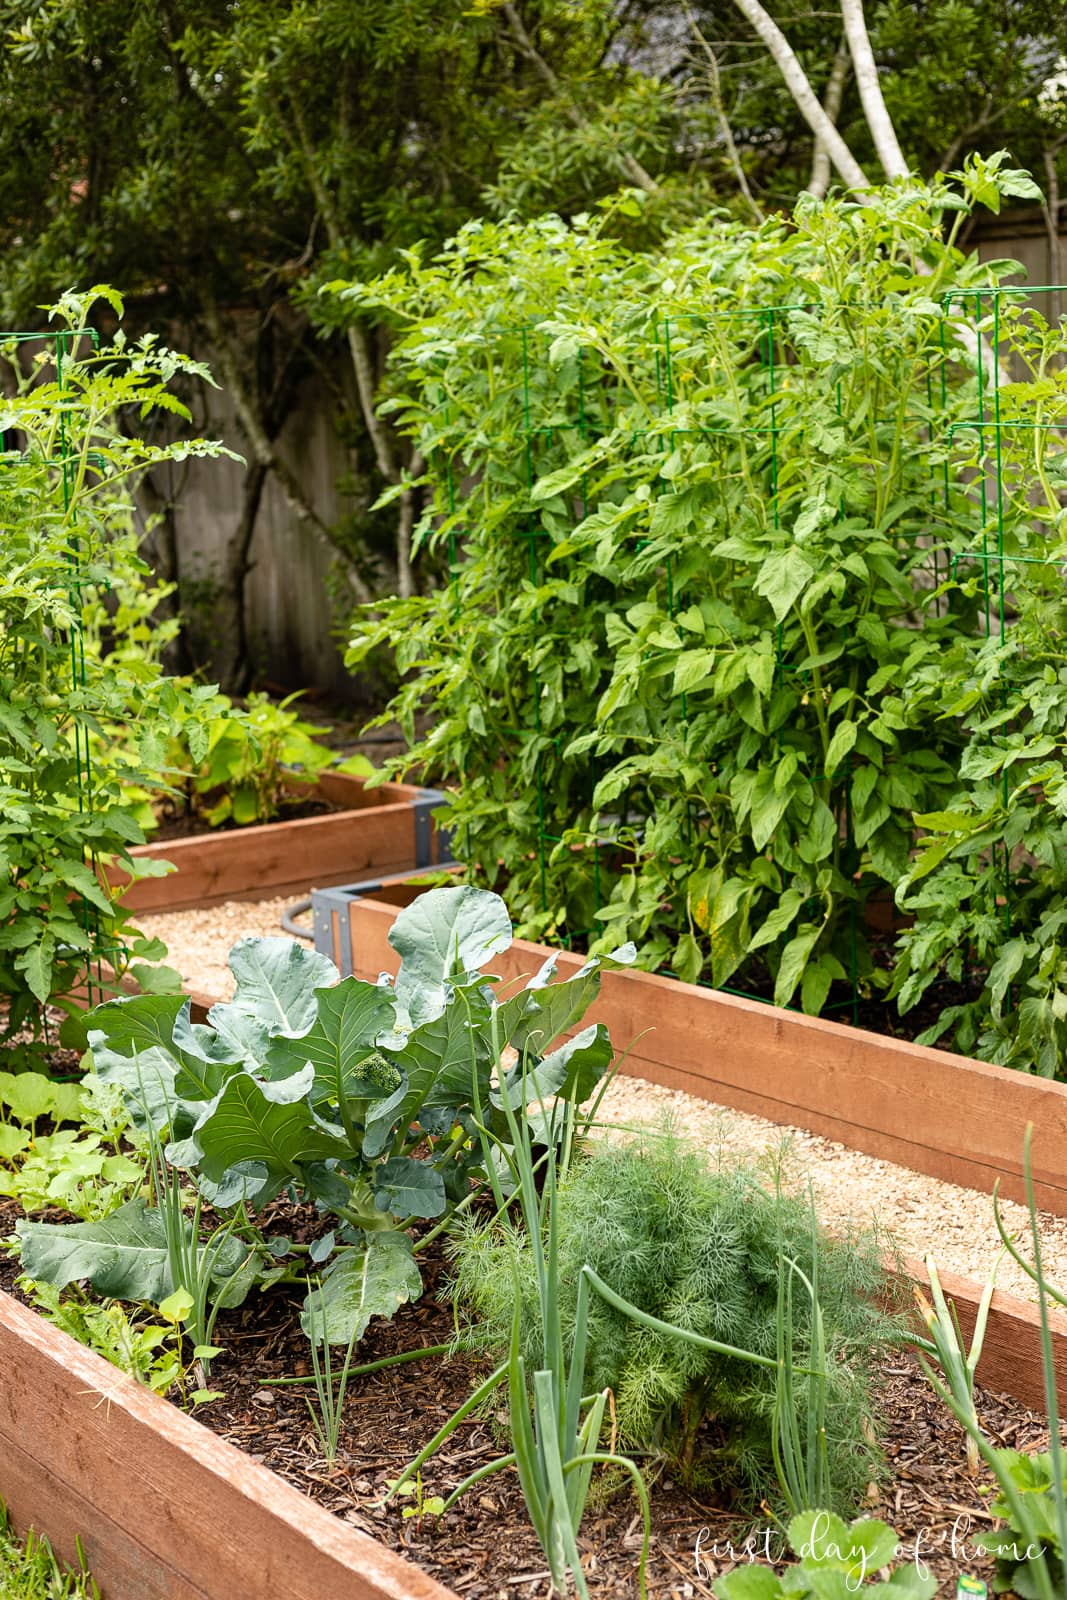
We have a small but mighty raised bed garden in our backyard that gives me plenty of inspiration for food preservation. (If you haven’t tried my family’s fig preserves, you should head there next!)
Dried herbs from the garden tend to have a stronger fragrance and more potency than store-bought herbs. This means a little can go a long way in flavoring your tea or home-cooked sauces.
Tip: Eco-Friendly Idea
Save glass containers from store-bought spices to reuse for packaging home-dried herbs. You can create handwritten labels or Cricut labels for a more professional look.
With some decorative packaging, you can also give away some of these dried leaves as gifts for the holidays. Sure, you can buy herbal teas and spices at your local grocery store, but where’s the sentimentality in that?!
Benefits of drying herbs at home
Compared to store-bought herbs, home-dried herbs have numerous advantages:
- Health benefits. When drying herbs at home, you can be sure your herbs are organic and free of pesticides and preservatives. You can also better retain vitamins and nutrients by processing dried herbs at home.
- Cooking ingredients. While fresh herbs are a great addition to your home recipes, dried herbs have the benefit of a longer shelf life. If you have a plentiful garden, it’s helpful to dry the excess and store it away for later use.
- Flavor profile. Dried herbs from a garden don’t have preservatives and have more flavor than store-bought herbs. The more recently dried the herbs are, the more flavor they will have.
- Decorative uses. You can also enjoy hanging certain herbs as decoration or using dried herbs for crafts like this DIY botanical art.
- Gift idea. Dried herbs make the perfect gift for tea, sachets, DIY heating pads, or homemade potpourri.
- Garden propagation. Cutting herbs regularly to dry leaves also stimulates new growth! You’ll have a virtuous cycle going in your garden or homestead if you cut your herbs regularly.
Which herbs are best for drying?
Depending on your intended purpose, you can dry everything from basil and oregano for cooking or mint and chamomile for homemade tea. Here are just a few of the herbs I’ve personally had success drying:
- Banana mint
- Basil
- Chamomile
- Dill
- Oregano
- Lavender
- Lemon balm
- Parsley
- Rosemary
- Sweet mint
- Thyme
You can also try drying marjoram, bay leaves, curry leaves, tarragon, and fennel, among others.
MORE DRIED HERB IDEAS
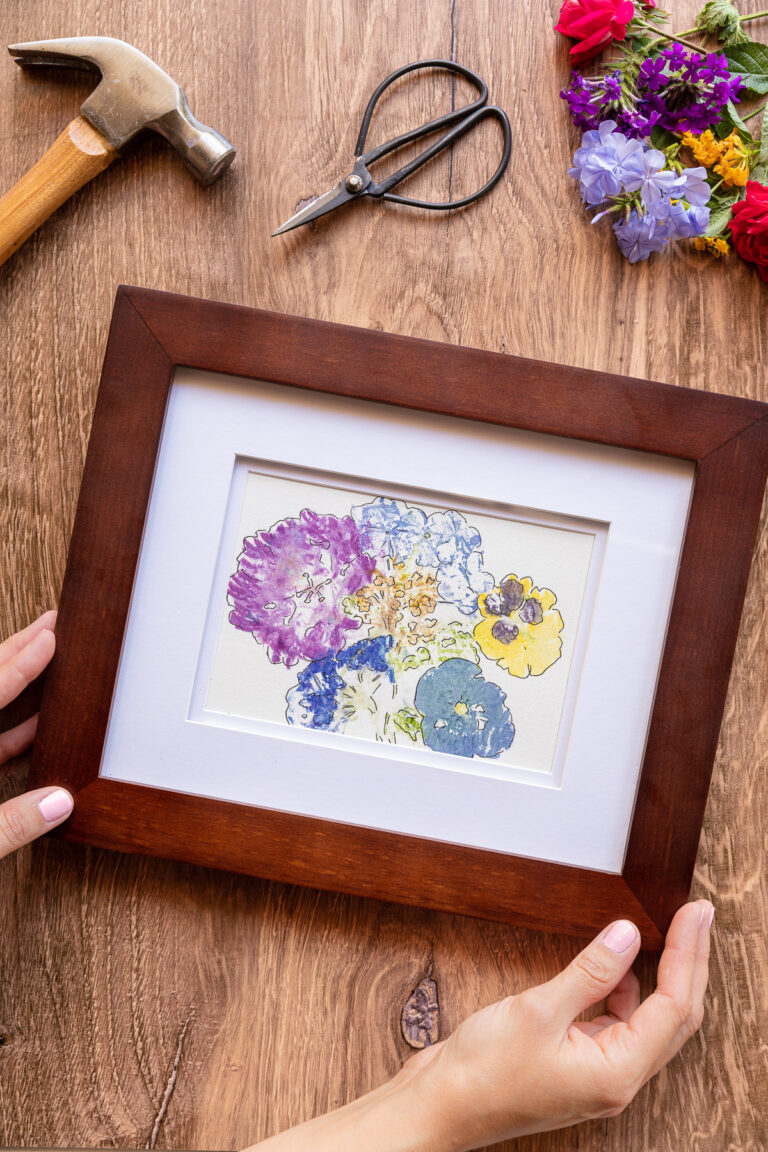
Project Idea: Dried Herbs Wall Art
Did you know you can press herbs as well? Check out this idea of using an unexpected herb to make DIY wall art!
Four Methods for Drying Herbs
The method you choose to dry herbs will depend on your time constraints and the tools available. (Sometimes you have a soccer carpool or need a gift ASAP. I get it.)
Air drying takes the least effort, but you must also take precautions to avoid mold forming on herbs with thicker leaves. The microwave method gives the quickest results, but you run the risk of overheating the herbs if you’re not careful. A little experimentation with various methods is always a good idea (and fun too).
Read on to find out which one is my favorite and see a comparison of the methods.
Preparing Herbs for Drying (All Methods)
Begin by picking herbs in the early morning after the dew has dried. Trim a few stems close to the base to encourage future growth. Try to prune herbs before the plants go to flower and become overgrown. This helps spur additional growth and ensures you can enjoy dried herbs at their peak in flavor.
Trust me, I wish I had harvested more thyme before my plant became leggy in our extreme summer heat!
After harvesting your herb stems, you can wash them gently in a colander and pat them dry with paper towels. You can also place stems in a glass of water until you’re ready to begin drying. (This is also how you propogate certain cuttings in water, but that’s a different blog post.)
1. How to Air Dry Herbs
Air-drying herbs is an easy method accessible to everyone, especially those in low-humidity environments.
For herbs with thin leaves like rosemary, thyme, sage, and parsley, you can hang bunches of stems upside-down in a cool, dry place with indirect sunlight. About 5-7 days later, the herbs should be dry and brittle to the touch.

Herbs with thicker leaves or higher moisture content like mint, lemon balm, and basil may have a higher risk of developing mold when air drying. One tip recommended by the National Center for Home Food Preservation is to punch holes in a paper bag and place the leaves to hang inside. This allows for better air flow and prevents mold.

2. How to Dry Herbs in a Microwave
While I love the microwave method for pressing flowers, it’s my third favorite method for drying herbs. However, it’s a great alternative when time is of the essence. It only takes about 1-3 minutes.
Start by placing your fresh herbs on a paper towel. You can separate the leaves first, if desired. Microwave on medium power for 30 seconds. Then continue microwaving in 15 second intervals on medium power until the leaves begin to turn crisp.
I say it’s not my preferred method because I think there is more room for error and “overcooking” the herbs. When drying herbs or flowers, the general idea is to remove moisture gradually rather than actually cooking the plant.
3. How to Dry Herbs in an Air Fryer (Food Deyhydrator)
If you have a food dehydrator, you’re in luck! Herbs can dry very well in a dehydrator, though the drying time is far longer than most other methods except air drying. Just follow the manufacturer’s directions, which typically ranges from 90-100º F (32-37 ºC) and a drying time of 1-3 hours.
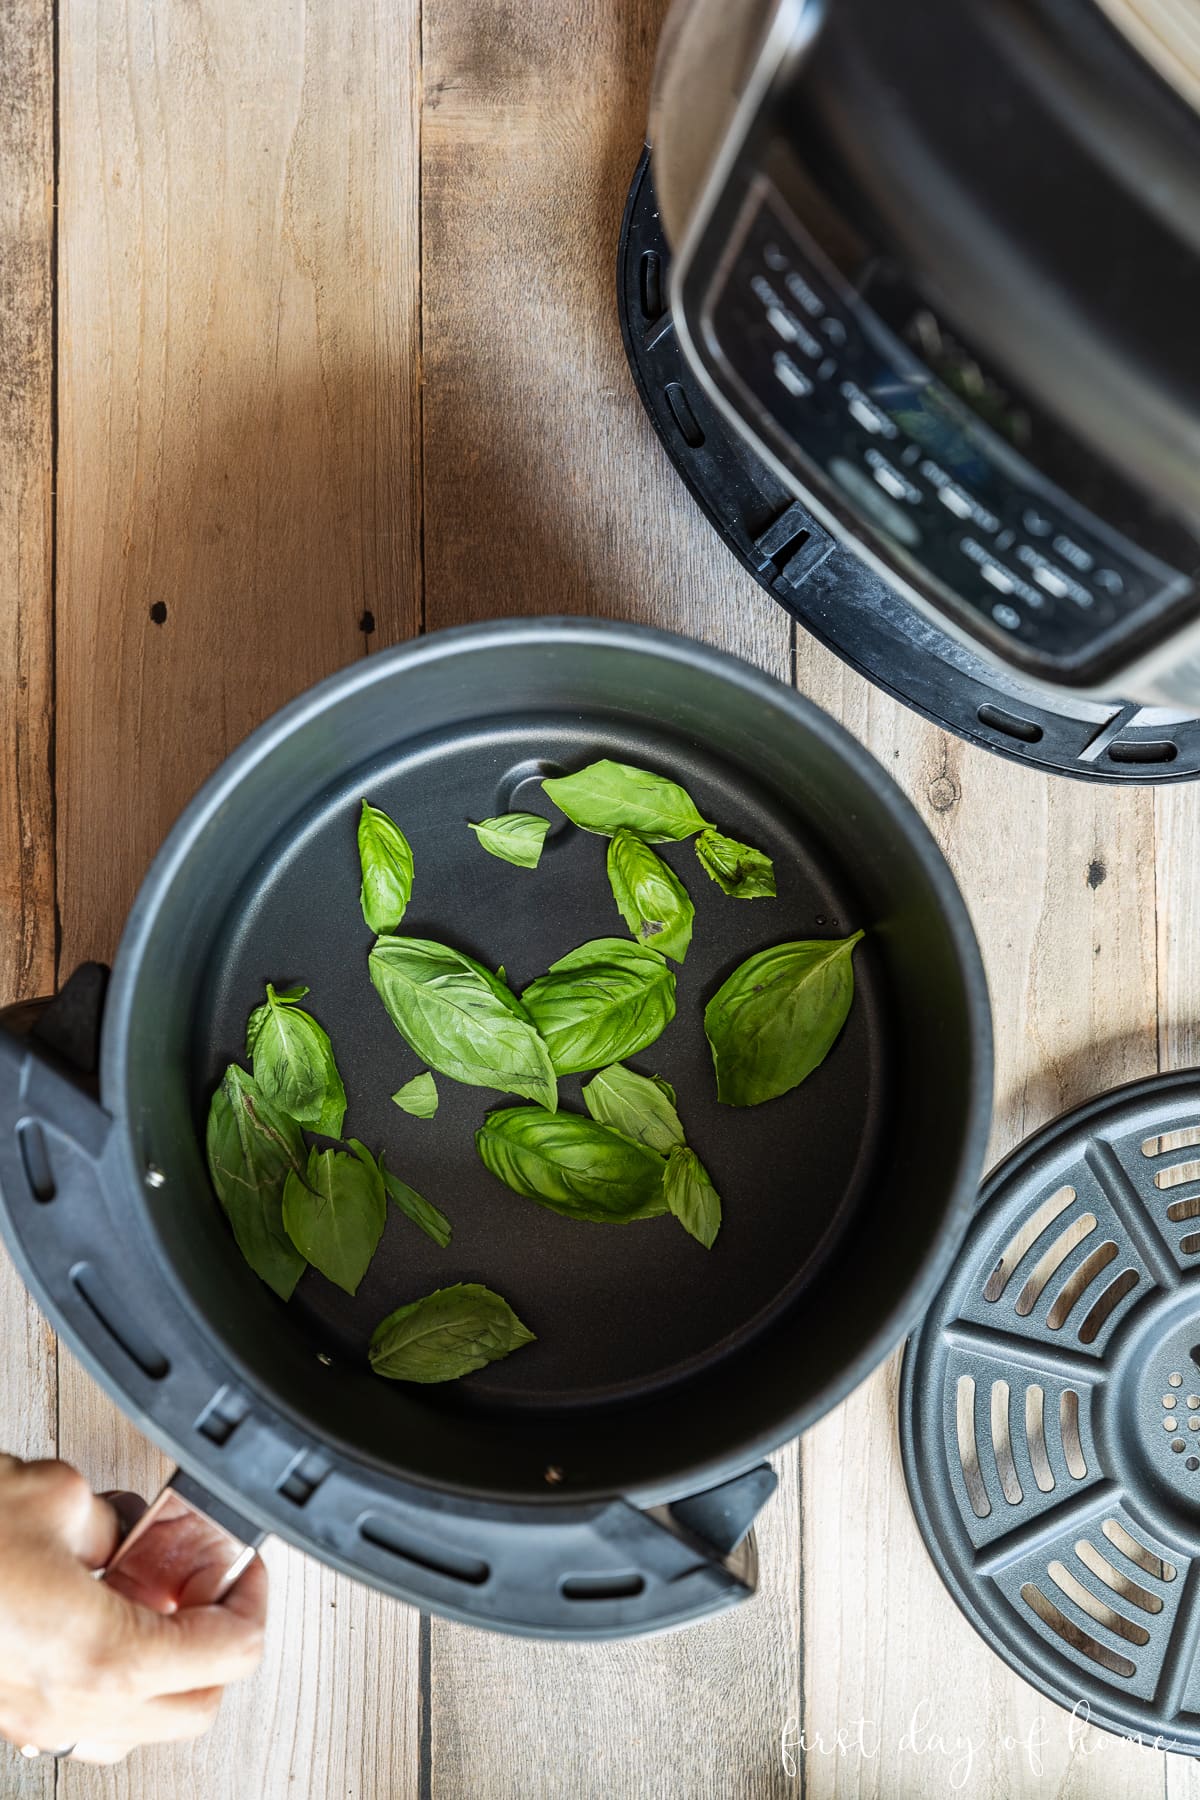
I used a Ninja Air Fryer to successfully dry basil and oregano leaves. Using the dehydrate function (90-100º F), I was able to dry herbs in about 1 hour. Some folks suggest it takes 2-3 hours to dehydrate herbs, but my Italian spices were nice and crunchy at the 1-hour mark.
Begin by placing a layer of leaves or stems on the bottom of the basket. Then cover them with the grill pan (shown on the bottom right of the below photo). I suggest drying one type of herb at a time.
For herbs with smaller leaves, consider leaving the stems attached. Leaves flying around freely in an air fryer could lead to major problems. When experimenting with a new herb, be sure to pause and check your air fryer basket periodically.
Curious how the air fryer compares to other methods? Keep reading…
4. How to Dry Herbs in an Oven
The oven method is my preferred way to dry herbs because it takes a minimal amount of time and gives reliable results for most herbs.
Use this method with herbs like mint, lemon balm and basil where air drying may carry a higher risk of mold forming, especially in humid environments.

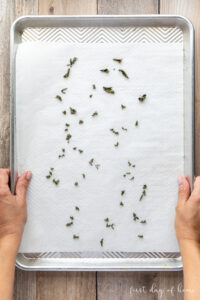
Begin by pre-heating your oven to 180ºF (82º C) or as low as your oven will allow. Separate the leaves in a single layer onto a cookie sheet lined with parchment paper. (The paper makes it easier to pour the dried herbs into a container later.)
Place the leaves in the oven and check them every 5-10 minutes until the leaves turn crisp. For more air flow, you can leave the oven door cracked, but only if you can do so safely. (In other words, don’t do that with little kiddos around! Your herbs will turn out just fine if the door isn’t cracked open.)
Before and After Oven Drying


You’ll know your herbs are fully dried when they crumble to the touch instead of bending. Typically herbs with small leaves (e.g., mint) will take about 15 minutes total, while larger leaves such as basil will take up to 30-35 minutes to fully dry.
It’s perfectly fine to dry different types of herbs together, but keep in mind the drying times may vary. I always like to place mine in clusters to remove each variety as it’s ready. Basil tends to have a more potent smell, so I let that guy dry by himself.
Which Method Works Best?
The two methods that work almost universally are the oven drying method and air fryer method. To be honest, I could hardly tell the difference between the two sets of basil leaves below! Can you see a slight difference?
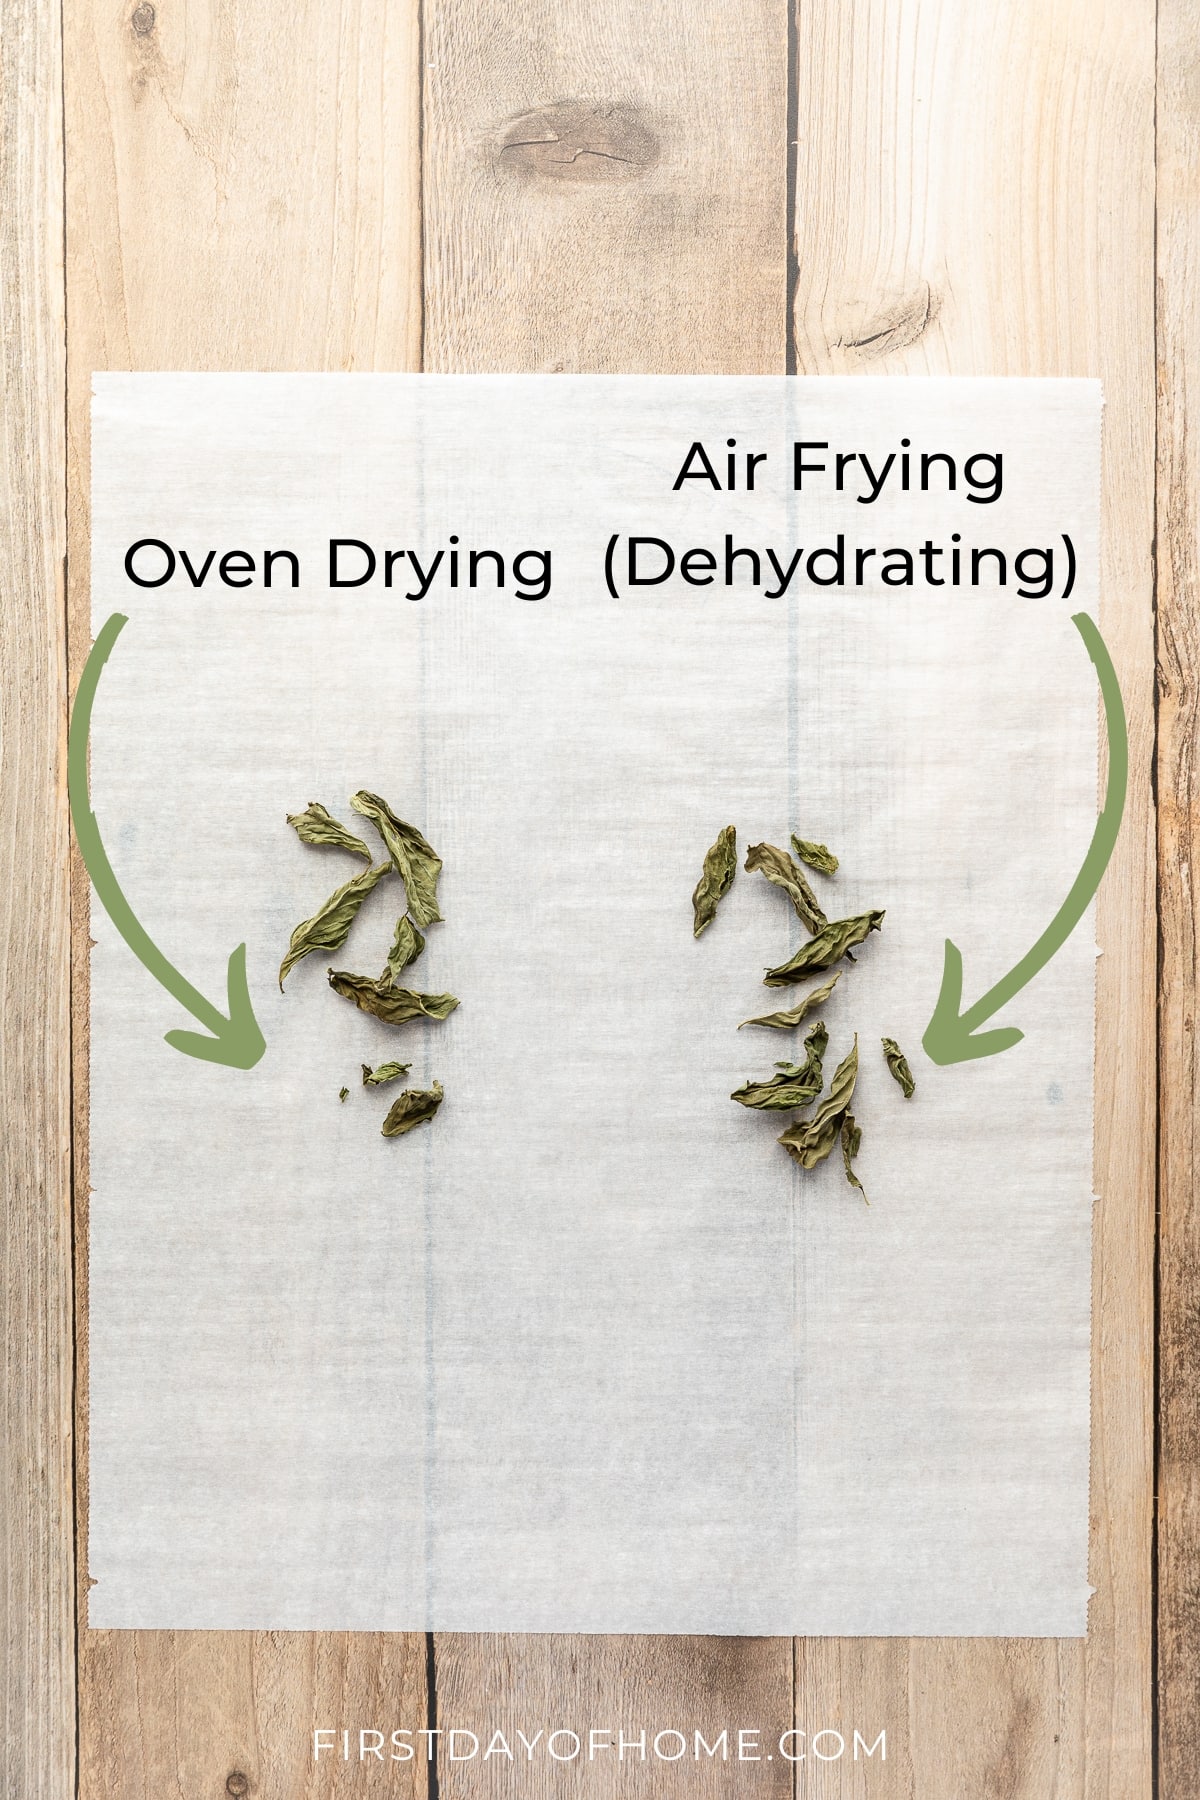
I’ve even dried herbs in the oven at 200ºF (a little higher than typically recommended), and they turned out just as flavorful.
How to Store Dried Herbs
Keep dried herbs in glass jars with lids away from direct sunlight for best results. I like to reuse spice containers and create labels for easy storage.
Most dried herbs will last 1-2 years until they eventually lose some potency. The less oxygen, light, and moisture they receive, the better your dried herbs will keep.
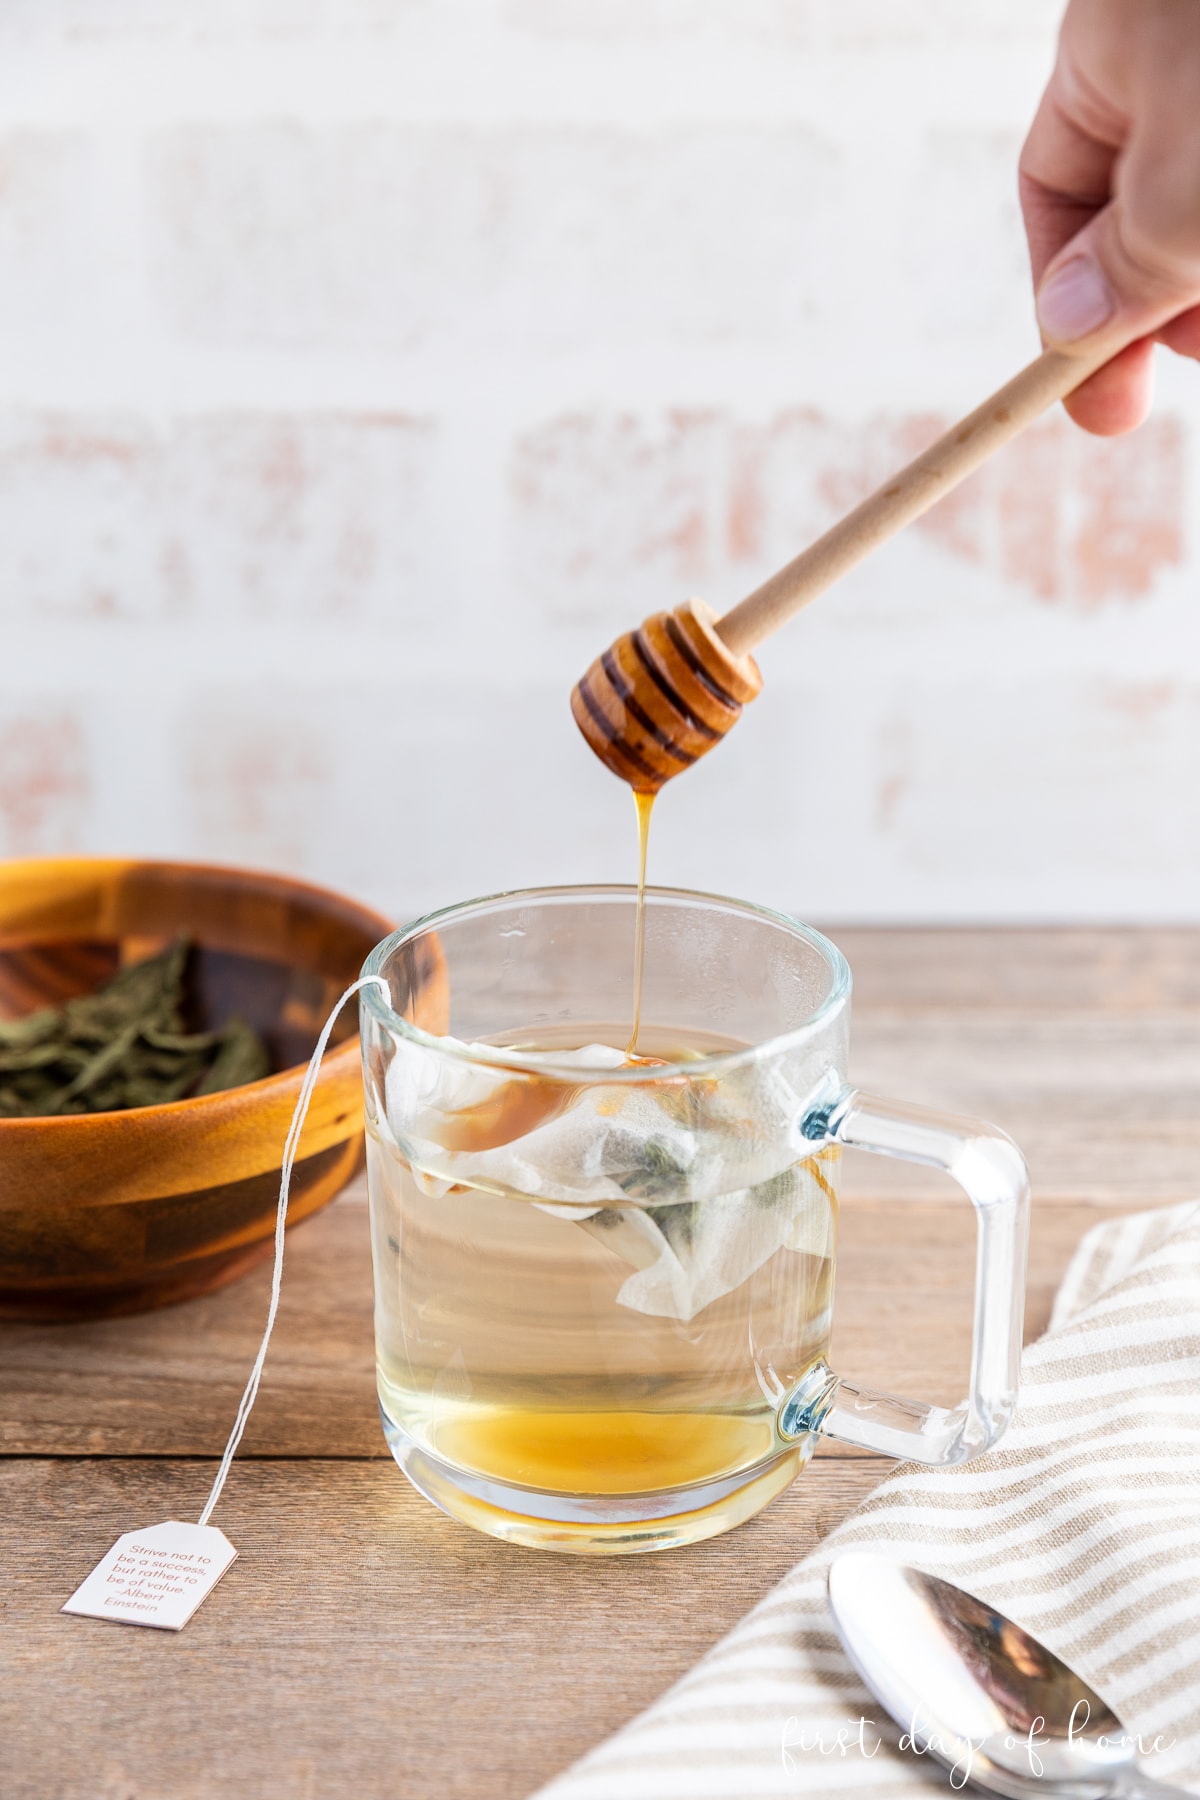
How to Make Tea with Dried Herbs
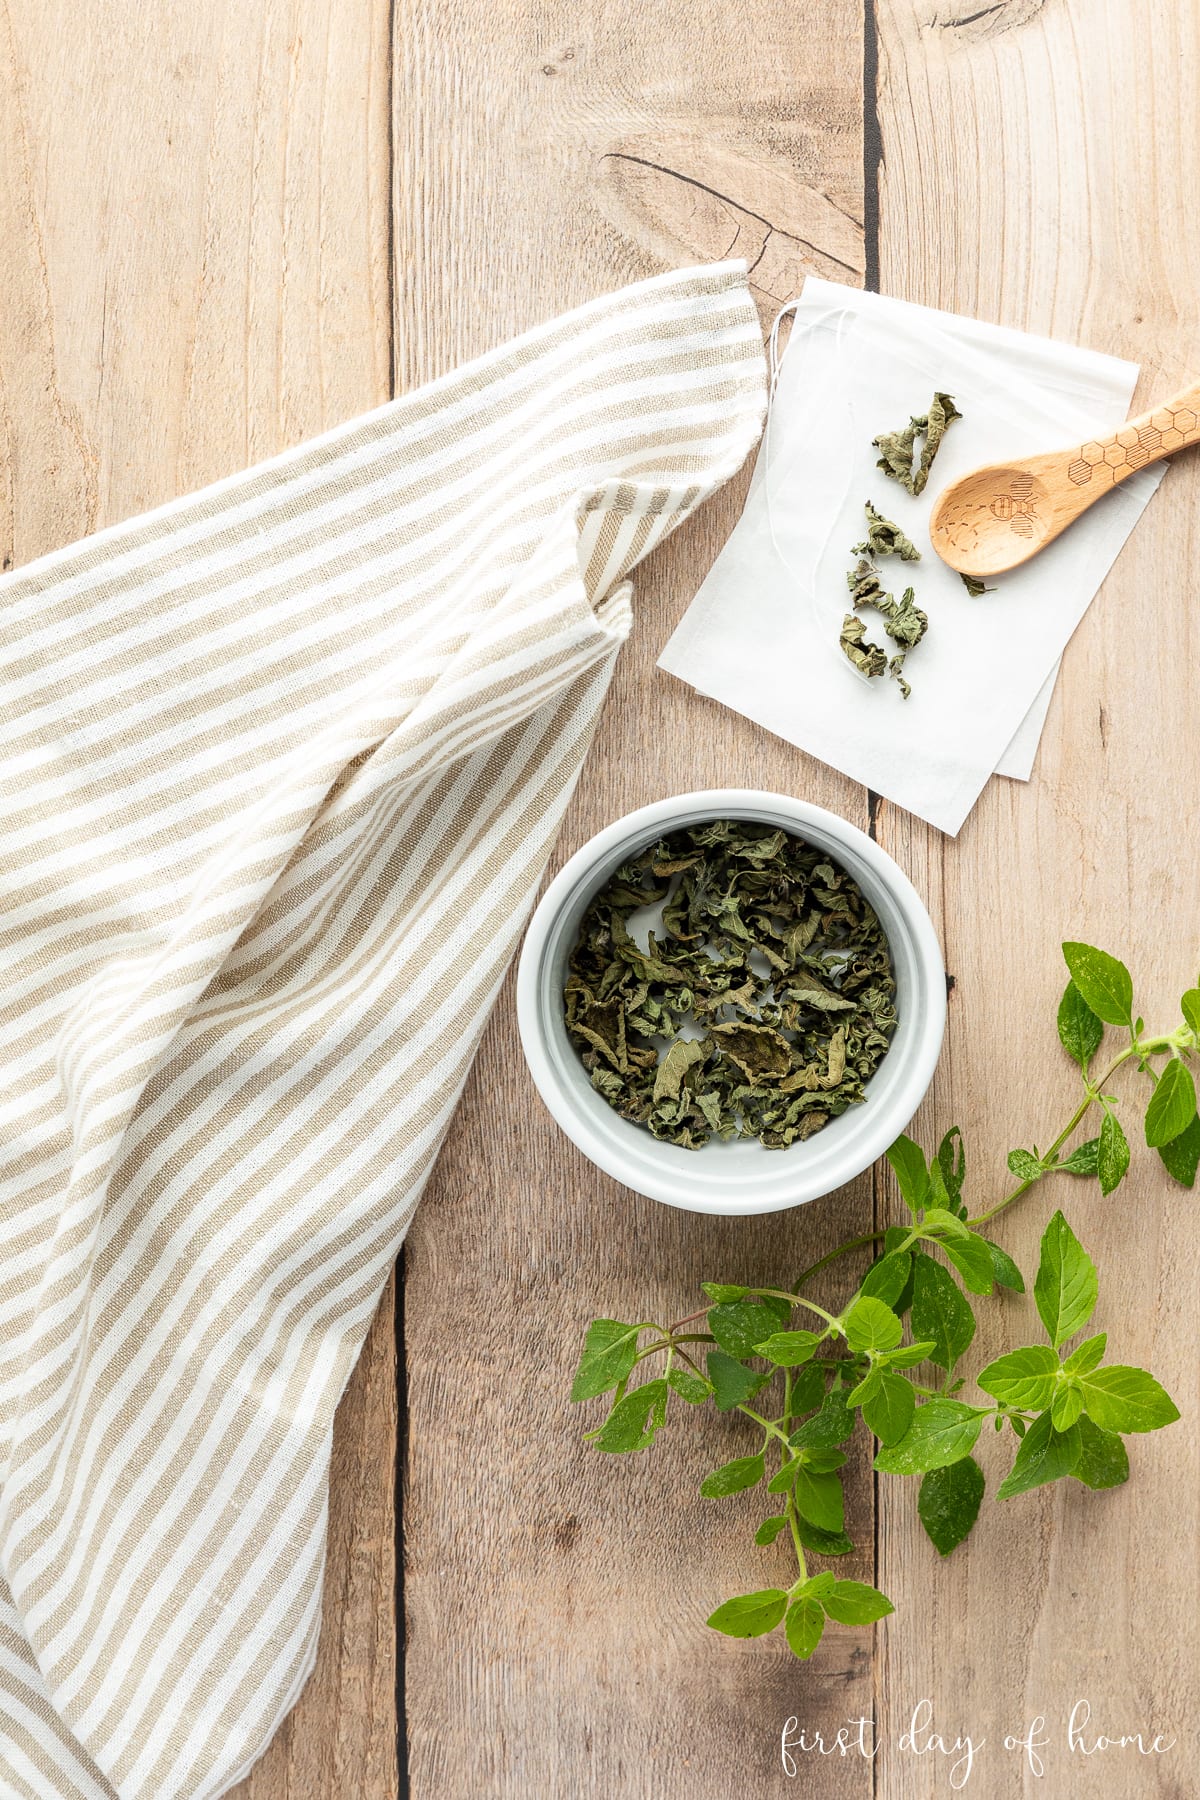
To make individual portions of tea, you can buy empty tea bags and stuff about 1 tablespoon of dried herbs in each. My favorite special blend is a mix of sweet mint, banana mint, and lemon balm. I also like to add the occasional pinch of culinary lavender buds. For maximum flavor, crush the leaves together in the tea bag just before you’re prepared to brew a cup.
In the oven drying method above, you’ll notice each batch will make about 1-2 tablespoons of dried tea depending on the size of your leaves.

Here’s the fun part!
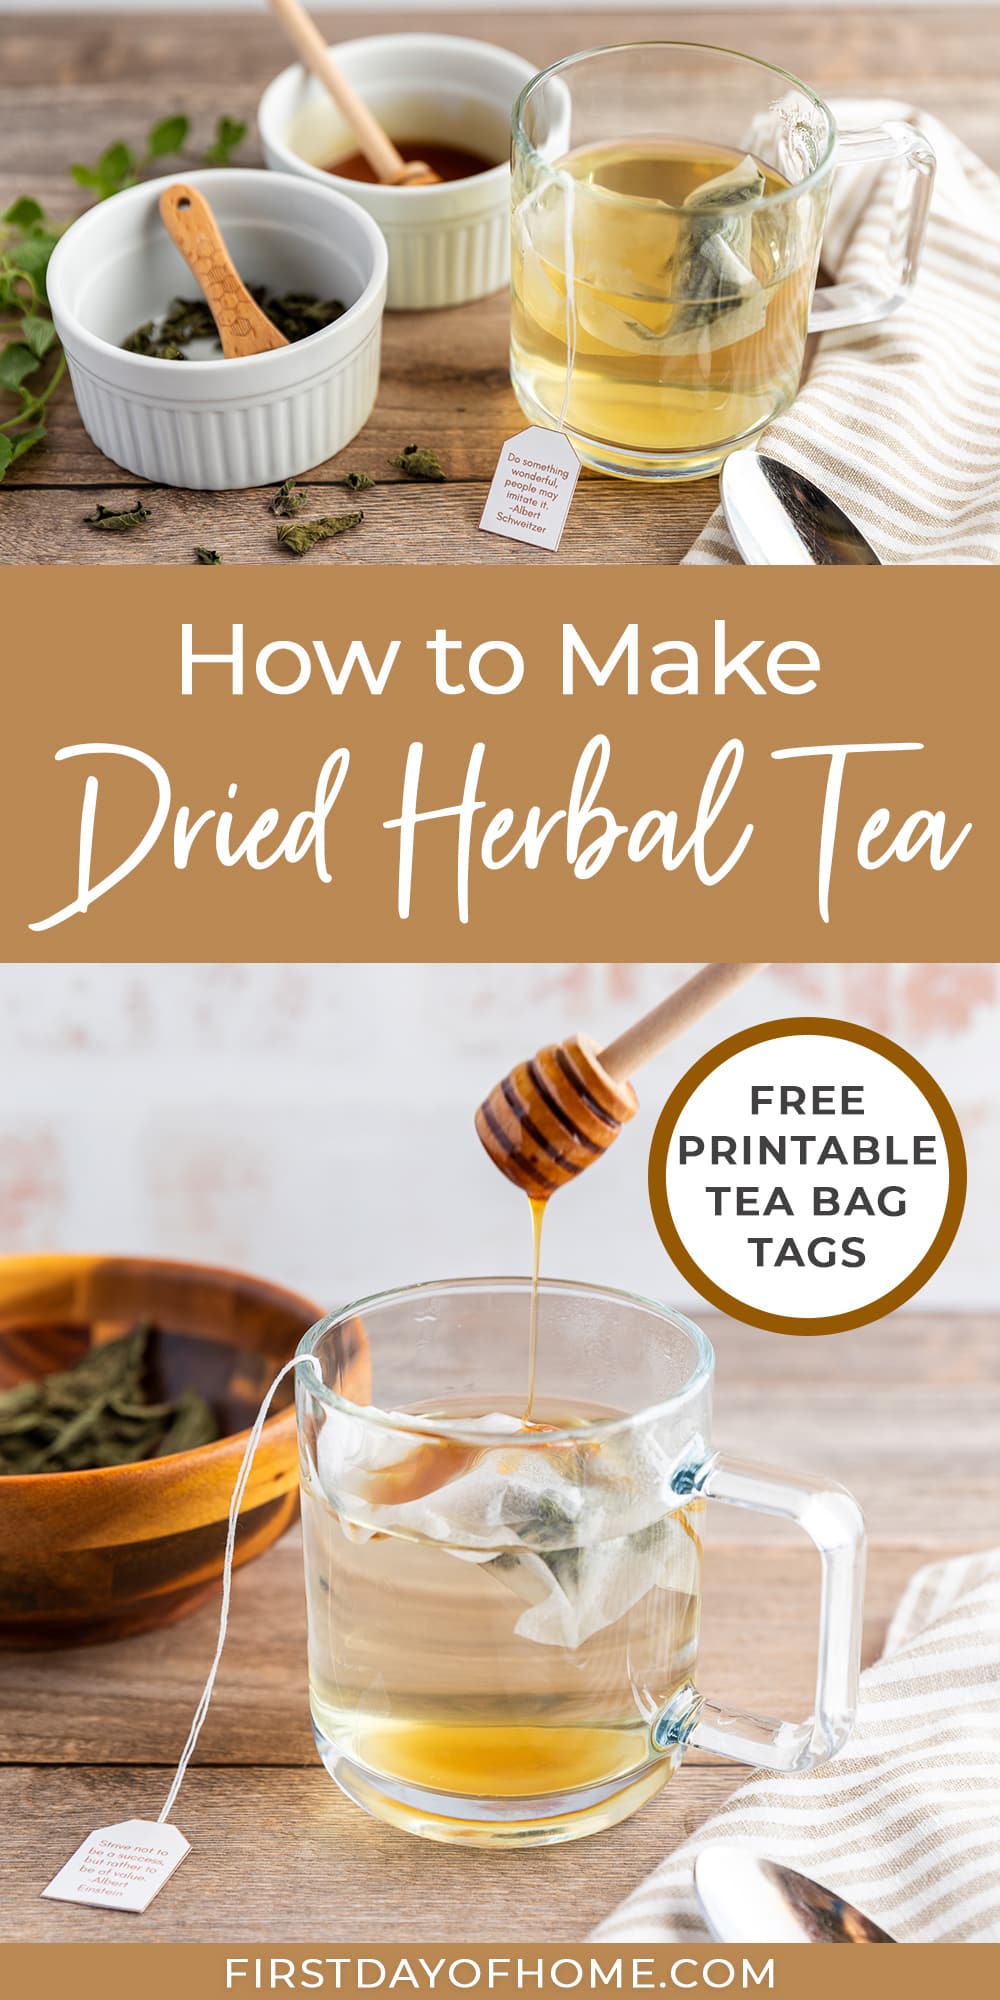
Add a personal touch by attaching a tag to each tea bag. I’m offering a nifty set of free printable tea bag tags with motivational quotes as a thank-you to my newsletter subscribers. There are 18 quotes to choose from to make your tea look “extra special” for gifting.
You can also print a label with details about the herbs you used and how long to steep your special blend. (I recommend a steep time of 5-10 minutes.) These free printable recipe cards may come in handy for that purpose.
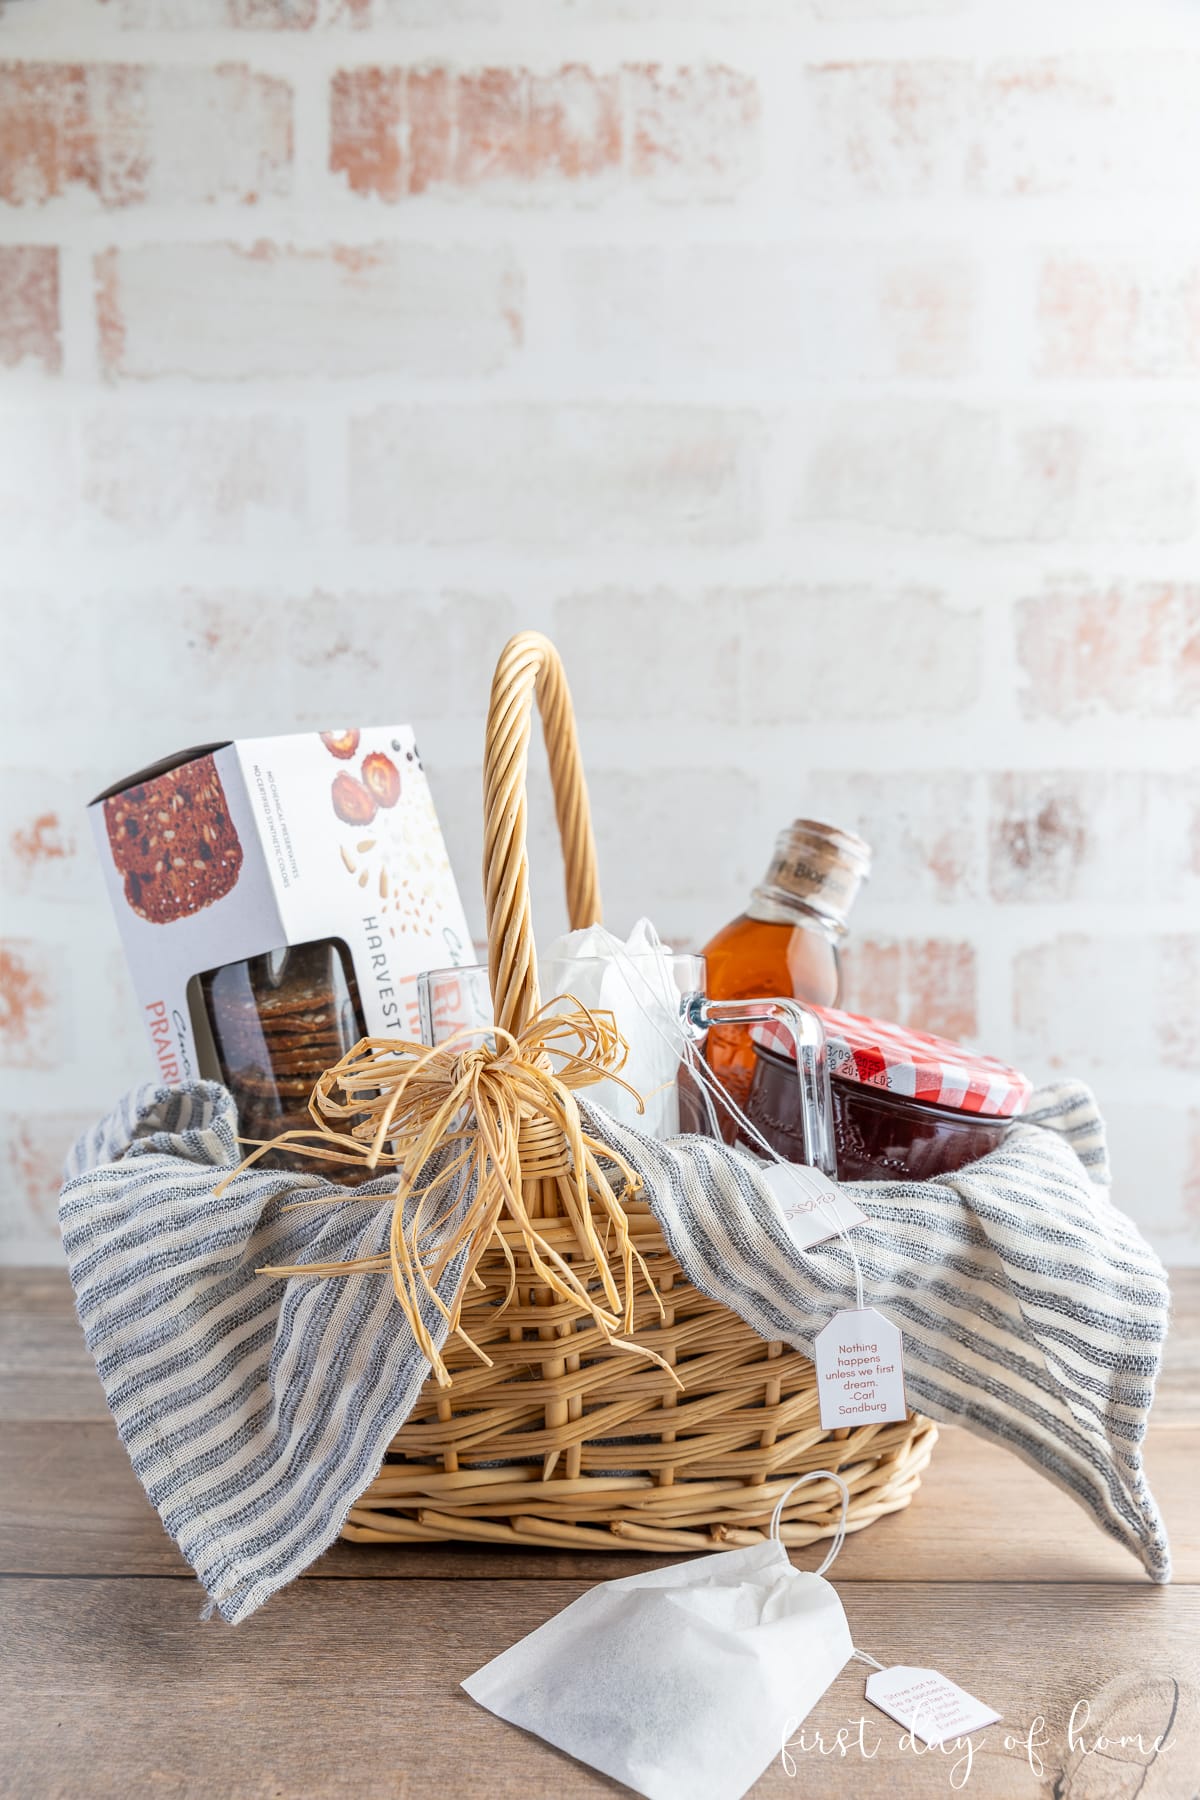
I like to include a honey dipper and a few other tea-time treats whenever I give homemade tea as a gift. Consider adding some fruit preserves, tea crackers, or even homemade tea towels to complete a gift.
Best Dried Herbs for Cooking
Rosemary, thyme, basil, parsley, and oregano are my favorite dried spices for cooking. You can create your own bread dipper mix with minced garlic, rosemary, thyme, black pepper, parsley, and sea salt. Just add olive oil to the spices and dip your focaccia bread in for a little slice of Heaven!
Consider also making herb-infused butters, dressing up your marinara, or creating the perfect caprese salad using dried herbs from the garden.
How to Make Sachets with Dried Herbs
I love using herbs like dried lavender mixed with dried flower petals and rice to create my own sachets. A touch of essential oil never hurts either. If you add enough rice, you’ll easily have a microwavable heating pad infused with the aroma of garden herbs.
How do you plan to use your dried herbs? Drop me a line in the comments below, or share your pic with me over on Instagram!
Pin it for later!
FAQs
-
How long do dried herbs last?
When stores in an airtight container away from sunlight, dried herbs can last 1-2 years until they begin to lose flavor. A good indicator of freshness is the amount of fragrance from an herb has when crushed. Storing whole leaves also helps to retain freshness.
-
How can you store fresh herbs until you’re ready to dry them?
To prevent leaves from wilting, store fresh stems in a glass of water. Avoid placing fresh herbs in a refrigerator, and try to dry them within 1-2 days of harvesting for the best results.
-
Can you use fresh herbs instead of dried herbs for teas or cooking?
Yes! You can substitute fresh herbs for dried herbs in a recipe. Since dried herbs will have more flavor for the same amount, use 1/3 the amount of dried herb in place of fresh herb in a recipe.
-
What is the best way to preserve dried herbs?
Store dried herbs in mason jars or spice jars with a tight-fitting lid. To prevent sunlight from degrading the flavor, it’s best to keep dried herbs in a pantry or cupboard away from sunlight. Limiting the amount of extra space in a jar can also help retain freshness. Avoid exposing dried herbs to moisture as well to prevent mold from forming.
-
Can you dry whole stems of herbs?
Yes! Some herbs have delicate leaves that make it difficult to dry them individually. In this case, you can dry them with stems on and either store them whole or remove leaves as desired. If drying in an air fryer, it’s best to leave delicate leaves on the stem and place them under the grill pan.

How to Dry Herbs
Equipment
- air fryer (air fryer method only)
Supplies
- fresh herbs
- paper sack (air drying method only)
- paper towel (microwave method only)
- parchment paper (oven drying method)
- container with lid (for storing dried herbs)
- tea bags (optional)
Instructions
Air Drying Method
- For herbs with thin leaves like rosemary, thyme, sage, and parsley, hang bunches of stems upside-down in a cool, dry place with indirect sunlight. About 5-7 days later, the herbs should be dry and brittle to the touch.
- For herbs with higher moisture content (e.g., mint, lemon balm, basil), place stems in a paper sack with holes punched throughout to allow for airflow. Wait 5-7 days for the herbs to dry inside the paper sack.


Microwave Method
- Place fresh herbs on a paper towel, separating the leaves first, if desired. Microwave on medium power for 30 seconds. Continue microwaving in 15-second intervals on medium power until the leaves begin to turn crisp.
Air Fryer Method
- Place a layer of leaves or stems on the bottom of the basket. Then cover them with the grill pan. For herbs with smaller leaves, consider leaving the stems attached to prevent leaves from moving around the air fryer while dehydrating.
- Follow the manufacturer's directions for dehydrating food. Using the dehydrate function (typically 90-100º F), dry herbs for about 1-2 hours, checking periodically to see when the herbs are crisp and dry. Some herbs with thicker leaves may take longer to dry depending on your machine.

Oven Method
- Begin by pre-heating your oven to 180ºF (82º C) or as low as your oven will allow.
- Separate the leaves in a single layer onto a cookie sheet lined with parchment paper. (The paper makes it easier to pour the dried herbs into a container later.)
- Place the leaves in the oven and check them every 5-10 minutes until they turn crisp. Typically herbs with small leaves (e.g., mint) will take about 15 minutes total, while larger leaves such as basil will take up to 30-35 minutes to fully dry.
- For more airflow, leave the oven door cracked, but only if you can do so safely while monitoring the drying process.

Storing Dried Herbs
- Store dried herbs in a tightly sealed container, and wait to crush the leaves until you are ready to use them for cooking, homemade tea or other herbal remedies.

Notes
- Banana mint
- Basil
- Chamomile
- Dill
- Oregano
- Lavender
- Lemon balm
- Parsley
- Rosemary
- Sweet mint
- Thyme

Thank you for this information. I have an abundance of fresh herbs just waiting to be dried and stored for later use.
Happy Summer,
Kippi
I hope you enjoy using all those herbs, Kippi!
Great post Crissy! I planted chocolate mint this spring and I am looking forward to using it for tea. Thanks for the inspiration! Pinned 🙂
Thanks, Cindy! I wish I had some chocolate mint right now. I planted banana mint for the first time, and it has a nice subtle flavor too. Thanks for pinning! XO, Crissy
I’m actually drying oregano right now so this is perfect timing, thanks for all the amazing tips!
That’s great, Kristin! I hope you enjoy cooking with your oregano! Thanks for stopping by.