How to Make a DIY Flower Press
Over the years, I’ve enjoyed pressing flowers using almost every technique imaginable. My DIY flower press is near and dear to my heart because it has an old-world vibe and gives beautiful, consistent results. You can make a DIY flower press in a matter of minutes to enjoy blooms all season long.

This post contains affiliate links, and I will be compensated if you make a purchase after clicking on my links. For more information, please see my disclosures.
Why press flowers?
Did you grow up pressing flowers like I did? I have fond memories of exploring the woods with my mom and picking a few small wildflowers to place in a vase at home. Before they faded, we’d press them flat in a book with newspaper and wait for them to dry.
There are countless ways to press flowers or preserve whole flowers. I’ve written several articles on these topics, including my complete guide on How to Press Flowers, which is a great introduction for beginners.


Pressed flowers should have a place in every crafter’s toolbox if you ask me! They add the perfect touch to resin crafts, jewelry, bookmarks, botanical art, and stationery.
The flat nature of pressed flowers makes them perfect for decoupage, framed art, and all types of flower crafts. Plus, you can easily store them for future projects when the mood strikes.
To explore other flower-drying methods, including 3D techniques, be sure to visit my video on 5 Ways to Dry Flowers.

Project Overview
- DIFFICULTY: Easy/Beginner
- TIME REQUIRED: 30 minutes
- COST: $20-30
- PRESSING TIME: 2-3 weeks
Making a DIY Flower Press
To make this DIY flower press, I used materials that require minimal effort to assemble. I’ve linked the exact materials below, but you can also find them in a local hardware store.
If the idea of woodworking scares you, rest assured you won’t need fancy equipment for this project.
Supplies
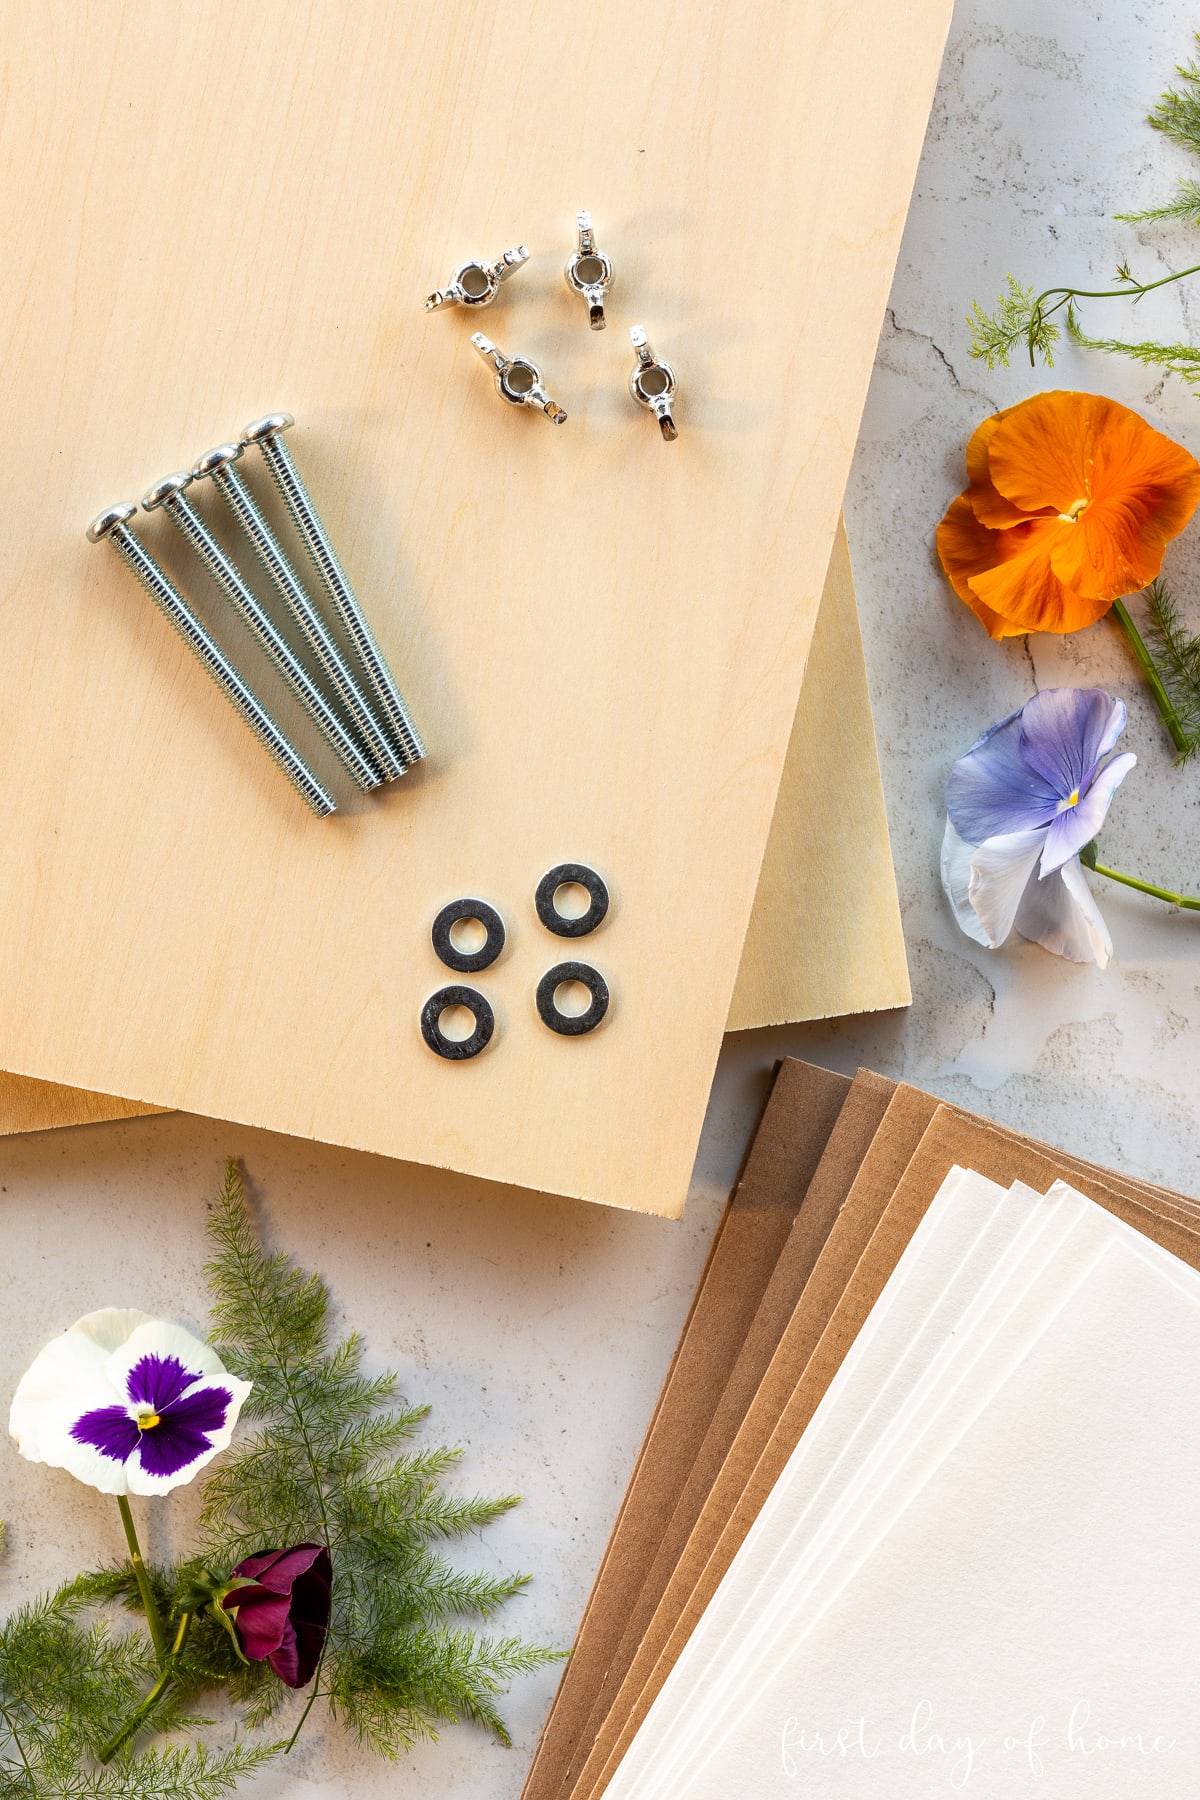
- Plywood boards (2 pieces)
- Screw bolts with wing nuts and washers (4 each, 3-inch bolts)
- Blotting paper or parchment paper
- Cardboard
- Power drill
Note: You can create a flower press in any size you like. I chose a set of pre-cut boards that measure 12 x 12 inches to give me plenty of flexibility. This is a great scrap wood project too.
This flower press design allows you to press many layers of flowers, so the main question is how large a specimen you want to press. My blotting paper measures 11.7″L x 8.3″W, so a 12″ x 12″ flower press fits perfectly with no trimming needed.
Types of Paper for Flower Pressing
I recommend using blotting paper or another absorbent paper for flower pressing. (You can reuse blotting paper many times too.) Parchment paper has also worked well for me when book pressing.
I do not recommend using paper towels, as the texture will often imprint on the flowers. The pigment from the flowers will also bleed through paper towels. Wax paper is also not ideal for flower pressing since it doesn’t absorb moisture.
Step 1: Mark holes for drilling
Measure and mark four holes on one of your wood pieces, about 1 inch from each corner. I like to measure from each edge to form an “x” where I need to place the bolt.

Take into account the size of your paper, and leave enough room from the edge to keep the wood stable when tightened.
Note: If you use a larger sheet of paper that overlaps the wood press, you can always trim the corners of the paper to fit.
Step 2: Drill holes through both boards
I used a 1/4-inch drill bit to match the size of my bolts. Before you begin drilling, it helps to make a small indentation with an awl or sharp tool to help guide the drill bit.

To make the job easier, drill through both pieces of wood at once. I used clamps to secure the pieces together and then clamp them to my work table. This ensures that the holes are perfectly aligned as long as you keep the drill straight.

Pro Tip
Before drilling, place a piece of scrap wood beneath the bottom board and clamp it in place. This prevents the bottom board from splintering and leaves a cleaner hole.
At this point, you can choose to paint or stain your homemade flower press. Just allow each piece of plywood to dry completely before pressing your flowers.
Step 3: Assemble the flower press
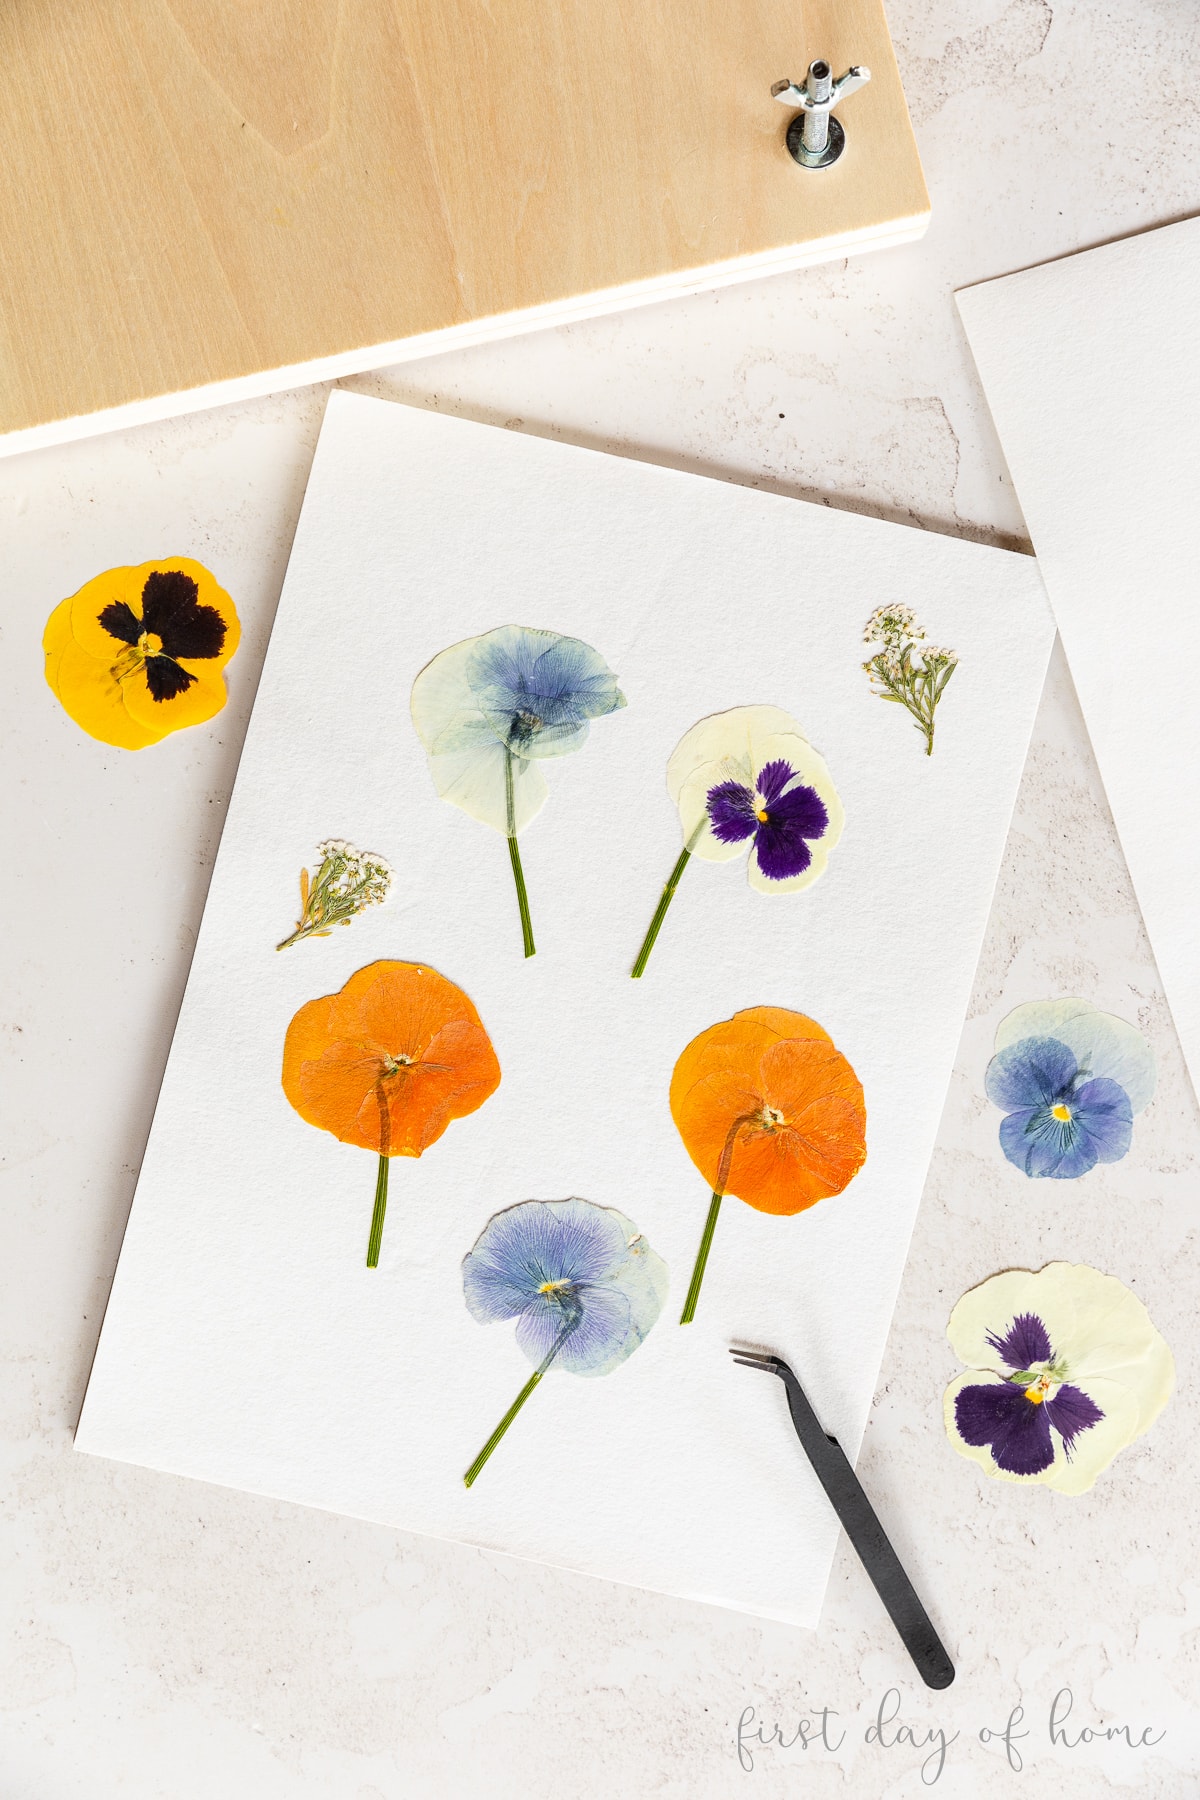
Now to my favorite part! Once you’ve drilled all four holes, place the bolts sticking up through the bottom board. Then, layer a piece of cardboard with blotting paper on top before placing your flowers down.

Leave some space between the flowers to avoid any overlap. You may want to finger-press some flowers to position them as you like.
Sometimes removing stamens will help prevent stains on overlapping petals. Whether you leave the stems or remove them is a personal choice.
Finish the assembly with another piece of blotting paper on top, followed by cardboard.
Pro Tip
In the corner of your blotting paper, mark the date of your pressing to keep track of how much time has passed for each layer.
Step 4: Tighten the bolts with wing nuts
Once you’re satisfied with the flower placement, slide the top board through the bolts. Then place a washer on each bolt and screw on the wing nuts.

Place the flower press in a cool, dry area away from sunlight. It’s not necessary to place the flower press in a sealed container or plastic bag, as this could cause moisture to get trapped inside.
You can continue to add more layers to the press over time by loosening the bolts, adding more paper and cardboard, and tightening the press again.
Step 5: After 2-4 weeks, remove pressed flowers
The pressing time will differ depending on the types of flowers used. You can check on the flowers every 5-6 days by gently pulling up one corner of the blotting paper.
Once the flowers are completely dry to the touch and don’t wilt, you’ll know they are ready. Usually, they will remain crisp like a thin piece of paper.
Here are the results after about 10 days of pressing my first batch of flowers.
As you can see, the pansies are paper-thin, and the color looks vibrant.

You can make countless projects with pressed flowers, from ornaments like the one below to pressed flower stickers. Press your blooms in the spring and keep them in a cool, dry container for craft projects all year long.

Best Flowers to Press
Some of my favorite flowers to press are pansies, vincas, violas, violets, angelonia, cosmos, poppies, calendula, anemones, Queen Anne’s Lace, single-petal roses, and daisies. Flowers with flat faces or simple petal structures work best.
For larger flowers with thick centers, consider removing the petals before pressing and then reassembling the flower later.
Tips for Pressing Flowers
To get the best results when pressing flowers, follow these general rules:
- Pick flowers in the morning after the dew has evaporated.
- Pick flowers immediately before pressing, if possible. They can begin to wilt if left out of water too long.
- Avoid picking flowers with blemishes or dark spots.
- Avoid pressing flowers with thick centers or water-rich petals and stems (like begonias).
Pressed flowers may lose some color as they dry out. Flowers with white or yellow petals typically become darker or develop a brownish hue after drying. This can add to the vintage charm of pressed flowers, though!
Part of the fun is experimenting and finding a combination you love. Happy pressing!
Pin it for later!


Great info Crissy! I have a book press that I could use. I’m so looking forward to spring! Pinned!
You’re so kind, Cindy. Thank you! Yes, a book press will do the job too. I can’t wait for spring either, my friend!