How to Make Decoupage Easter Eggs with Napkins
I grew up dying Easter eggs with food coloring and vinegar, but my latest obsession is making beautifully decorated eggs with Mod Podge and paper. Today, I’m sharing everything you need to know to make your own decoupage Easter eggs with napkins.

This post contains affiliate links, and I will be compensated if you make a purchase after clicking on my links. For more information, please see my disclosures.
How to Make Decoupage Easter Eggs
One of my most popular Easter posts is my decoupage eggs made with scrapbook paper. It’s the perfect technique if you’re using thick paper and want a more rustic, mosaic result. This is just one of many decoupage techniques I’ve used over the years.
For this year’s project, I decided to use my decoupage napkin technique, which I shared in a recent YouTube video.
Unlike my previous craft, this one uses wooden eggs as the base (instead of paper mache) and Dollar Tree napkins instead of scrapbook paper. Prepare to be amazed by the results!
Watch This Tutorial
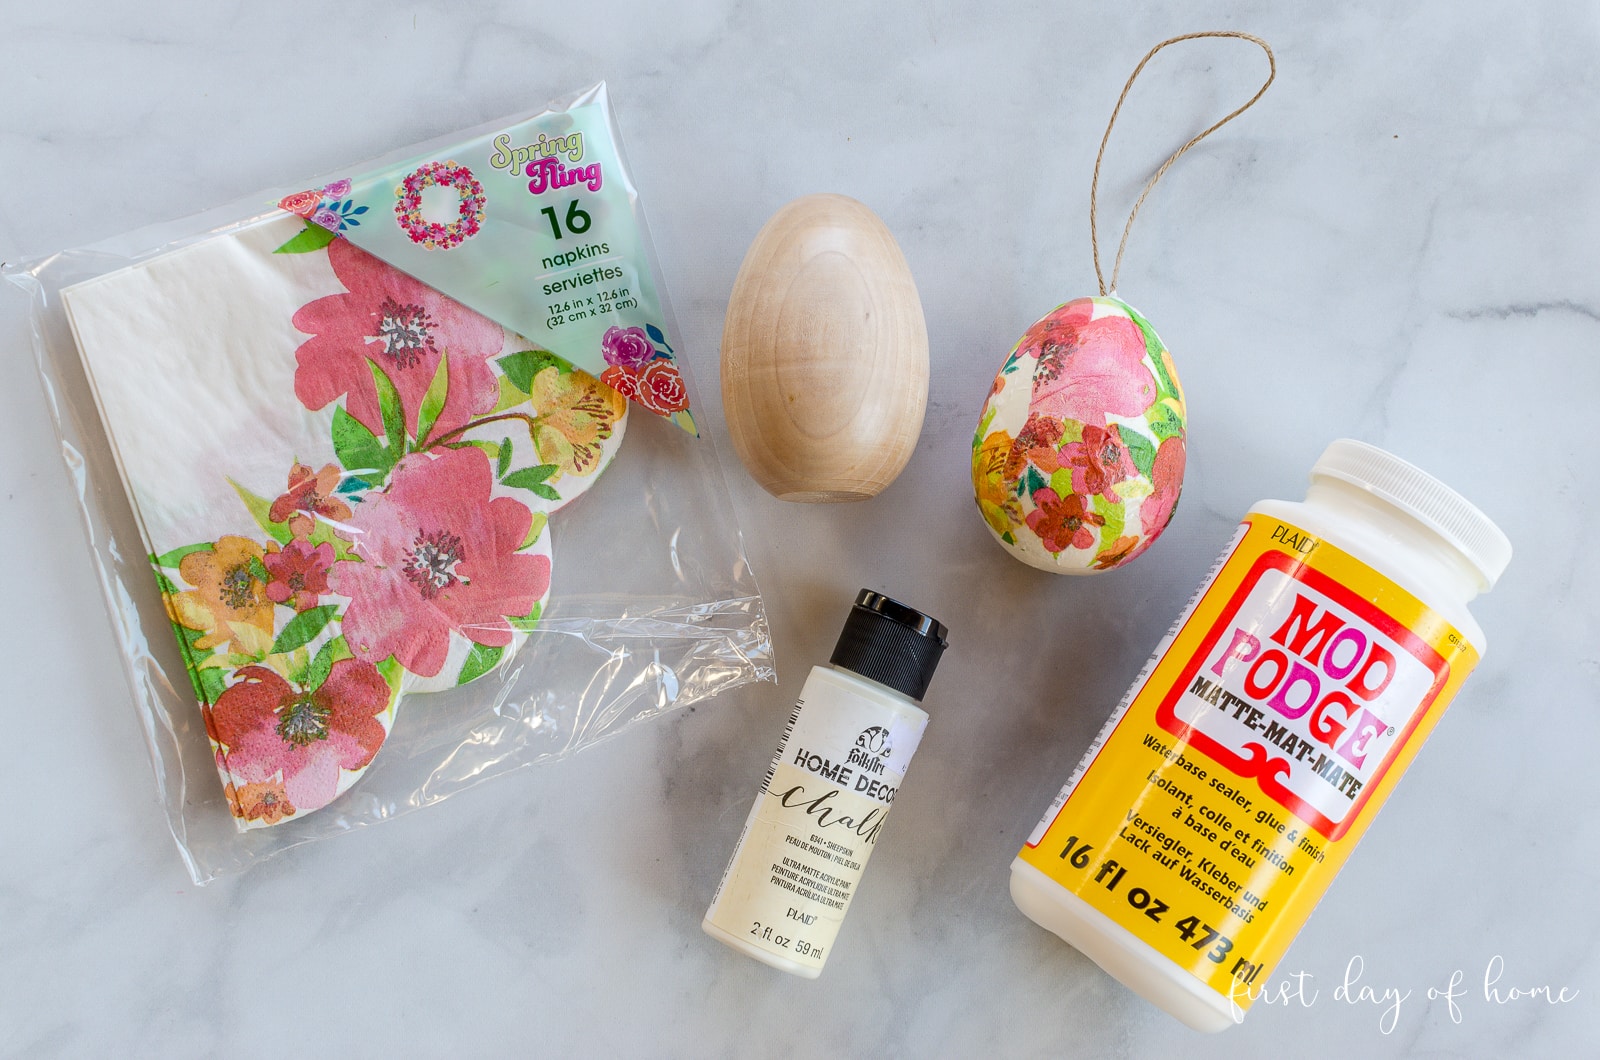
Supplies
- Wooden eggs or ornaments
- White acrylic paint
- 2-ply or 3-ply napkins or decoupage paper
- Mod Podge (matte or gloss)
- Paint brushes
- Food storage wrap
For your convenience, I’ve linked all the supplies you’ll need at the end of this post.
Step 1: Paint the wooden eggs
First, we need to paint the eggs to provide a good base to showcase our napkins. I used this chalk paint since I already had some on hand, but any acrylic paint will do.
For this type of project, there’s no need to paint a second coat unless you have extra time on your hands.
Tip
If you’re making ornaments, you can hang the ornament to dry on a hanger using a clothespin.
Step 2: Separate plies of napkin
Most napkins come in 2 or 3-ply varieties. You’ll want to isolate only the printed layer. Yes, it’s not always easy to do. Get your nails in there, girlfriend!

In this case, my lovely Dollar Tree beauties had only 2 plies, which made it easy to separate the layers.
Step 3: Cut napkins into small shapes to apply to egg
Based on the design of your napkins, you’ll want to trim the ply into smaller shapes. I molded the napkin around my egg to determine where to cut it.

Step 4: Apply Mod Podge and press napkin onto the egg
Okay, here’s the trickiest part of the whole tutorial! Start by applying a thin coat of Mod Podge Matte on the surface of the egg. When you apply very thin napkins to your egg, your hands can easily stick to the surface, and we’re not trying to make handprint ornaments!
To avoid ripping the paper, gently place your piece of napkin onto the egg and then cover it with plastic food wrap to press it down in place. The plastic may stick to the paper, but it will peel off easily. Trust me!
You can also see this technique in action when I made this decoupage wooden tissue box a few years ago.
Step 5: Continue to trim and layer more napkin pieces
In my video, I also shared a nifty technique to easily “trim” around your pattern using a paintbrush with water.

After you apply the napkin to the egg, use the wet paintbrush to “draw” an outline that you can neatly tear away. It will leave very thin edges that blend in and make the egg look hand-painted.
Step 6: Seal the decoupage Easter eggs with Mod Podge
Once you’ve let your decoupage egg dry for about 20 minutes, you can apply 1 more coat of Mod Podge on top. (I used the matte formula for my egg ornaments, so you’ll notice they are not shiny.)
My advice is to apply the Mod Podge as quickly and evenly as possible without brushing over the napkin too many times. It can start to rip or tear if you brush too roughly.

Another option for sealing your decoupage Easter ornaments is this high-gloss acrylic sealer. I’ve used it in many decoupage tutorials, including my decoupage wooden spoons.
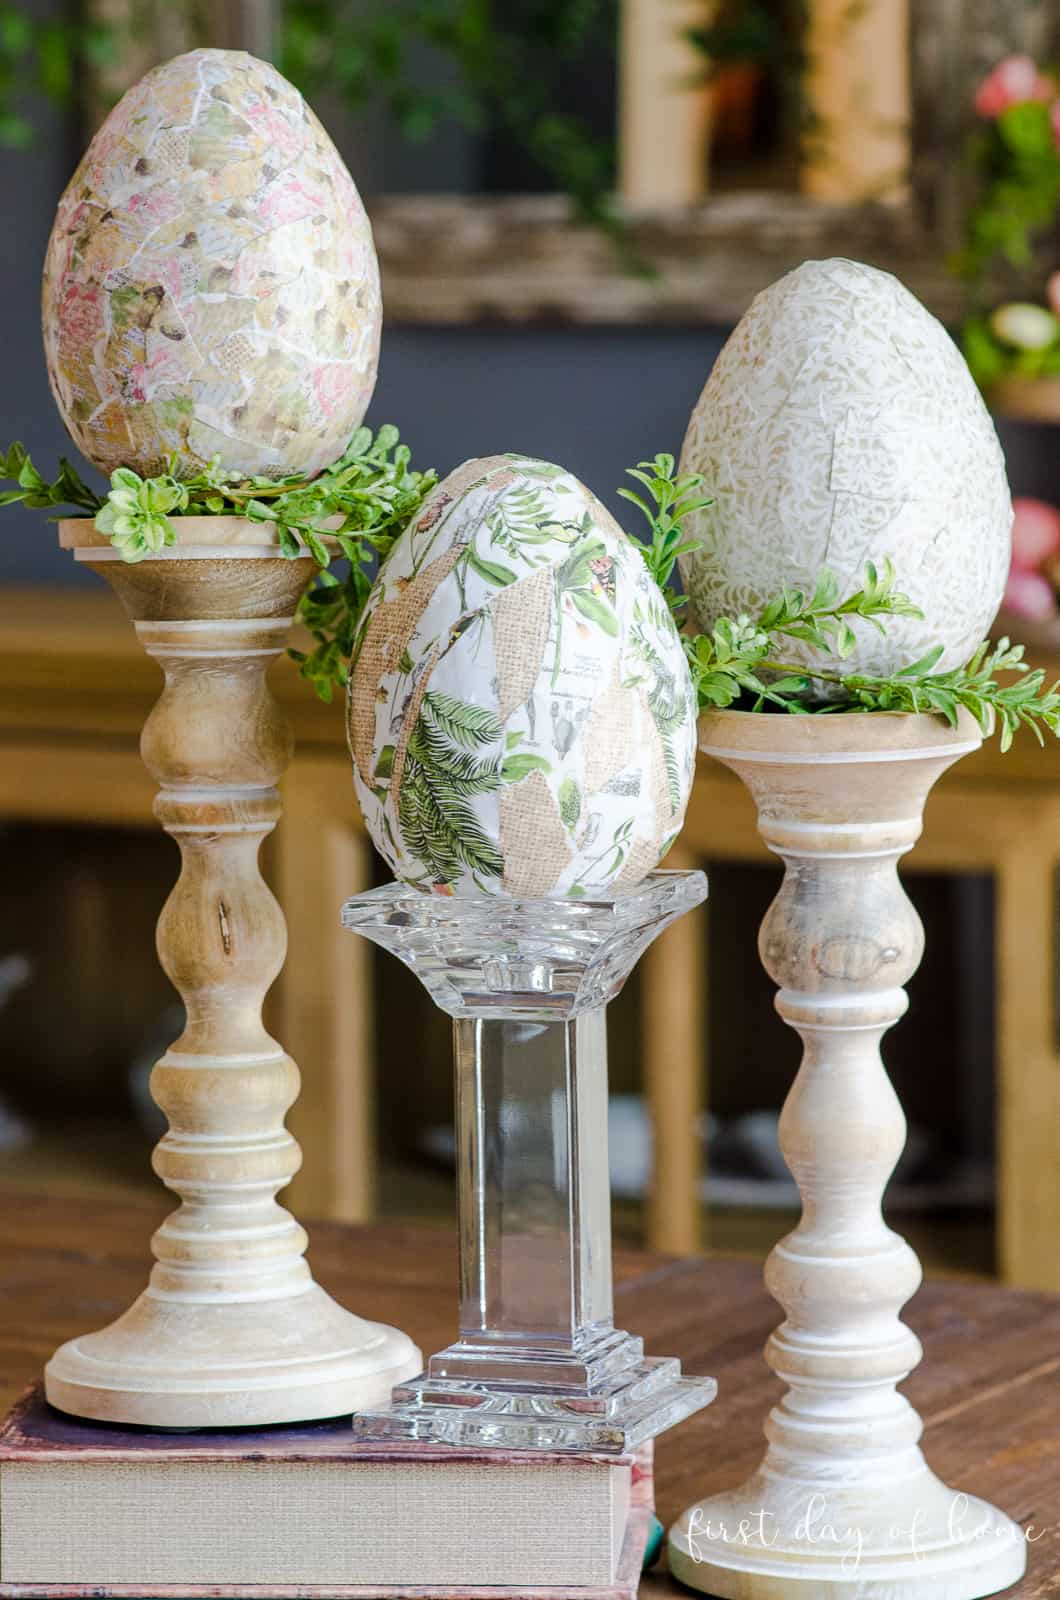
Ways to Decorate with Decoupage Easter Eggs
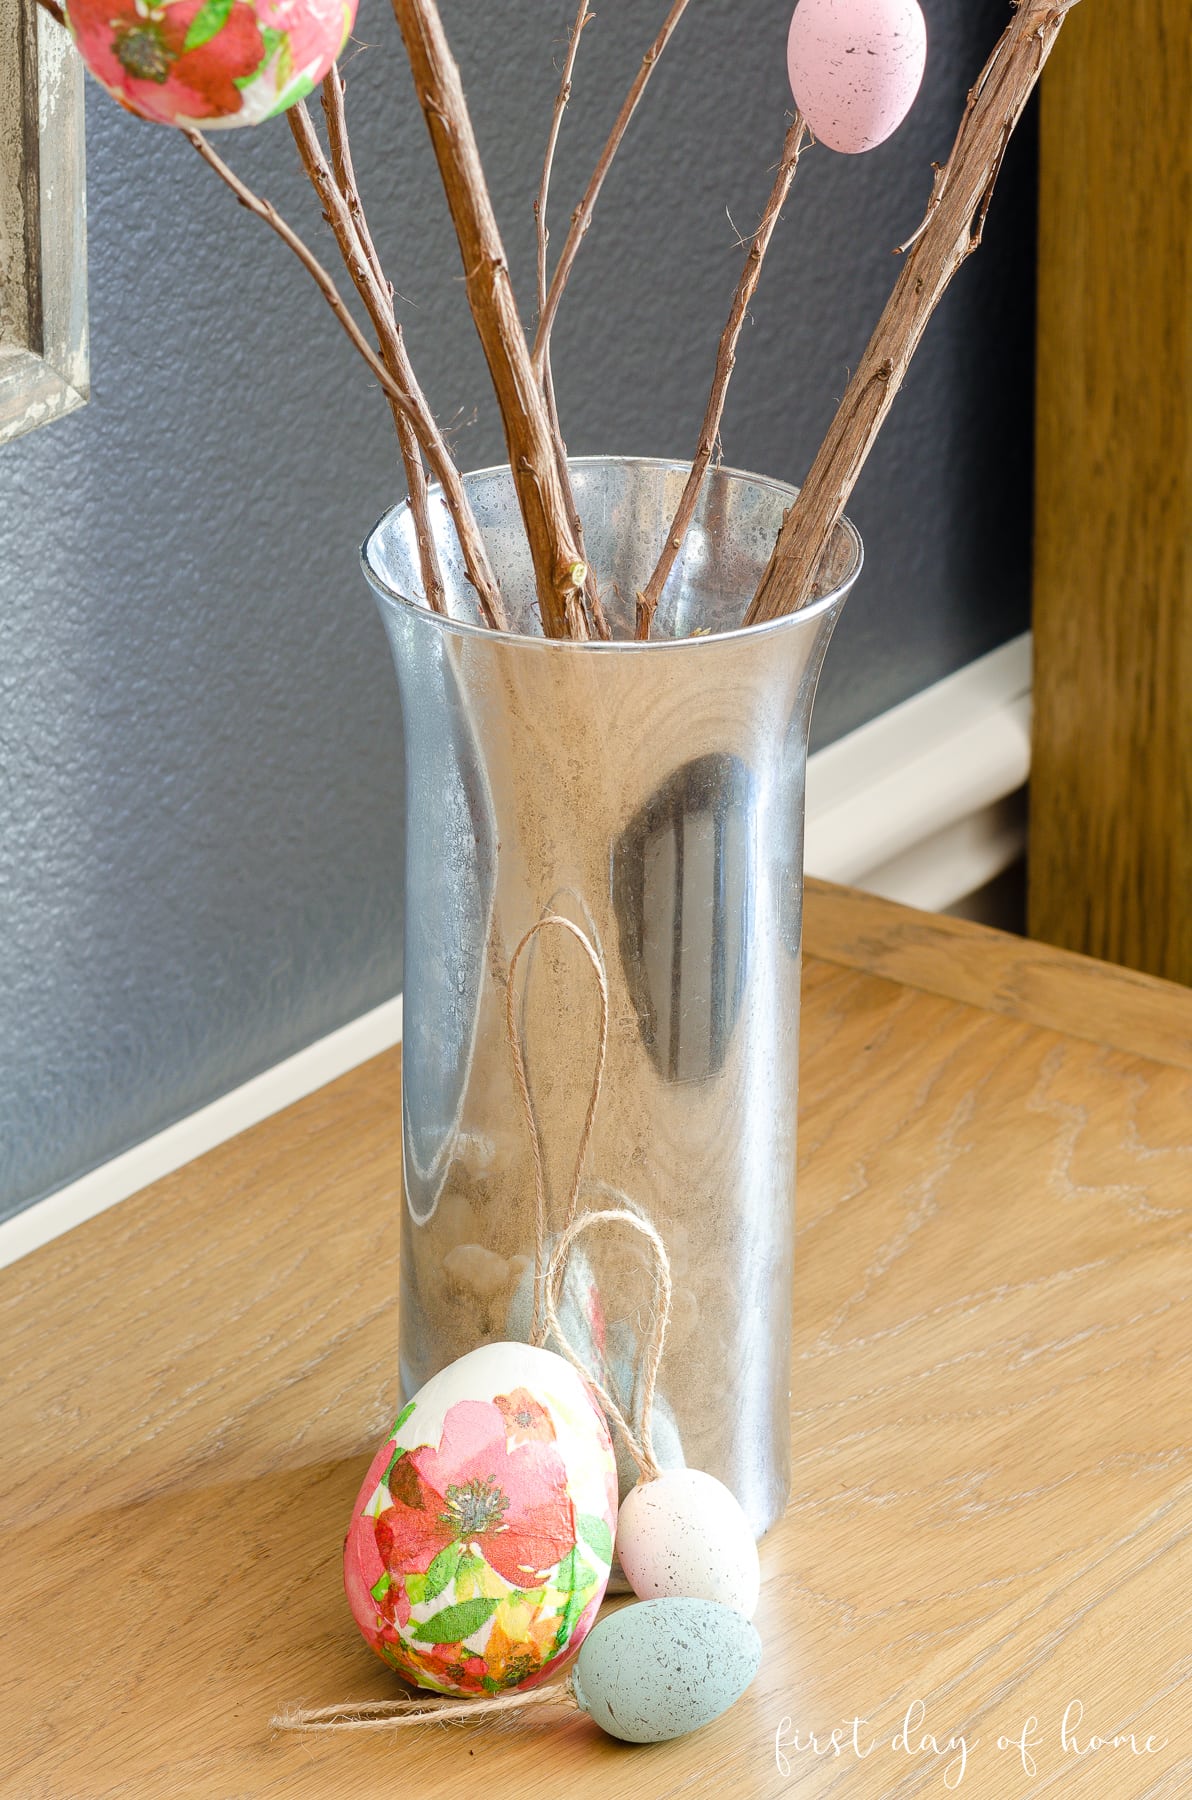
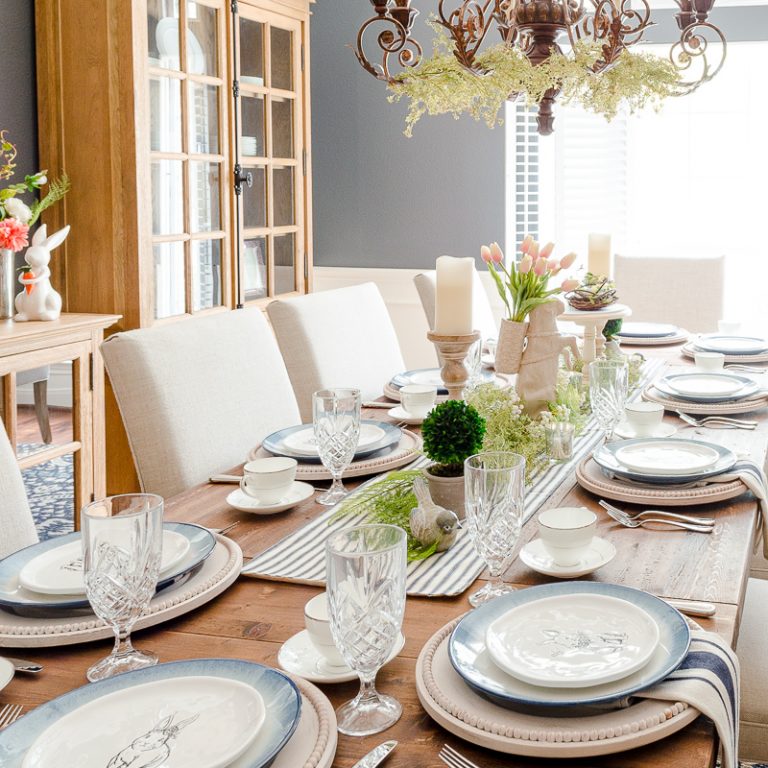
You have many options to decorate with decoupage eggs! I made a few ornaments to hang on an Easter tree, and I used others to place in nests, cloches, or baskets.

In my YouTube tutorial, I also shared my secrets to making this DIY mercury glass from a plain glass vase I bought at Dollar Tree.

You can visit my full library of decoupage tutorials for more ideas!
Shop the Post

More Decoupage Tutorials
For more Easter crafts, see my posts on making cascarones (confetti eggs) and DIY fabric carrots!
Pin it for later!

More Easter Craft Projects


I have not decorated Easter eggs yet not even with the grandkids. These are so nice and less messy than the dyes
Thanks, Leanna! Yes, kids can have a lot of fun creating their own eggs with drawings or craft paper. Enjoy, and Happy Easter! xo
Step 5 outlining the napkin with the paint brush is a great step. I have decoupaged eggs before and had issues with edges. Thanks for the tip.
Thanks, Leanna! It’s my favorite technique when using napkins. I hope you have fun doing some Easter projects with decoupage!