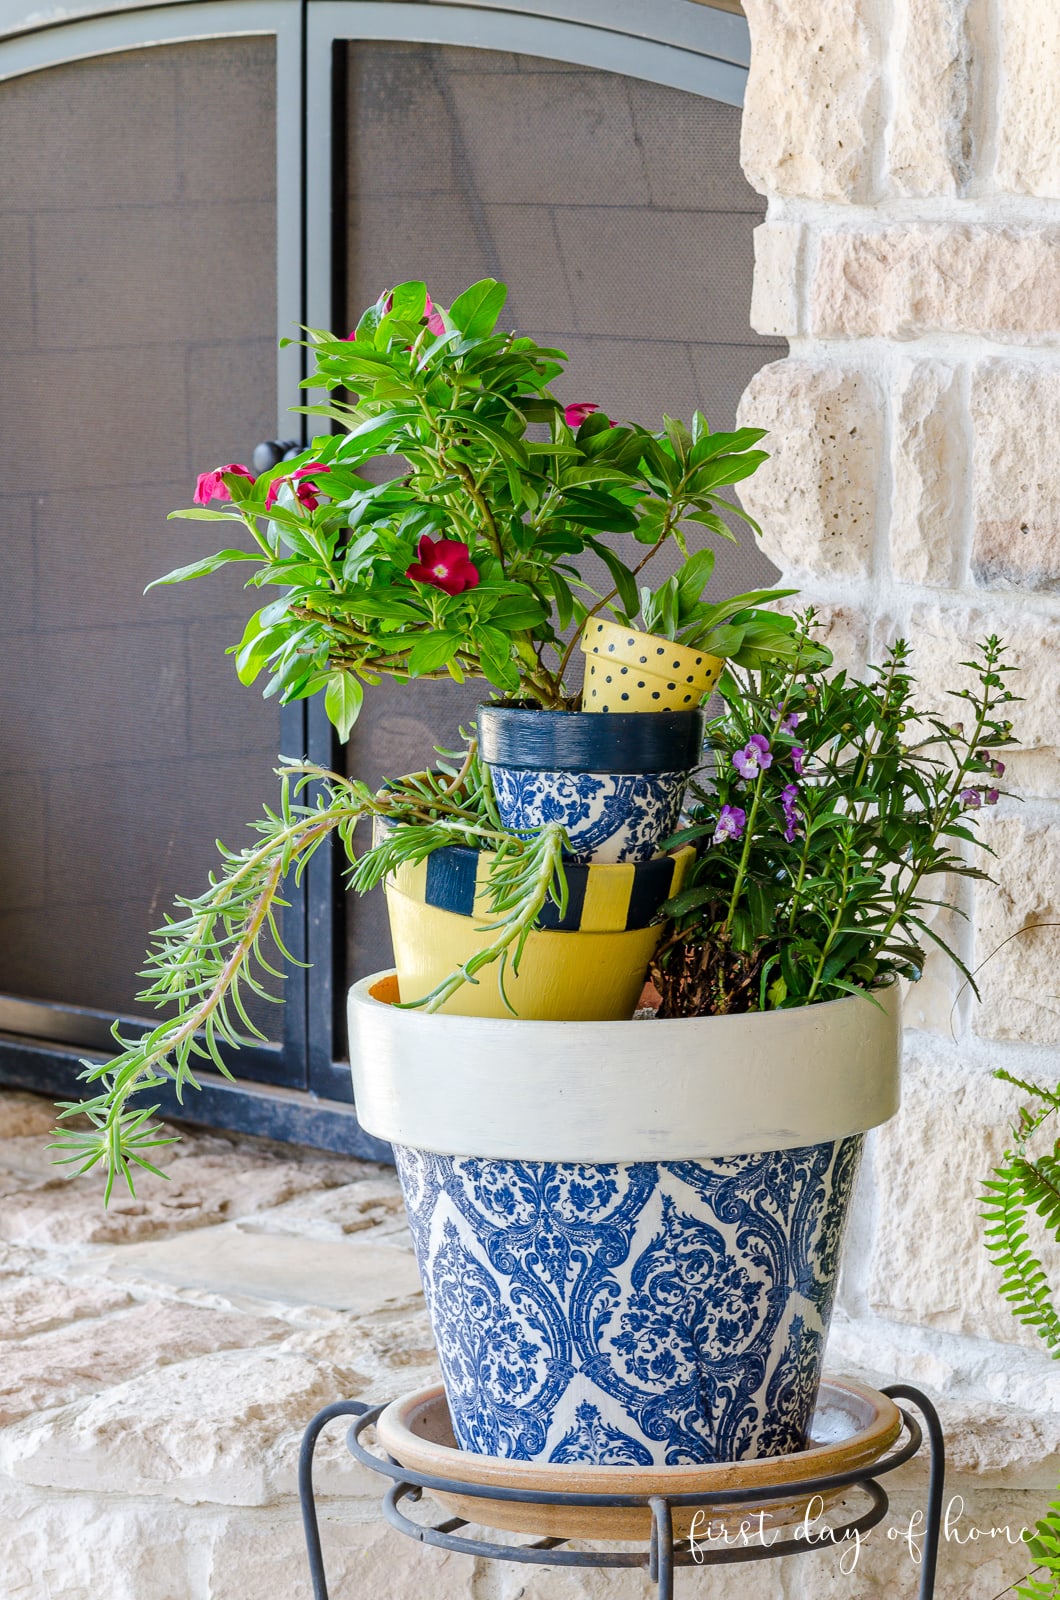
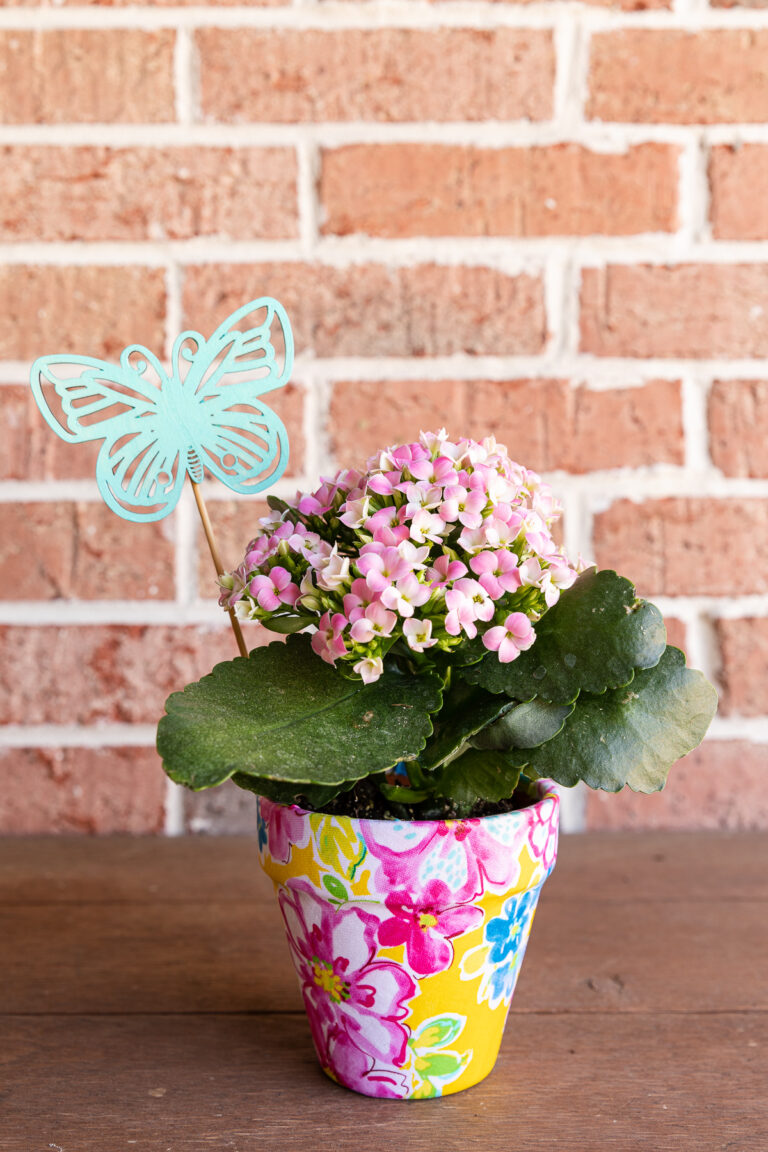
Part 2: How to Decoupage Flower Pots with Napkins
Once you learn how to decoupage flower pots with napkins, you’ll never look at a pot the same way! In my last post, I shared tips on painting terracotta pots like a pro. In Part 2, we’ll use Mod Podge to create a chinoiserie look for your container garden.

This post contains affiliate links, and I will be compensated if you make a purchase after clicking on my links. For more information, please see my disclosures.
How to Use Mod Podge on Flower Pots
Before you begin, it’s important to get the right Mod Podge for the job. You can view all the details in my related YouTube video.
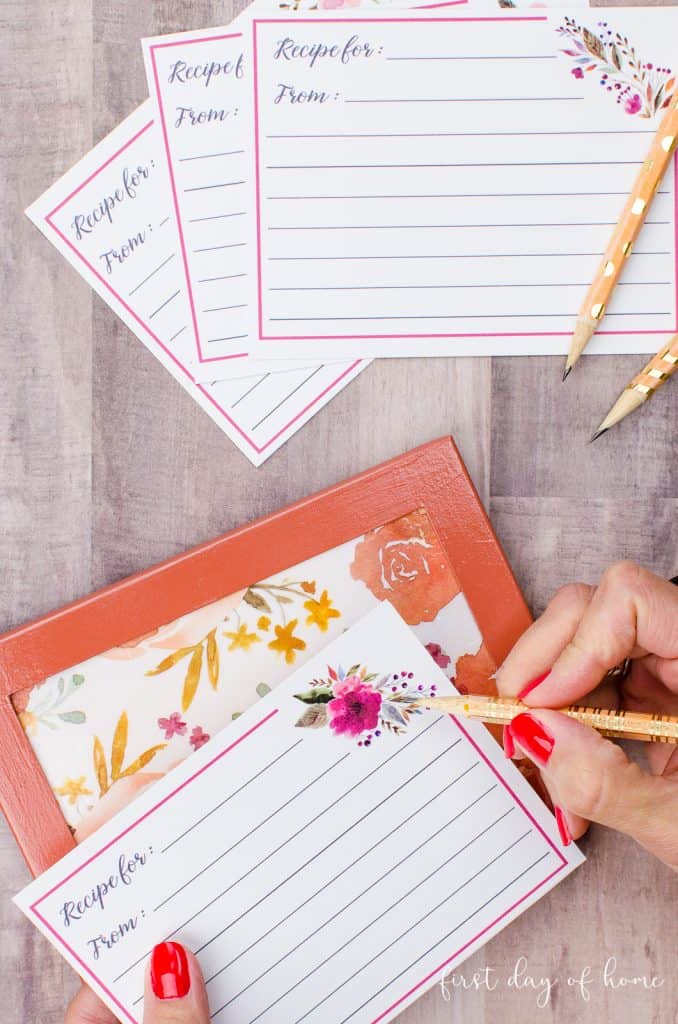
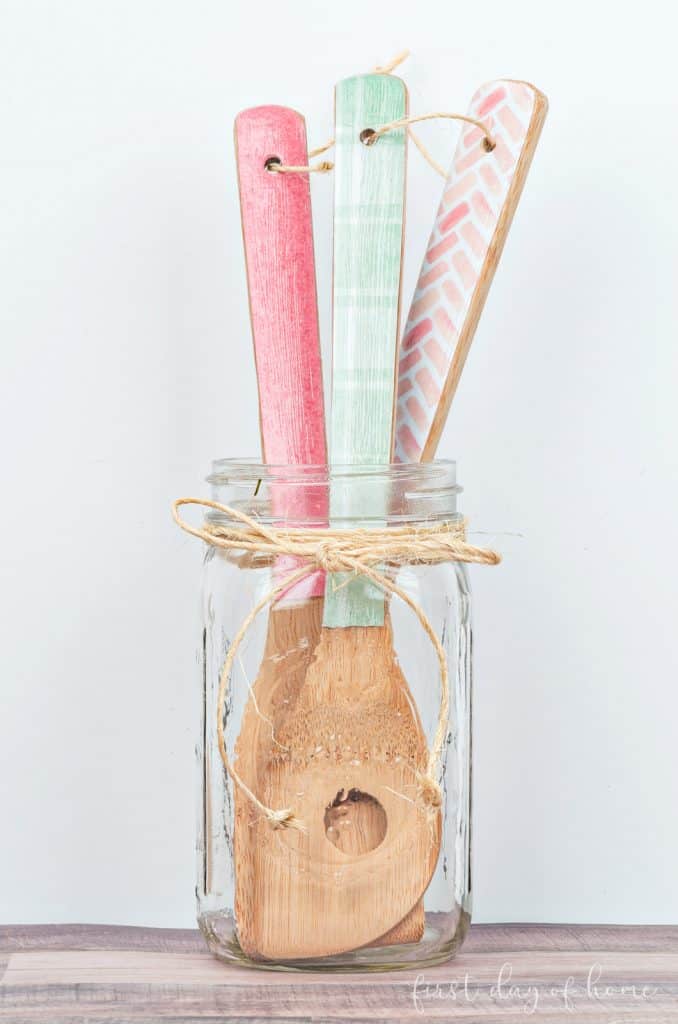
Over the years, I’ve used decoupage to upcycle old picture frames, decorate wooden spoons, and make DIY wood signs. Each project was a bit unique and required slightly different techniques.

If you’re completely new to decoupage, I suggest you start with my beginner’s guide to decoupage.
The most important aspect of decoupaging outdoor flower pots is knowing how to seal the terracotta. I used Mod Podge Outdoor specifically for this purpose.
I first used this product when creating my patriotic garden stakes, and I loved the results back then! “Why not give it another go?” I thought. Well, I’m glad I did because I think this is one of my favorite projects ever!
The active time involved is minimal, though you should plan to wait about 20-30 minutes between coats and 3-7 days before placing your pots outdoors.
I know, it’s hard to wait to display something so pretty! I promise it’s worth the wait!
Related Post: How to Make Fabric Covered Flower Pots
Watch This Tutorial
Tips for Making Decoupage Flower Pots
You can scroll down for the complete tutorial, but be sure to check out these tips before you get started on your project.
Tip #1: Seal the inside of the flower pots
As I mentioned in my post on painting terracotta pots, to get the best results, you should seal the inside of your flower pots before painting them.
I like to use this clay pot sealer to do the job because it sprays on so easily.
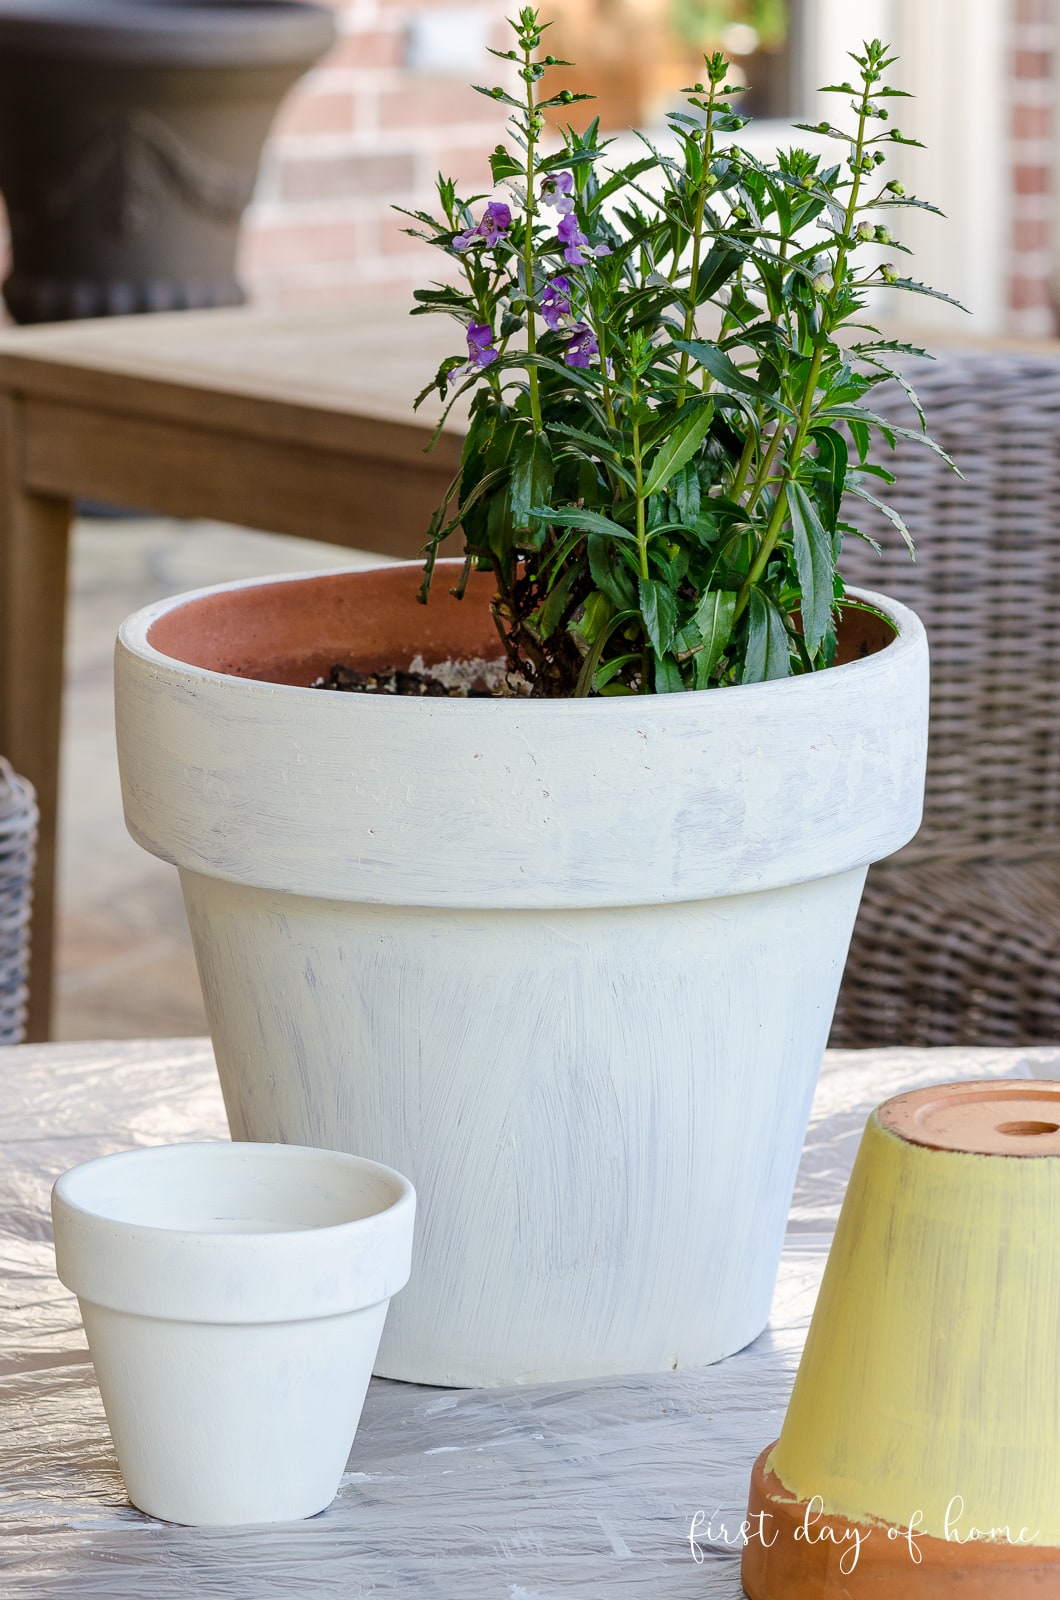
Tip #2: Always paint the terracotta pots first
When using napkins for decoupage, you’ll want to apply a light-colored basecoat of paint first. This helps to make your napkin design stand out and get all the attention it deserves.
If you’ve sealed the pots already (which I hope you did), you can use
Tip #3: Use plastic wrap to prevent tearing
If you ask me, plastic food wrap is key when decoupaging with thin tissue paper or napkins. Gently lay the plastic over the napkin once you apply it to the pot, and you won’t have trouble with sticky fingers. As you’ll see in my upcoming video, it also helps prevent the paper from tearing.
Also, you can let the Mod Podge dry slightly before applying the napkin to ensure that the paper won’t become too saturated.
Tip #4: Remove napkin edges with a paintbrush and water
Over the years, I’ve discovered that using a wet paintbrush helps to remove the edges of your napkin for decoupage.
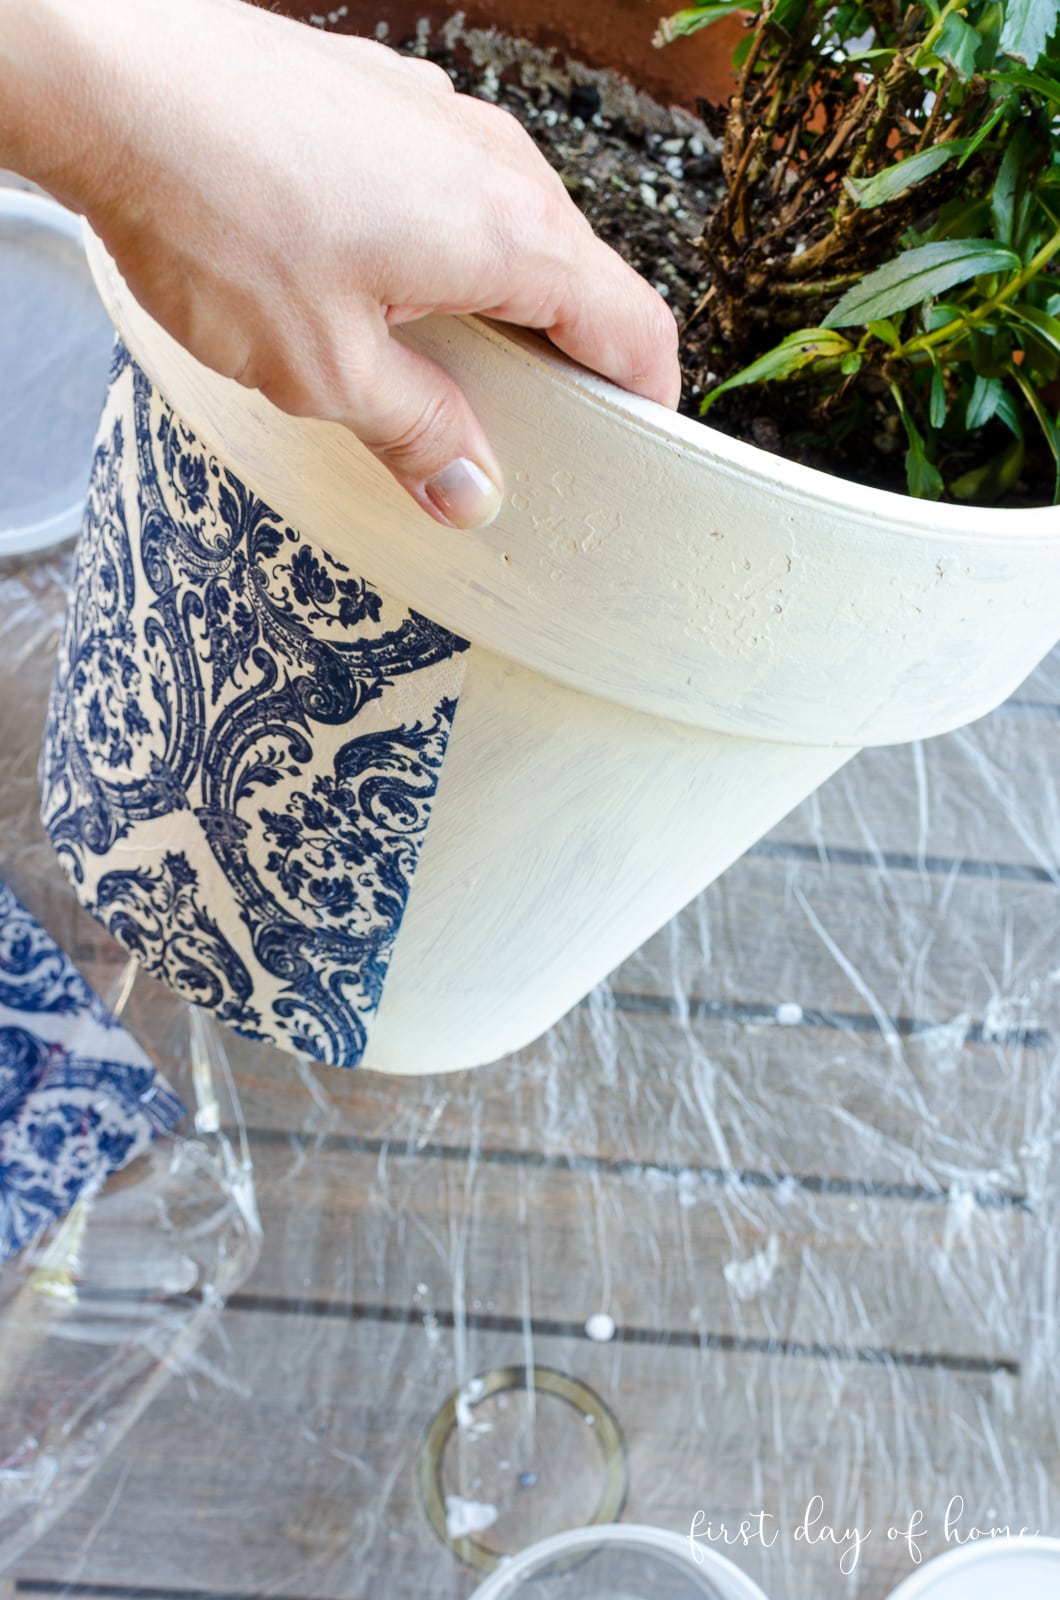
When using napkins for decoupage, you have the choice to 1) apply the whole napkin or 2) cut out smaller portions to partially cover the pots.
I chose the first option, so I dipped a paintbrush in water to tear off any excess pieces of napkin around the rim and bottom. This gives you nice, soft edges that make the design look hand-painted.
Tip #5: Never expose a decoupage flower pot to direct rain or sunlight
Mod Podge Outdoor works really well for a covered porch or patio, but you’ll want to avoid exposing your finished pots to rain or sun. This decoupage glue is water-resistant, not waterproof.
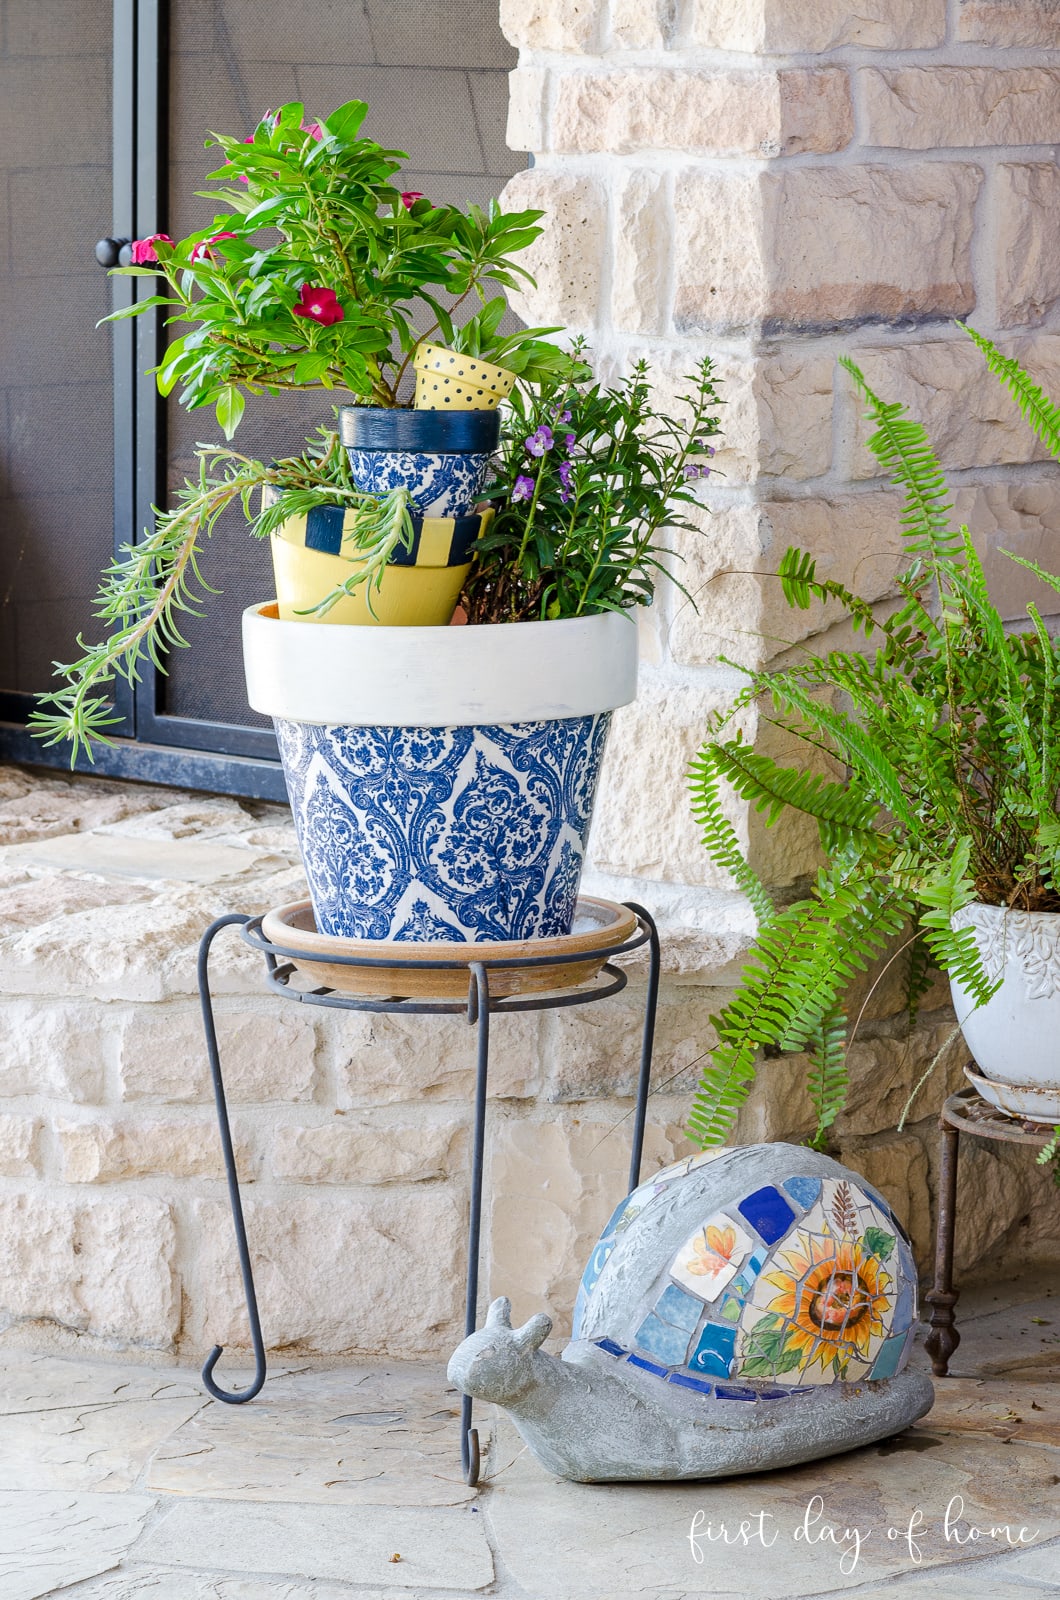
If you start to see some wear and tear on your pots after some time, you can always re-apply a coat of Mod Podge Outdoor. To continue decorating your container garden, check out my tutorials for stenciled flower pots or mosaic flower pots.
Pin it for later!
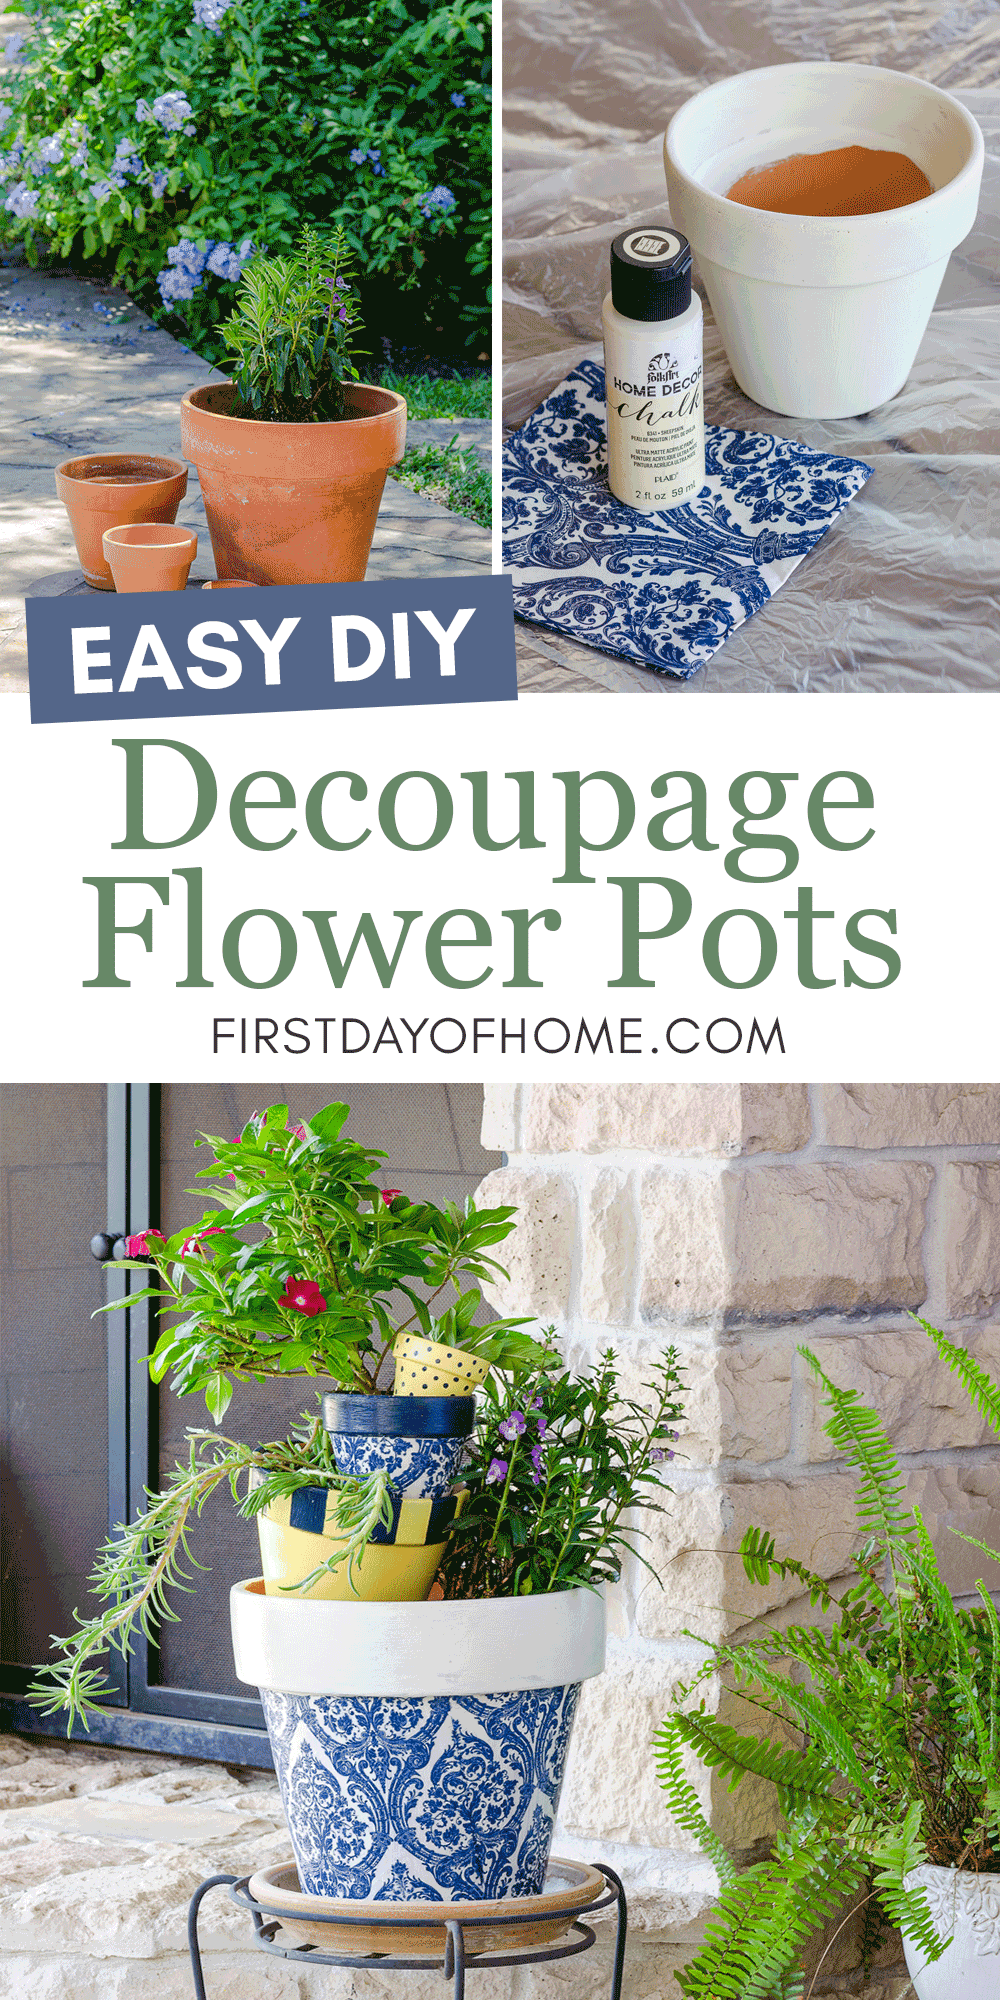
Shop for Supplies to Decoupage Flower Pots

How to Decoupage Flower Pots with Napkins
Equipment
Supplies
- Terracotta pot
- Clay pot sealer
- Chalk paint (or us outdoor acrylic paint or spray paint)
- Outdoor Mod Podge
- Decorative napkins or tissue paper
Instructions
Prepare Terracotta Pot for Decoupage
- Wash and dry the terracotta pot if necessary.
- Optional: Sand any rough edges of the pot if desired.
- Seal the inside of the pot with Clay Pot Sealer and let it dry completely (about 24 hours).
- Apply a base coat of paint to the pot using 1-2 coats of chalk paint or outdoor acrylic paint and let it dry completely (about one hour in between coats).
Prepare Napkin
- Separate the napkin into individual plies to isolate just the printed layer. Most napkins come in 3 layers, and it's helpful to cut an edge of the napkin to expose the layers.
- Cut the napkin into the shapes you want to decoupage if needed. For larger terra cotta pots, you may need to use more than one napkin and attempt to line up any patterns.
Decoupage the Pot
- Apply a thin coat of Mod Podge Matte and let it dry slightly (a minute or two) before applying the napkin.
- Use plastic wrap to press the napkin onto the pot instead of using your fingers. This prevents the napkin from sticking to your fingers and makes for a smoother application.
- Use a paintbrush dipped in water to wet any edges of the napkin you want to remove. This helps to tear the napkin away easily without ripping it.
Seal the Pot
- Wait 20-30 minutes for the napkin layer to dry. Then, apply a coat of Mod Podge Outdoor to the outside of the painted/decoupaged pot to seal it.
- Wait 3-7 days before transferring plants to your flower pot and placing it outdoors.
Notes
I love hearing from you! Feel free to comment below, tag me on Instagram, or share a photo on Pinterest. It truly makes my day!


Can I use a product like Americana triple thick on the decoupage clay pot as a top coat instead of outdoor mode podge? I don’t plan on using the pot outdoors. Thanks
Hi Eden. Yes, you can try using that glaze for a glossy finish. I would be careful about letting the pot sit in water, as I don’t believe Triple Thick is meant to be water-resistant. Perhaps you can test a small part of the pot on bottom to make sure the gloss doesn’t cause any buckling of the paper. Good luck!
i love the ideas and guide w attractive pictures..thank u
Hi Sherine! Thanks so much. I’m glad you enjoyed it.
Question: would it cause issues to do the pot sealer inside the pot after decoupaging the outside?
Hi Hayley. No, that shouldn’t cause a problem. I do find it makes a big difference in preventing the outside from turning colors when the pot gets wet. Good luck! -Crissy
These turned out so nicely. White and blue is such a nice colour combination. I never realized that there was an outdoor version of modpodge.
Thanks so much, Cynthia. Yes, the outdoor version if often overlooked. I’ve learned the hard way that you really need to wait to let it cure, but it’s nice to enjoy some DIY decor on the porch or patio.
I am featuring you tomorrow on Charming Homes and Gardens party Crissy! Congratulations!
Thanks so much again for the feature, Kim! I’m thrilled to join the party this week! Have a great Memorial Day weekend!
Such a cute idea. I’ve used this technique on tin cans as well. Beautiful post. Look for your feature on Charming HOmes and Gardens on Wednesday. Rachel
Thanks so much, Rachel! I’m so excited to be one of your features this week. I’ll stop by and take a look on Wednesday. Have a great week! -Crissy
What a wonderful idea! I would love it if you would consider sharing this on our Charming Homes and Gardens Link Party, Wed-Sun.
Thank you, Kim! I’ll definitely check out the party. I appreciate the sweet comment and invitation!
Your pots turned out so pretty Crissy, and I am inspired to head down to craft stash to find some pretty napkins to get started on some pots today! I hope you will share this post at TFT this week, I would love to feature you next week 🙂
Happy planting!
You’re so kind, Amber! Thanks! I will definitely do that. I haven’t been able to visit as many blogging friends lately with the new duties of homeschooling. I’m sure you’re feeling the pinch, too. I hope you’re doing well. I miss chatting with you and seeing everyone!
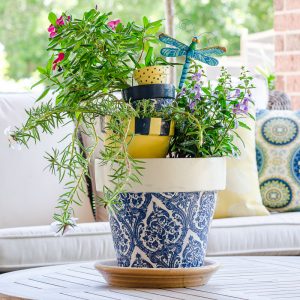
Such a great idea and so pretty for outdoors. I forgot there is an outdoor rated Mod Podge available. I love how you tiered the pots too. I would love to try this for a centerpiece on my outdoor table.
Thank you so much for stopping by, Marie! I know you’ll come up with something beautiful as well! I do like the Outdoor Mod Podge, but just know it goes on a little thick. Have fun making your own!
I love your beautiful decoupage pots, and your tips and special trick for applying the napkin and tissue paper! This is definitely one of my fave posts of yours! You have inspired my Mod Podge creations many times over! Excited to be featuring you at Tuesday Turn About tomorrow!
Aww, thank you so much, Julie! I’m so thrilled to be featured and really appreciate the support, dear friend! It means a lot to me. Big hugs!