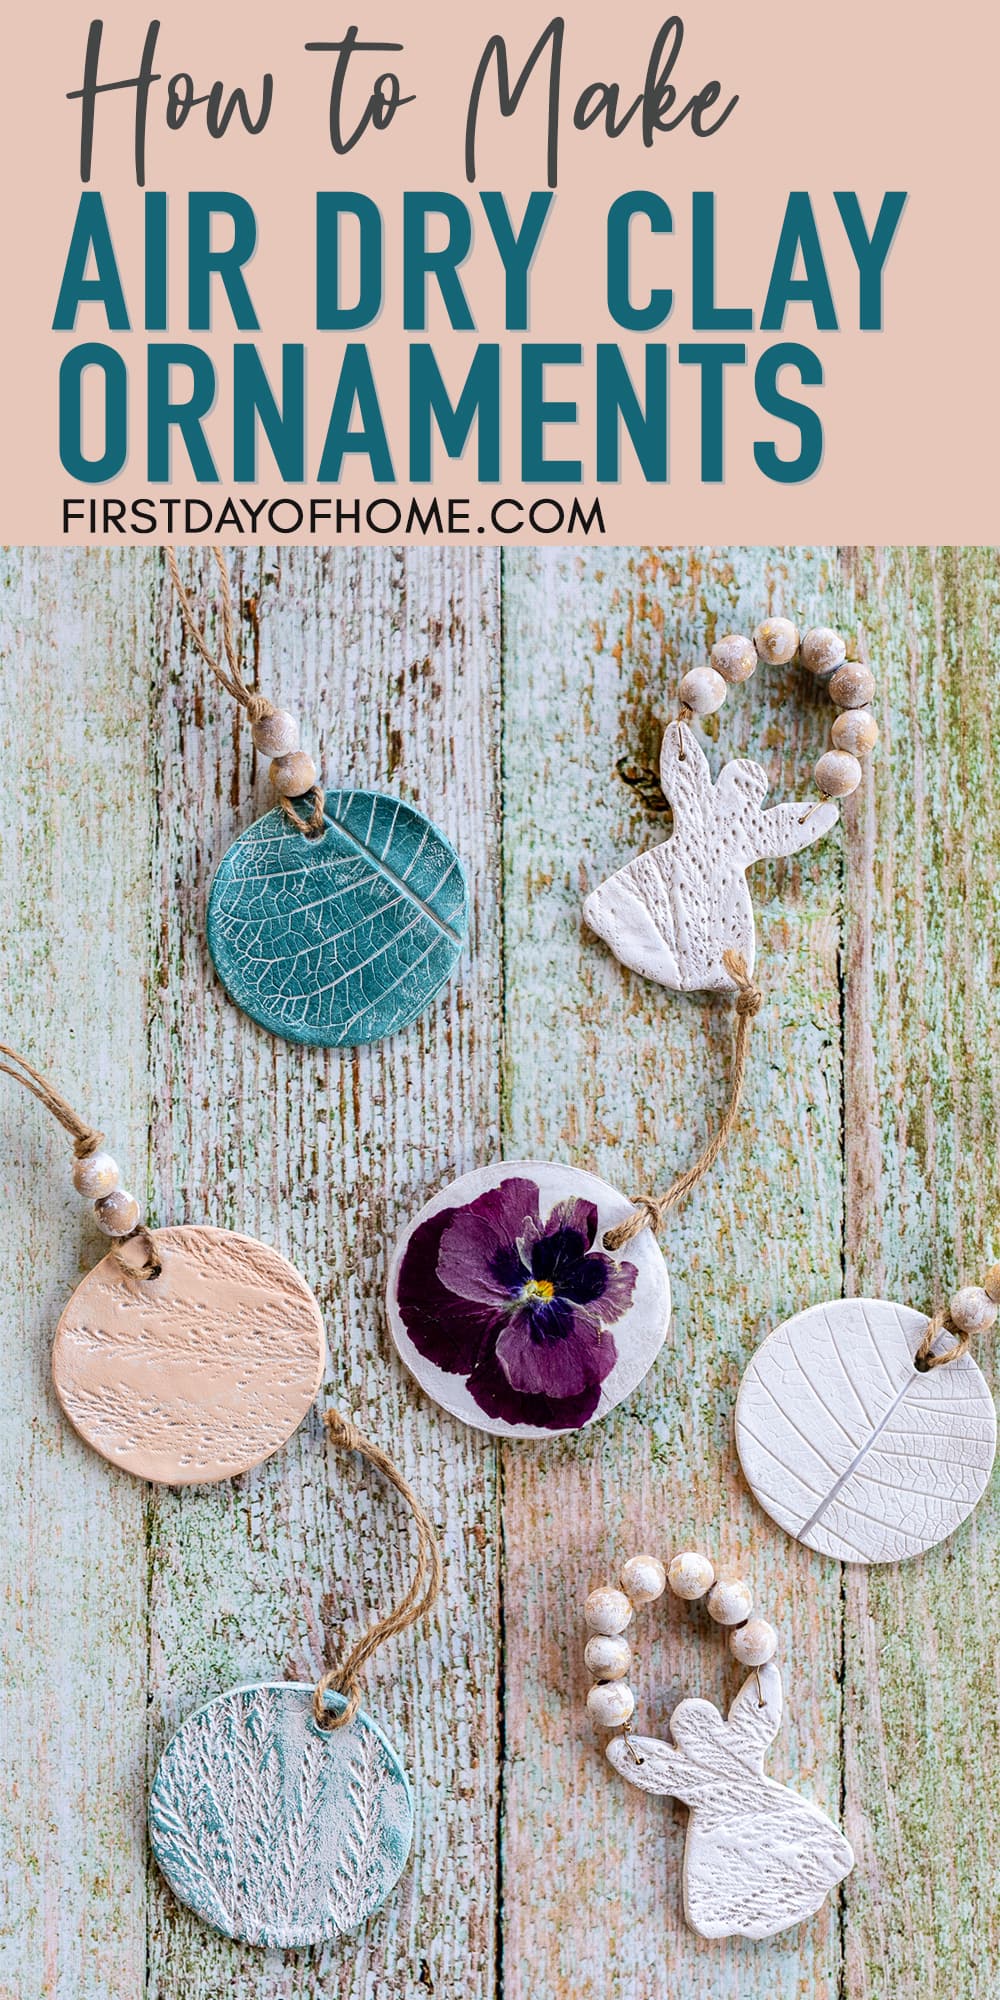
How to Make Simple Air Dry Clay Ornaments
There’s something special about a handmade ornament. Once you learn how to make these simple air dry clay ornaments, you’ll find yourself wanting to include them as stocking stuffers for the whole family.
This post contains affiliate links, and I will be compensated if you make a purchase after clicking on my links. For more information, please see my disclosures.
How to Make Clay Ornaments
For those wanting step-by-step details, I have a complete YouTube tutorial on making these DIY ornaments with air-dry clay.
You’ll find more behind-the-scenes info in that video, and I hope you’ll take a moment to join me as a subscriber too.
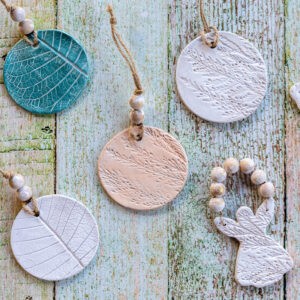
Clay Ornaments Preview
What to Know About Air Dry Clay
If you’re new to working with air dry clay, here are a few things to know about the medium before you get started.
- The air dry clay used in this tutorial takes about 24 hours to dry and does not require baking.
- If your clay begins cracking, simply add a few drops of water with your fingertips to create more moisture and pliability.
- The clay is safe for all ages to use, so grab the kiddos and have some fun!
Kids might especially enjoy making my air dry clay gnomes, which has another step-by-step tutorial on the blog, or some of these air dry clay projects for kids that come as a kit.
If you want to make your own clay with household ingredients, try my no-fail salt dough ornament recipe. You can bake it in the oven for 2 hours, which is convenient. However, it’s more difficult to make imprints like you can with air dry clay.
How to Press Flowers for Clay Ornaments
If you’re interested in pressing flowers, I highly recommend this microwave flower press. You can use my coupon code FIRSTDAY10 for 10% off your order.
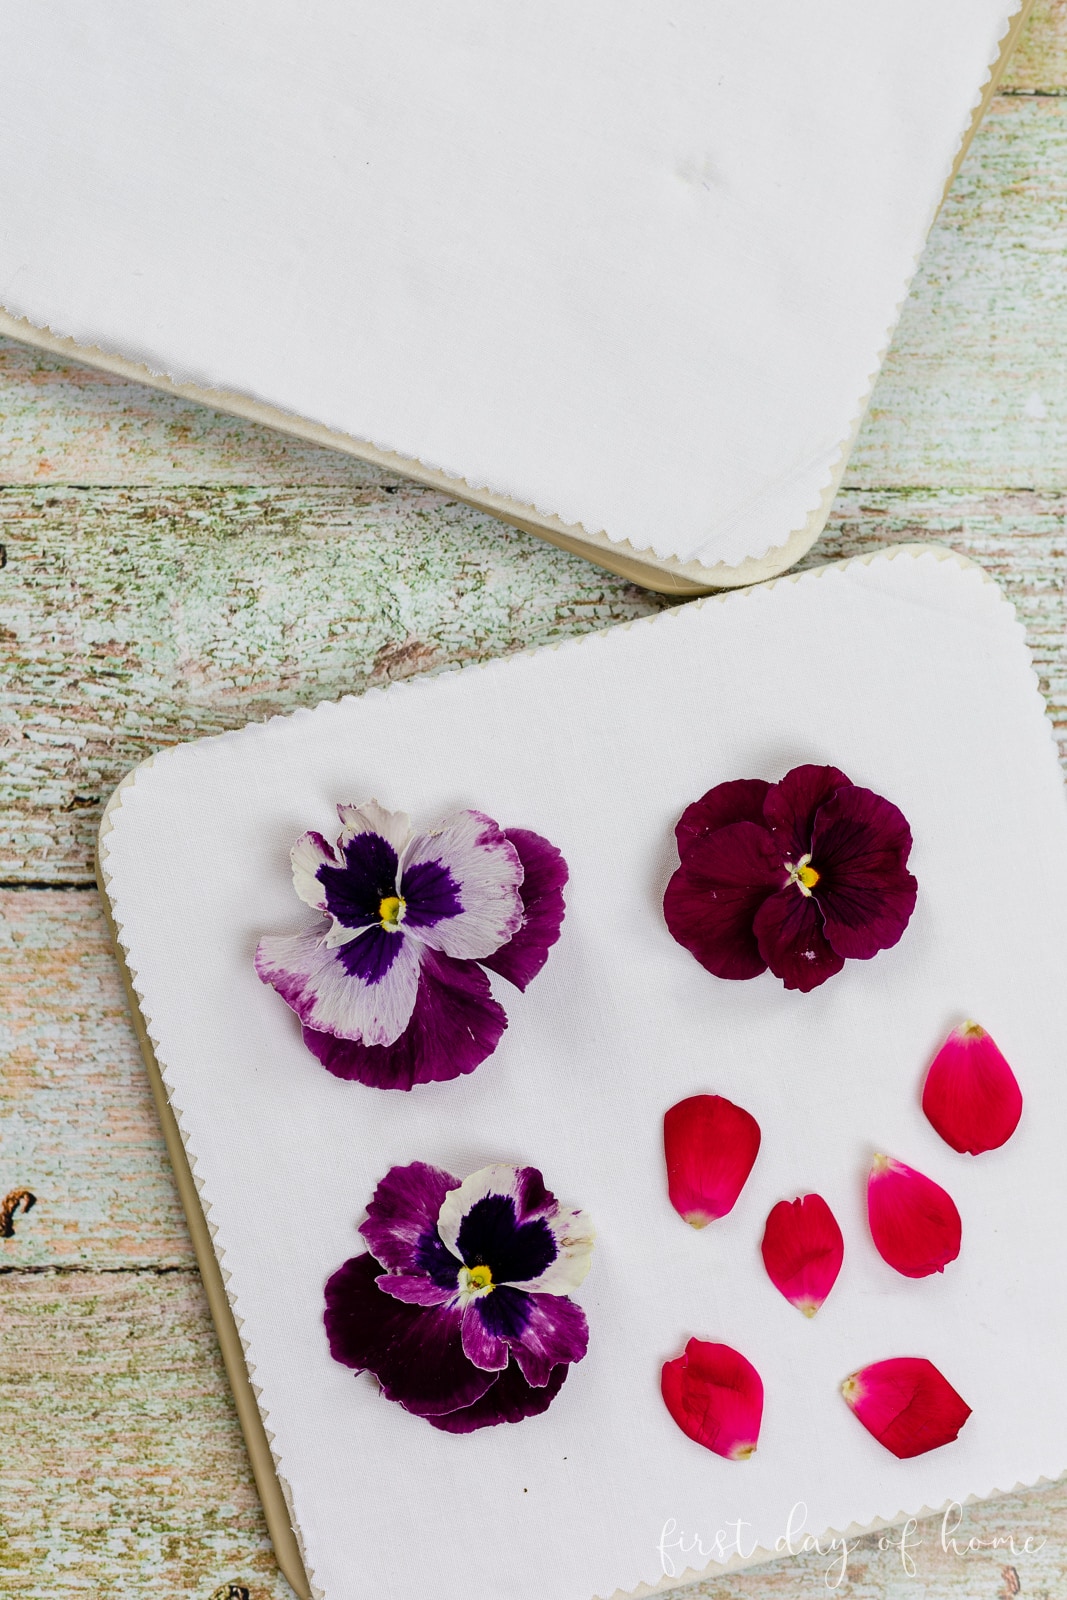
I have a beginner’s guide to making DIY pressed flower art with this same press if you do end up buying one.
I also have a tutorial on how to press flowers if you want to explore other methods as well. You can even learn how to make a flower press in under 30 minutes.
How to Make Air Dry Clay Ornaments
Equipment
- Glass bottle or rolling pin
- Straw or dowel
- Flower press (optional)
Supplies
- Air dry clay
- Natural stems
- Flowers
- Mod Podge (matte)
- Acrylic paint
- Jute twine (or ribbon)
- Jewelry wire (for hanging beads on angel ornament)
- Wooden beads – 16mm
Instructions
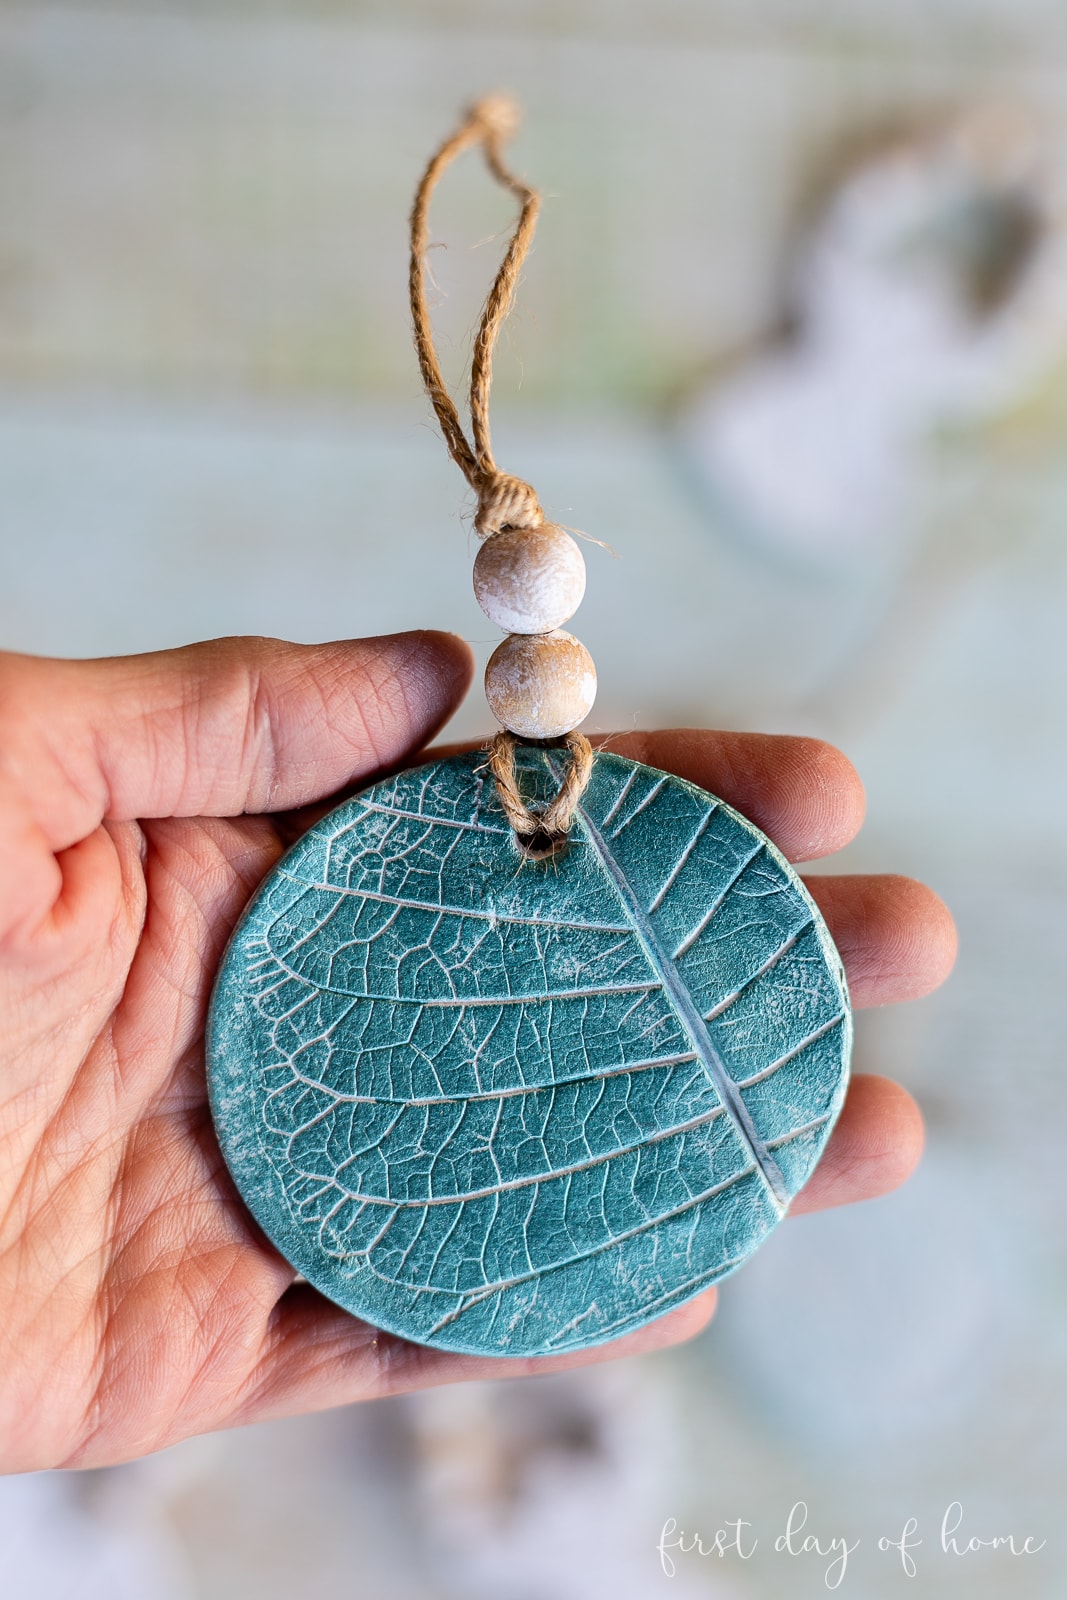
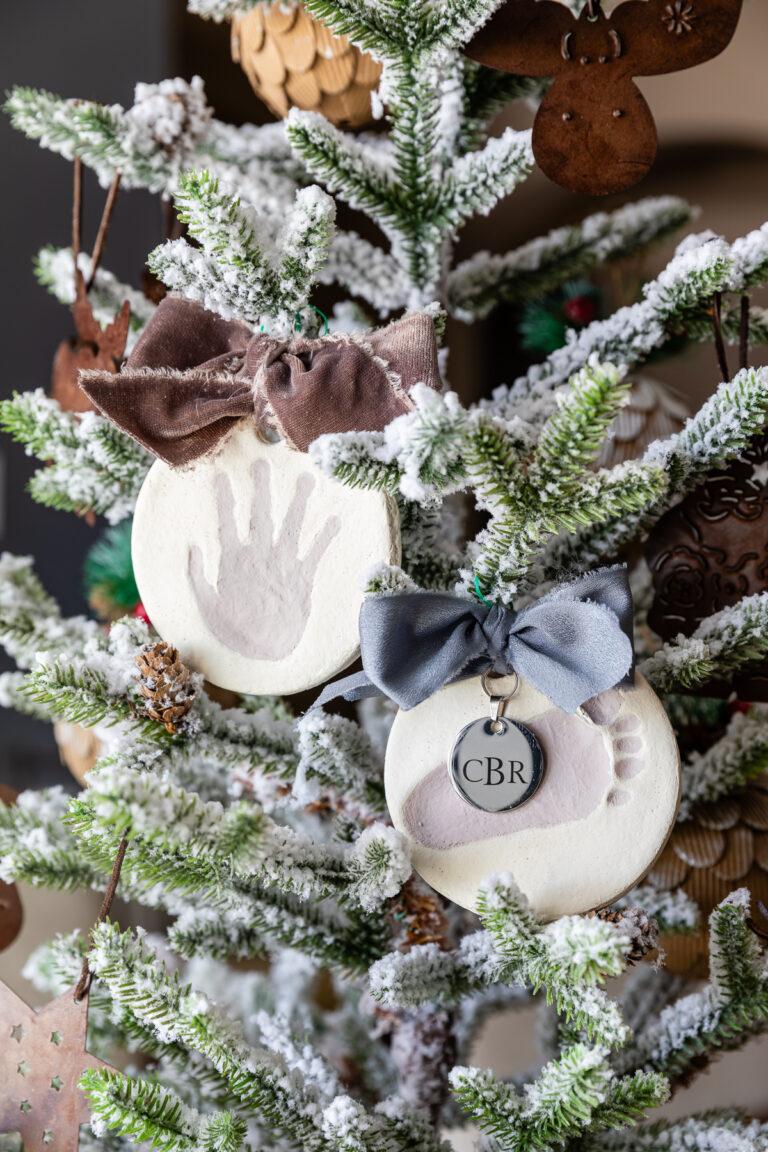
Standard Round Ornament
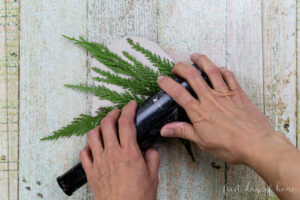
- Begin rolling out a small handful of air-dry clay using a glass bottle or rolling pin until the clay is about 1/8-inch thick. You can use wax paper underneath for easy lifting.
- Add a few drops of water with your fingertips if the clay begins cracking while rolling. You will need to continue to add moisture the longer you work with the clay.
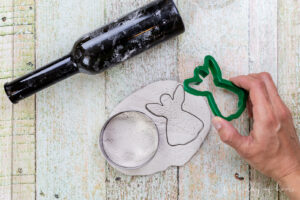
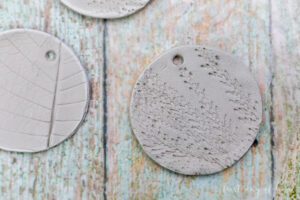
- Place stems or leaves onto the clay. Gently roll over the stem with the bottle or rolling pin to imprint the pattern onto the clay.

- Carefully remove the stems/leaves to reveal your pattern. Then use a cookie cutter to create your ornament shape.
- If hanging the ornament, use a straw or dowel to create a hole at the top.
- Allow at least 24 hours for the ornament to dry completely.
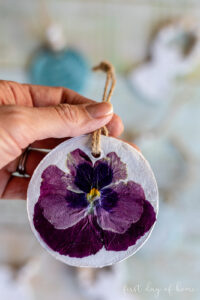
- Once dry, paint the surface of the ornament using acrylic paint.

- If desired, you can press flowers and then use Mod Podge to adhere a flower to the ornament. Apply a top coat of Mod Podge onto the flower and let it dry for 20-30 minutes.
- Add jute twine or string to hang the ornament. As an option, you can add beads to embellish your design.

Angel Ornament
- Follow steps 1-7 above. Be sure to use a small dowel to make two small holes in each wing of the angel.
- Optional: Paint wooden beads with white and gold acrylic paint, lightly brushing the paint on for a more rustic effect.
- Using jewelry wire, attach the wooden beads to the ornament to hang.


Notes
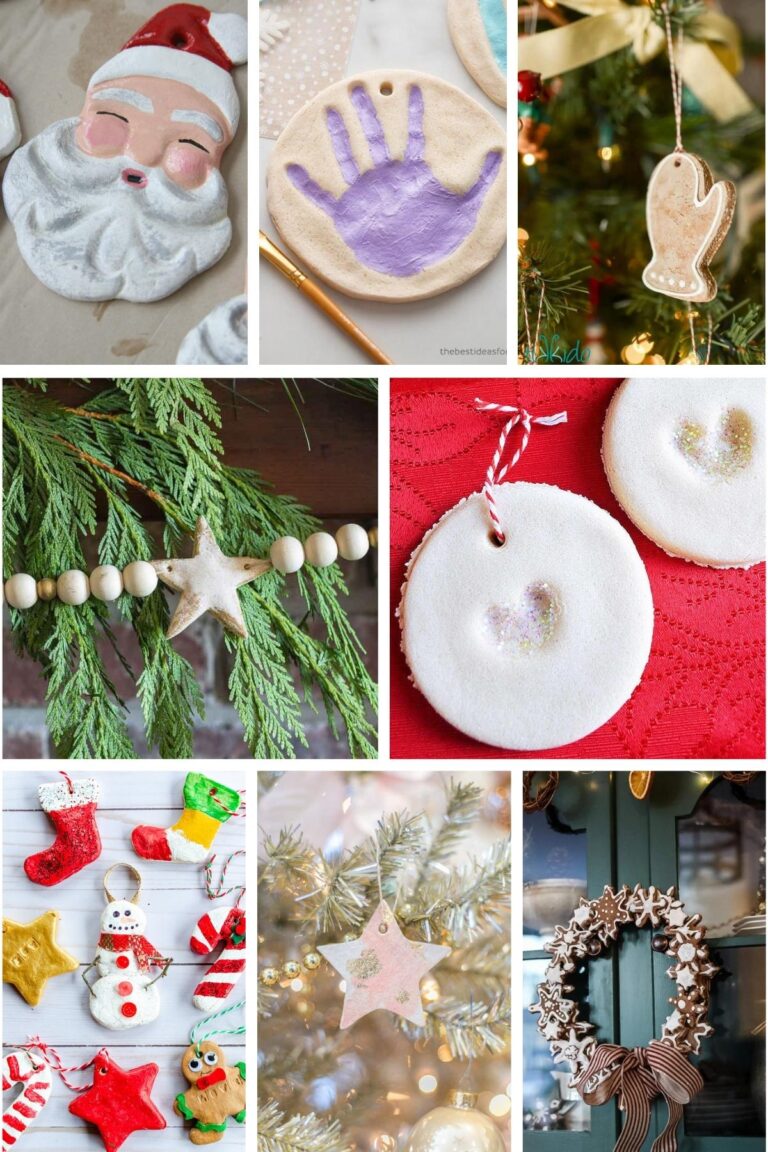
More Christmas Crafts
These natural stem air dried Christmas ornaments are exactly what I was looking for!
I am going to make them using foliage from my daughter’s recent wedding, for special meaning.
SO glad you posted this tutorial!
Hi Lynne! I’m so happy to hear that you found what you were seeking. That sounds like a lovely gift for your daughter. Congrats to her! I hope you enjoy making these. -Crissy
Hi Crissy! I loved your tutorial very much. It was such a big help. I love doing art and I have always been looking for new ideas for things. But the thing that I love about art is clay! I love trying out new objects that can be used for clay. So thank you, for giving me this wonderful new idea. I appreciate it very much. God bless you, Crissy.
Hi Lacey! I’m so glad you enjoyed the tutorial. Isn’t it wonderful working with clay? I hope you enjoy making your ornaments. Thanks for stopping by!
Awesome post
Thank you!
Do you think these would hold outside? I was thinking of making garden markers.
Thank you
Hi Katie! You can try using a varnish or acrylic sealer to protect the stakes, but I believe they may eventually show some wear and tear if left outside in the rain and sun. I’ve made some decorative garden accessories with air-dry clay before, but I kept them under a covered patio and tried to avoid letting them sit in water. I hope this helps!
Would you happen to know if the sculpey air dry clay works as well as the kind you used?
I’m looking for a way to make my clay ornaments look nicer… ive been using the bake clay .. but I’m just not happy with the results.
Thank you!
Hi Bekah! I haven’t tried Sculpey for air-dry clay, but I’m sure it would work just as well. I’ve used FIMO bake clay, so I think I know what you’re talking about in terms of the results. You can always add a nice gloss/matte coat with Mod Podge when you’re done if you’re looking for a more finished look. I hope this helps! Good luck!
I look forward to trying my hand at them! We have a Christmas tradition that my mom started and I’m walking. What a special tradition. I’m very passionate about myself, so I love the idea of giving your grandchildren a gift to enjoy for many years to come. And very careful to make these earthen ornaments from garden items.
Thank you! I hope you enjoy making them.
I am so looking forward to trying my hand at these! We have a Christmas tradition that my Mom started and I am carrying on…finding or making Christmas ornaments for each of the grandchildren so that when they are grown they will have Christmas ornaments for their own tree in their own homes. Cheers!
I’m so glad to hear that, Kay! What a special tradition. I’m very sentimental myself, so I love your idea of giving grandchildren a gift to enjoy for many years. I know they will treasure your creations. I hope you’ll consider sharing some photos when you’re done! Best wishes, Crissy
What guage of gold wire did you use? Thanks for the tutorial!!!
Hi Susan! Here’s the gold wire I used: https://amzn.to/37Ta0oZ. I hope this helps. So glad you like the tutorial!
These are SO pretty, Crissy! And so smart to make these clay ornaments with items from the garden! Love those beaded hangers, too! Pinned!
Oh, thank you so much, Julie! I always appreciate your support and kind comments. I hope you had a blessed Christmas. Hugs, Crissy